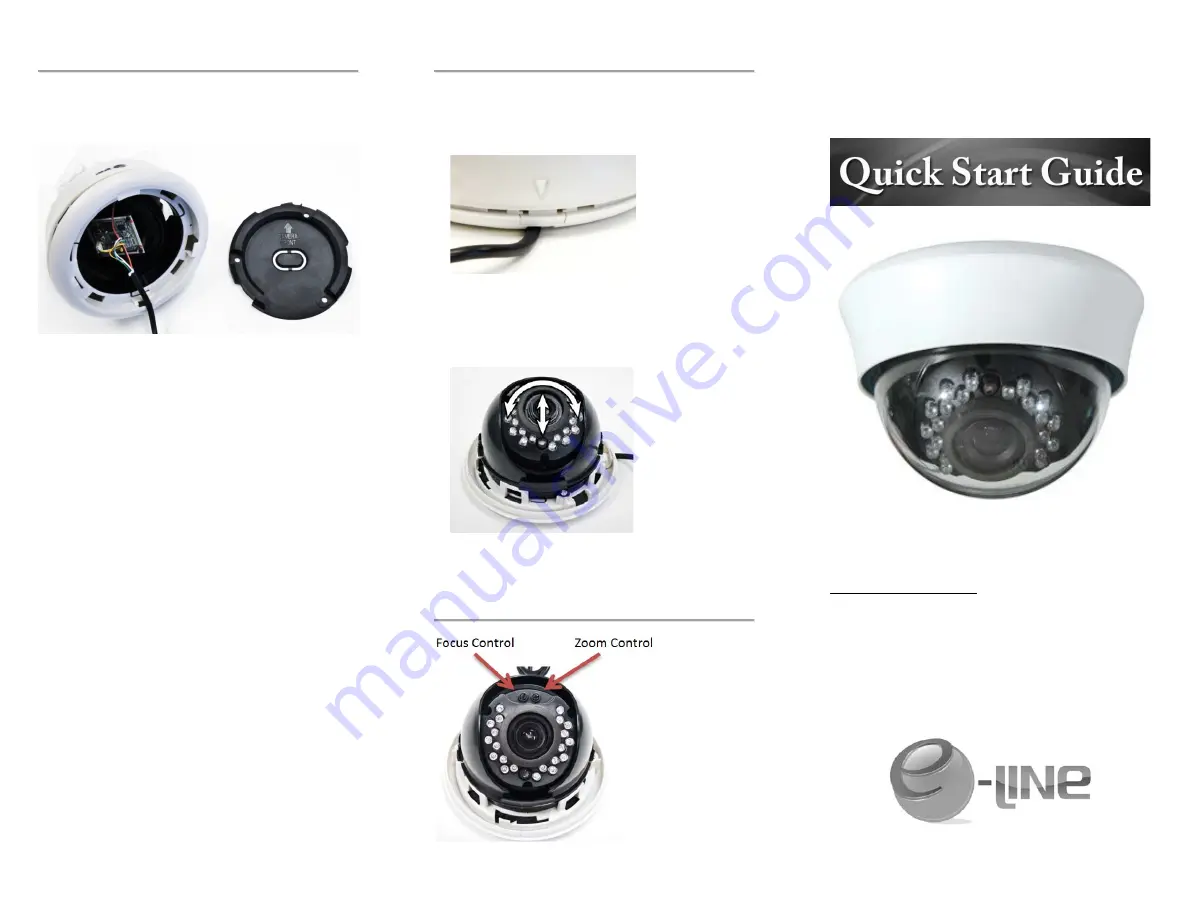
Mounting
This is an indoor camera. It is not suitable for exposure to
particles or liquids.
1. Unscrew the mounting base from the camera by twisting
counter-clockwise. Use this base as a guide to mark the
locations for screw and cable management holes on the
mounting surface. Make note of the arrow on the base
indicating the front of the camera. There are 2 options for
the cable management hole – at the back of the camera
base or in the center of the camera base.
2. Drill a starter hole at each marked location. Drill a cable
management hole at least 14mm in diameter to permit
the camera’s cable to be inserted through the mounting
surface.
3. If necessary, insert drywall anchors into the screw holes.
4. Place the camera base into location. Insert a screw
through each of the screw holes in the base and into the
mounting surface and then tighten each screw until the
base is secure.
5. Feed the camera’s cable through the access hole;
position the dome onto the mounted base, and twist
clockwise to secure.
Caution:
Once power is supplied, do not remove the
camera from the mounting base due to risk of electrical
shock.
Adjusting the Camera
1. To adjust the camera angle, remove the white casing
and dome by pressing on the latch release indicated by
the arrow, and prying off the casing. The first time you
remove the casing, it may be a little tight.
2. The camera lens can be moved by twisting the black
shell inside the white base. The camera module inside
the black shell can be moved up and down. There is no
need to remove any screws or to attempt to disassemble
the camera.
3. To replace casing, align the arrow with the latch release
and press on.
Focusing
ELI-EDC
3-Axis Indoor Mini IR Dome
User Manuals and Specification Sheets are available at
http://eLineTechnology.com
Caution: Before providing power for the camera, please
read this Quick Start Guide or the User Manual in detail.
Do not attempt to disassemble the camera. If the camera is
not functioning properly, please contact your local
dealer/installer.
eLineTechnology.com


