8
installation.
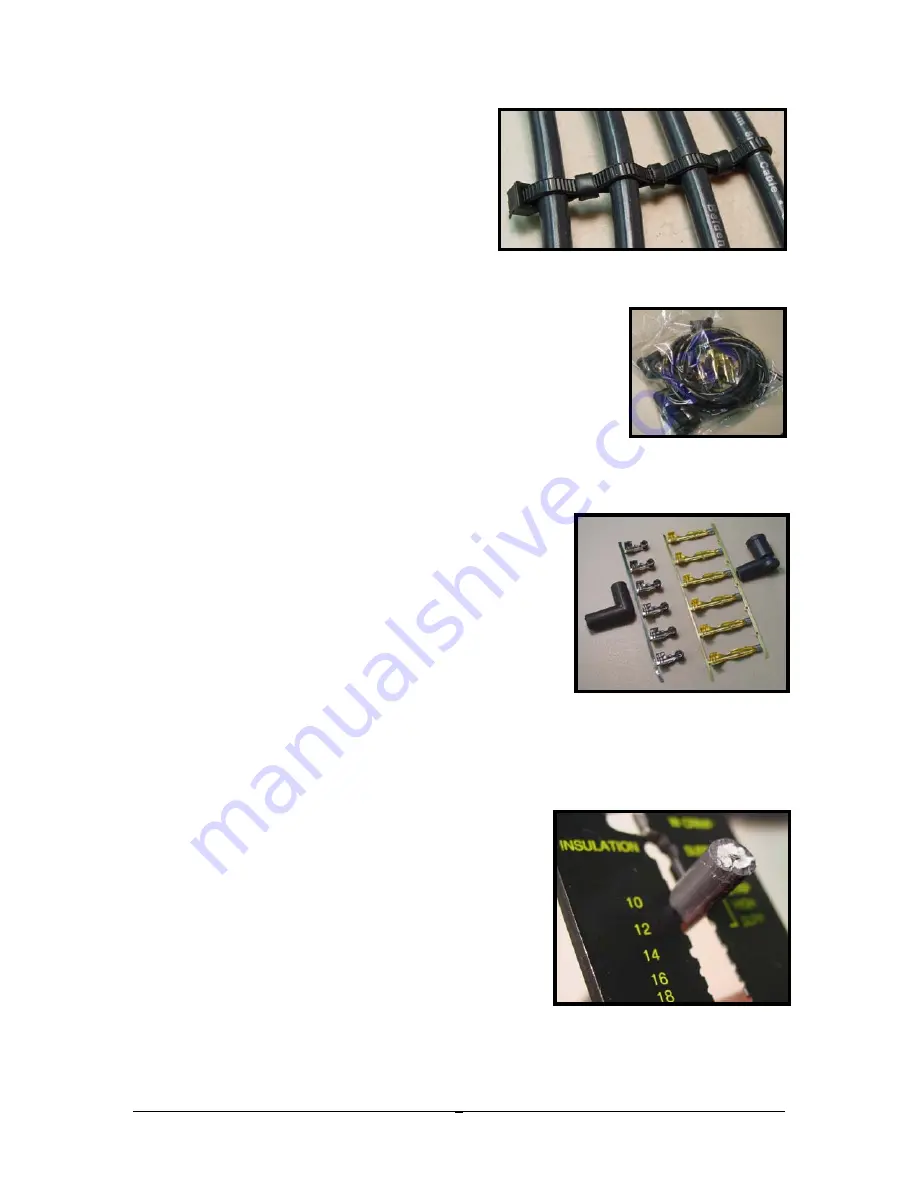
Note: Auto leads should be kept
separated when installed. Do NOT bundle
them together as is common with shielded
aircraft wires, as this can cause them to be
inductively coupled. Wire looms can be
purchased at auto parts stores, but a simple
separator can be fabricated out of tie-wraps
and ¼” segments of left over MAP sensor hose – see photo.
Auto Lead Fabrication
1)
Plan your route and lay out one lead at a time, starting with
the longest leads first. Cut leads with about three extra
inches.
It will be easier to make the terminal connections at
your workbench, so mark the cut leads so you know where
they belong when you return.
2) Install COIL end boots and terminals (only) on each lead – see “Crimping
Terminals” below. Your lead kit includes 2 extra terminals with each set so
don’t panic if you make a “practice piece”.
3)
Connect all four leads to the coil and review the wire
route. You might even install the wire separators (if
you plan to use them) so you can more accurately
determine the correct length. Cut the plug wire end
where it meets the plug tip. Install the spark plug
boots and terminals.
Now that you’ve had some
practice with crimping terminals, it may be more
convenient to install them with the wires on the
engine.
4) Crimping Terminals
Identification:
The shorter steel terminals and rounded boots are for the
spark plugs. The longer brass terminals and flat-
backed boots are for the coil end attachment.
a)
First, run the wire through the boot so it’s a
couple of inches from the end. This will give
you room to work with the wire and terminal.
A light coating of silicone spray (not included)
is needed to lubricate the wire as you work it
through the boot.
It is best to push the boot
down the wire (rather than pulling) to avoid
straining the wire core. Note: You can push
on the heel of the boot and straighten the opening so it is aligned with the
wire as you push it through.


