4
EN
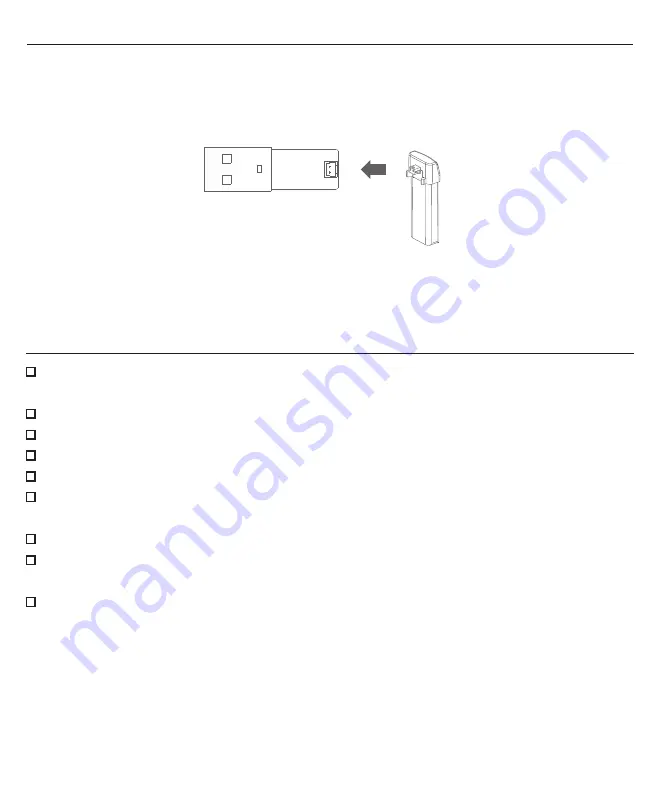
Battery Charging
1) Connect the 7.4 2S LiPo battery to the charger and connect the charger to the USB port.
2) The LED on the charger will glow solid red, indicating charging has begun.
3) The LED turns solid green when the LiPo battery is fully charged.
Soild Red:
Charging
Soild Green:
Charging completed / Power connected (Stand by)
Flying Checklist
Always turn the transmitter on first and set the THROTTLE CUT switch to the RED dot position
(4 x AA size alkaline batteries are required for the transmitter)
Remove the canopy cover
Connect the flight battery in the helicopter and secure the battery by pressing down the battery case
Place the helicopter on a level surface and let it to initialize
Install the canopy cover
Lower the throttle stick to the lowest position and set the THROTTLE CUT switch in the transmitter to the
GREEN dot position (The motor will control by throttle and spin at low idle speed)
Fly the helicopter
The LED (Green) in the helicopter goes from solid to flashes slowly, indicating the flight battery voltage
is low, Land the helicopter
Set the THROTTLE CUT switch to the RED dot position
NOTICE:
Be sure to set the THROTTLE CUT switch to the RED dot position after every flight.
Allow the helicopter to initialize and place the helicopter on a level surface. Initialization time is about 10 seconds,
initialize successfully until the LED Indicator in the helicopter from blue flashes rapidly to solid blue.
Summary of Contents for 150 V3 Series
Page 1: ...User Manual 150 Series...
Page 2: ...1 14 15 28 English Languages...
Page 20: ...18 CN 1 3 7 V 1S USB USB 2 3 5 4 1 0...
Page 21: ...CN 19...
Page 22: ...20 CN...
Page 23: ...Mode 2 Mode 2 CN 21...
Page 24: ...22 Mode 1 CN Mode 1...
Page 25: ...23 CN LO 1 LO 2 3 4 5 6 HI 1 HI 2 3 HI...
Page 26: ...24 CN 2 3 1...
Page 29: ...150BL ESKY008675 ESKY008884 ESKY006851 E SKY008718 ESKY008881 ESKY008883 E SKY008663 27...
Page 30: ...CN 28...
Page 31: ......


