66
07/10
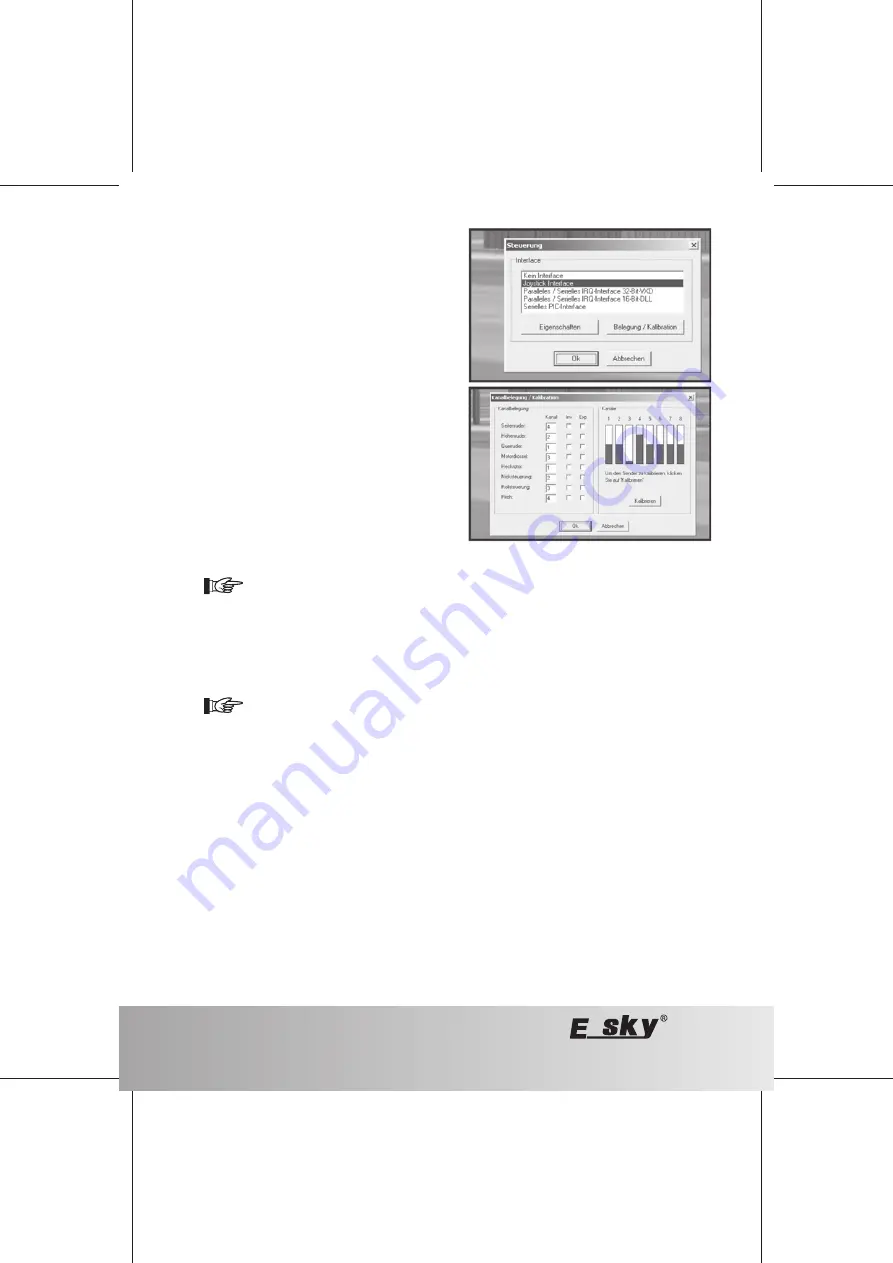
Figure 30
Click on "Joystick Interface" then on "Assignment/
calibration".
Set the lever in centre position, the same is valid for the trim
regulator.
Click on "calibrate".
Move the push stick several times slowly in circles (in each
case full deflection).
Click on "continue".
Centre the push stick and click on "finished".
On the left side, the channels can now assign the rudder
functions.
Now click on "OK" and in the window "Control" click on "OK"
again.
In the menu item "Simulation" select "Automatic
initialization", click on "Initialize".
Now, the simulation should start; the plane/helicopter can
be controlled via the transmitter.
For operating the flight simulator, the pitch-trim slider must be placed from the bottom in the middle position,
because otherwise the drive motor wills witch off after initialisation.
For further settings in the software, take note of the information that is available in the software or on the CD.
Naturally, you can use other programs as well, since the function of the remote control transmitter via the interface for
the operating system looks like a conventional joystick. This means that each game that can be operated via a joystick/
game pad can be operated via the transmitter. However, keep in mind that the keys of a conventional joystick/game
pad are naturally not available on the transmitter.
If the plane or helicopter does not respond correctly to steering, calibrate the steering in the software.
If using programs other than the one included in the delivery, the calibration should be carried out directly in the
operating system of Windows (e.g. option "Game controller") or if available, in the corresponding program.
If you encounter a problem during operation (e.g. the device is not recognized), then connect the interface directly to
a free USB port of the computer and not to the port of a USB Hub (or use a USB hub with its own mains adapter).


