Page 8
Purging Brake Lines
For the hydraulic brake system to operate safely, the
brake system must be purged of air in the lines and
reservoir.
To bleed the air will require two people to perform the
following procedure.
1. Place a drain pan under the brake caliper to catch
the fluid.
2. Open the bleeder valve ½ turn counter
clockwise.
3. Squeeze the brake lever to expel air from the
system.
4. While holding the brake lever, close the
bleeder valve.
5. Repeat steps 2 through 4 until the brake fluid
coming from the bleeder valve is a solid
stream without any air, then close the valve
and replace rubber protection cap.
6. Test the brake system by squeezing the lever.
The lever should feel firm and stop without
fading.
Rear Brake System Inspection
Check the brakes for smooth operation. The
brake cable should move freely and apply the
brakes with minimal effort. If the cable sticks,
hangs up, or requires a larger amount of effort to
apply the brakes the cable may be damaged or
need lubricating.
Visually inspect the brake cable for any signs of
wear, fraying, kinking or corrosion. Replace any
worn, frayed, corroded or kinked cable. Lubricate
the brake cable with a commercial cable
lubricant available through your dealer.
Test the rear brake by applying pressure to
the brake lever. Try pushing the vehicle with
the brakes applied. If the rear wheel turns the
brakes may need to be adjusted or replaced.
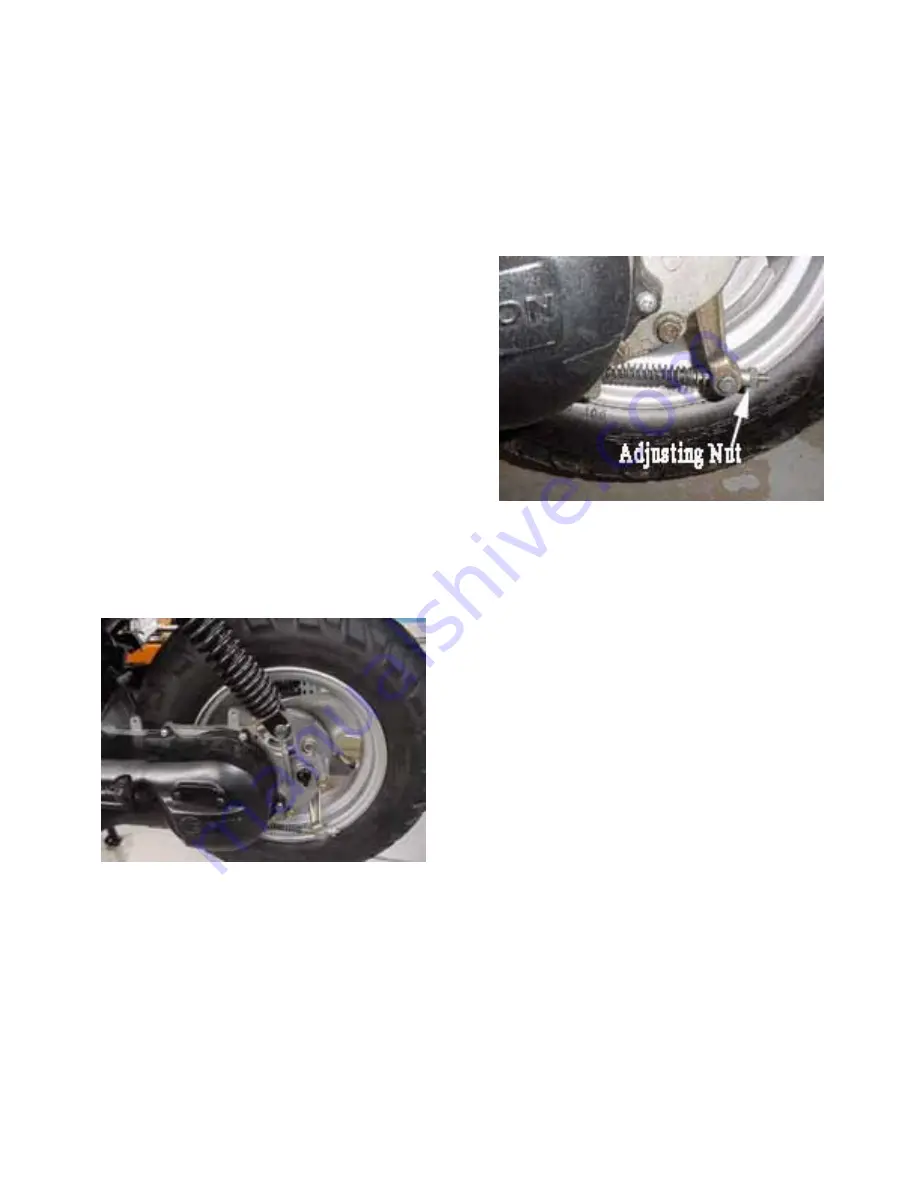
To adjust the rear brake, turn the adjusting
nut located on the brake arm on the rear
wheel. Adjust the nut so that the brake arm
engages when ever the rear brake lever is
squeezed. CAUTION: do not over tighten the
nut to the point that the brake shoes are in
constant contact with the brake drum.
Replace the brake cable and/or shoes when
there is insufficient adjustment left to apply
the brake completely.
Rear brake drum tolerances are:
Inner diameter of drum
Standard: 110mm / 4.330696”
Minimum: 110.5mm / 4.350381”
Brake Shoe Lining
Standard: 4.0mm / 0.1574798”
Minimum: 2.0mm / 0.07873992”
Summary of Contents for Beamer Scooter
Page 1: ...E TON Beamer Scooter OWNER S MANUAL...
Page 18: ...Page 17 Beamer Wiring Diagram...
Page 21: ...Page 20 Owner s Notes...
Page 22: ...Page 21 Owner s Notes...
Page 23: ...Page 22 Owner s Notes...
Page 24: ...Page 23...


