OPERATION AND SERVICE INFORMATION
Page 3
Owner’s Guide
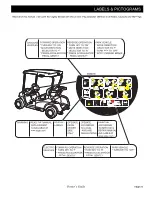
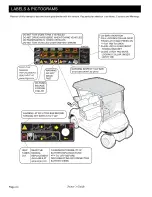
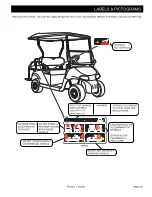
Read all of this manual to become thoroughly familiar with this vehicle. Pay particular attention to all Notes, Cautions and Warnings.
B
B
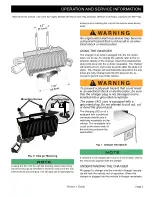
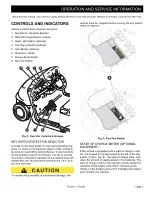
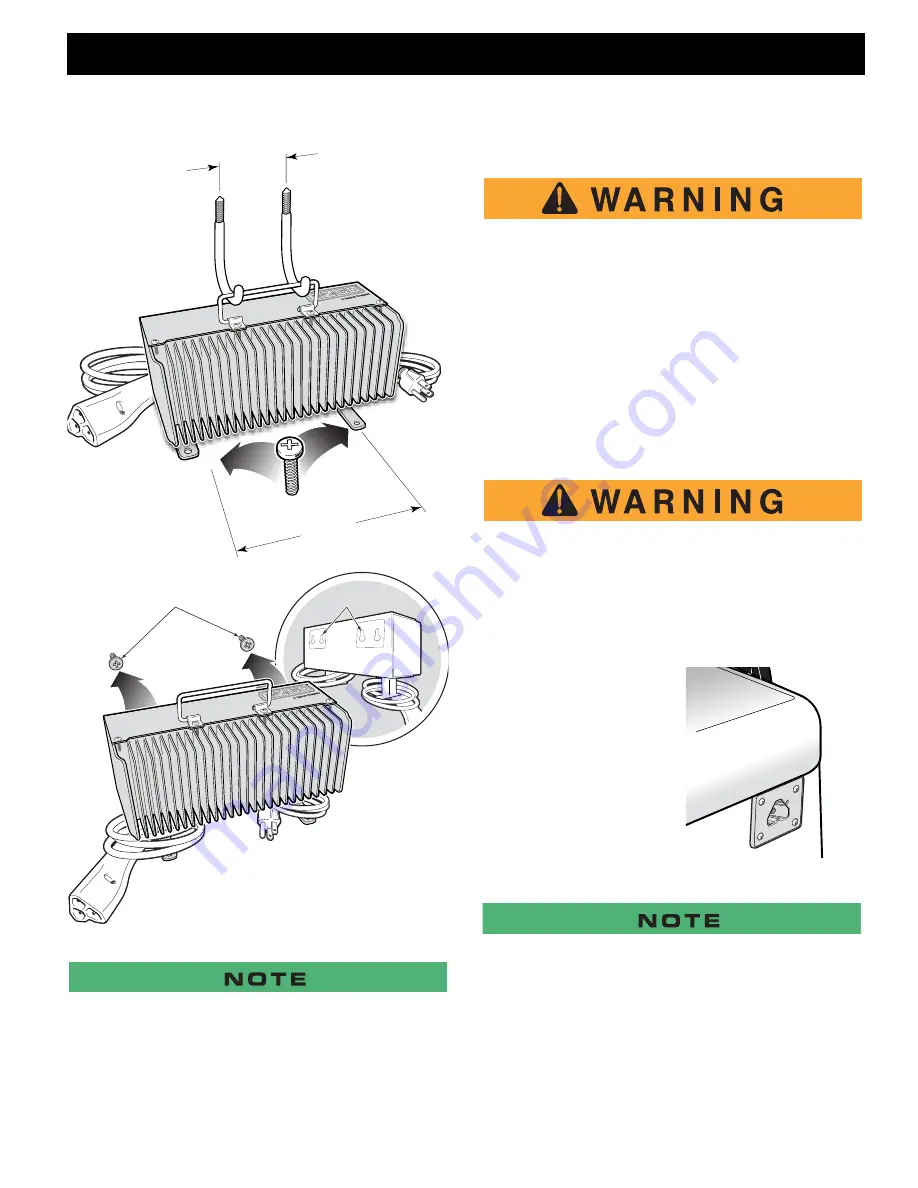
Fig. 6 Charger Mounting
Looping the DC cord through the steering wheel when charg-
ing serves as a good reminder to store the cord out of the way
when finished with charging. The DC plug can be damaged by
driving over or catching the cord on the vehicle when driving
away.
An ungrounded electrical device may become
a physical hazard that could result in an elec-
trical shock or electrocution.
USING THE CHARGER
The charger may remain plugged into the AC outlet
when not in use. To charge the vehicle refer to the in-
struction labels on the charger. Insert the polarized DC
plug completely into the vehicle receptacle. The charger
will automatically start a few seconds after the plug is in
place. The charger will automatically stop when the bat-
teries are fully charged and the DC plug can be re-
moved to permit use of the vehicle.
To prevent a physical hazard that could result
in an electrical shock or electrocution, be sure
that the charger plug is not damaged and is
inserted into a grounded receptacle.
The power (AC) cord is equipped with a
grounded plug. Do not attempt to pull out, cut
or bend the ground post.
The charging (DC) cord is
equipped with a polarized
connector that fits into a
matching receptacle on the
vehicle. The receptacle is lo-
cated on the driver side of
the vehicle just below the
seat bottom.
Fig. 7 Charger Receptacle
If vehicle is to be charged with a non E-Z-GO charger, refer to
the instructions supplied with the charger.
UNDERSTANDING THE CHARGER
Plugging the charger into the vehicle’s charger recepta-
cle will lock the vehicle out of operation. When the
charger is plugged into the vehicle’s charger receptacle,
7.25"
(18.5cm)
3.2"
(8.1cm)
Mounting Slots
Mounting Screws
Summary of Contents for RXV Fleet Freedom Shuttle 2+2
Page 47: ...Page 27 Owner s Guide GENERAL SPECIFICATIONS GENERAL SPECIFICATIONS...
Page 55: ...Page 35 Owner s Guide WARRANTY LIMITED WARRANTIES...
Page 57: ...Page 37 Owner s Guide DECLARATION OF CONFORMITY DECLARATION OF CONFORMITY EUROPE ONLY...
Page 60: ...Page 40 Owner s Guide DECLARATION OF CONFORMITY...
Page 107: ...Seite 27 ALLGEMEINE TECHNISCHE DATEN ALLGEMEINE TECHNISCHE DATEN Betriebsanleitung...
Page 115: ...Seite 35 GARANTIE Betriebsanleitung BEGRENZTE GEW HRLEISTUNG...
Page 117: ...Seite 37 KONFORMIT TSERKL RUNG Betriebsanleitung KONFORMIT TSERKL RUNG NUR EUROPA...
Page 120: ...Seite 40 KONFORMIT TSERKL RUNG Betriebsanleitung...

