


1.When you fix the location to hang the hood, use 3pcs screw
ST5*45 and 3pcs plastic screw to fix the bracket for hood on the
wall.
2.Unscrew the 4pcs M4*10 screw on top and use them to fix the
air outlet base on the air system top.
3. Fix the flexible pipe on the air outlet with tape and plastic
strap.
4.Hang the hood on the bracket.
5. Put the first chimney on the hood and fix the chimney on the
wall with 2pcs screw ST2.9*14 and 2pcs plastic screw
φ
7*27mm.
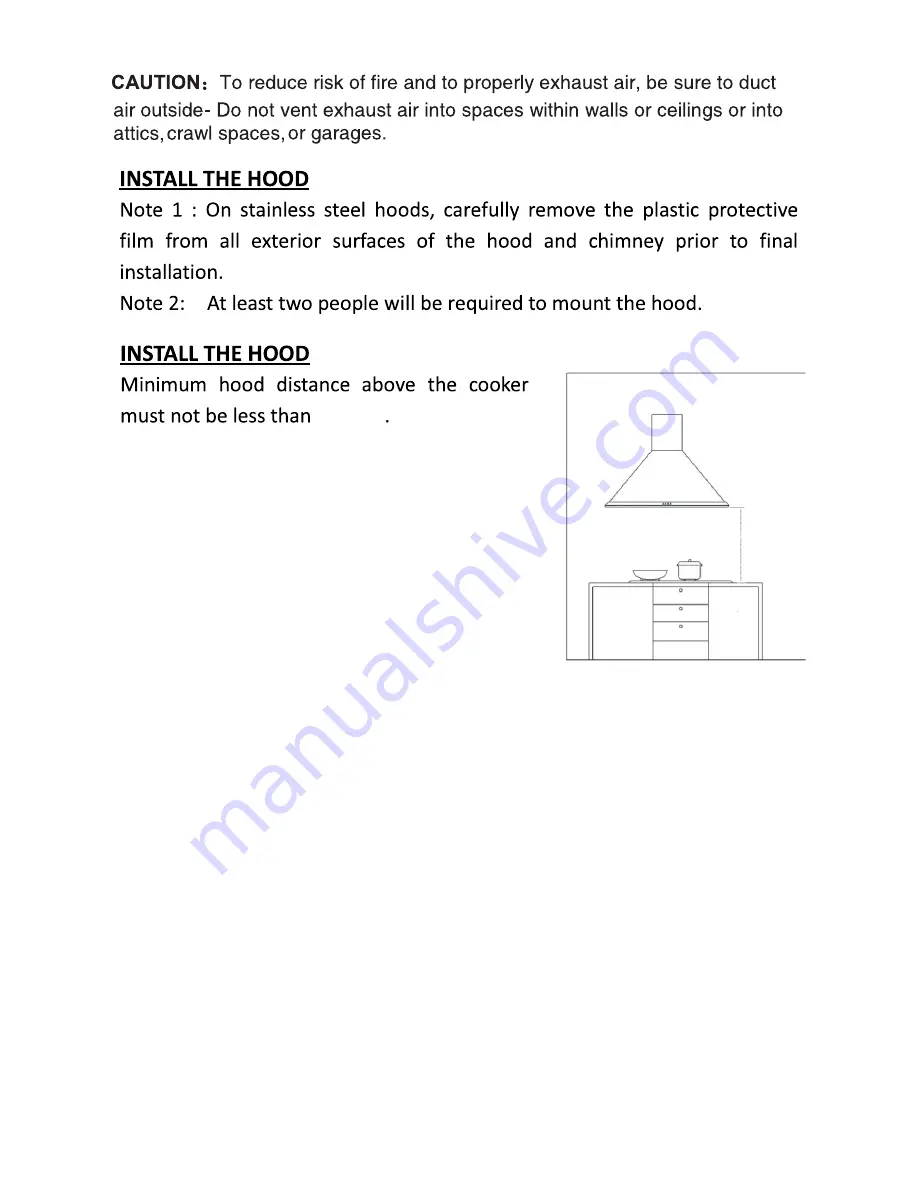
25 1/2’’
min 25 1/2’’
Summary of Contents for UG15-76A
Page 1: ...RANGE HOOD INSTRUCTION MANUAL ...
Page 2: ......


