Helicopter
Specifications
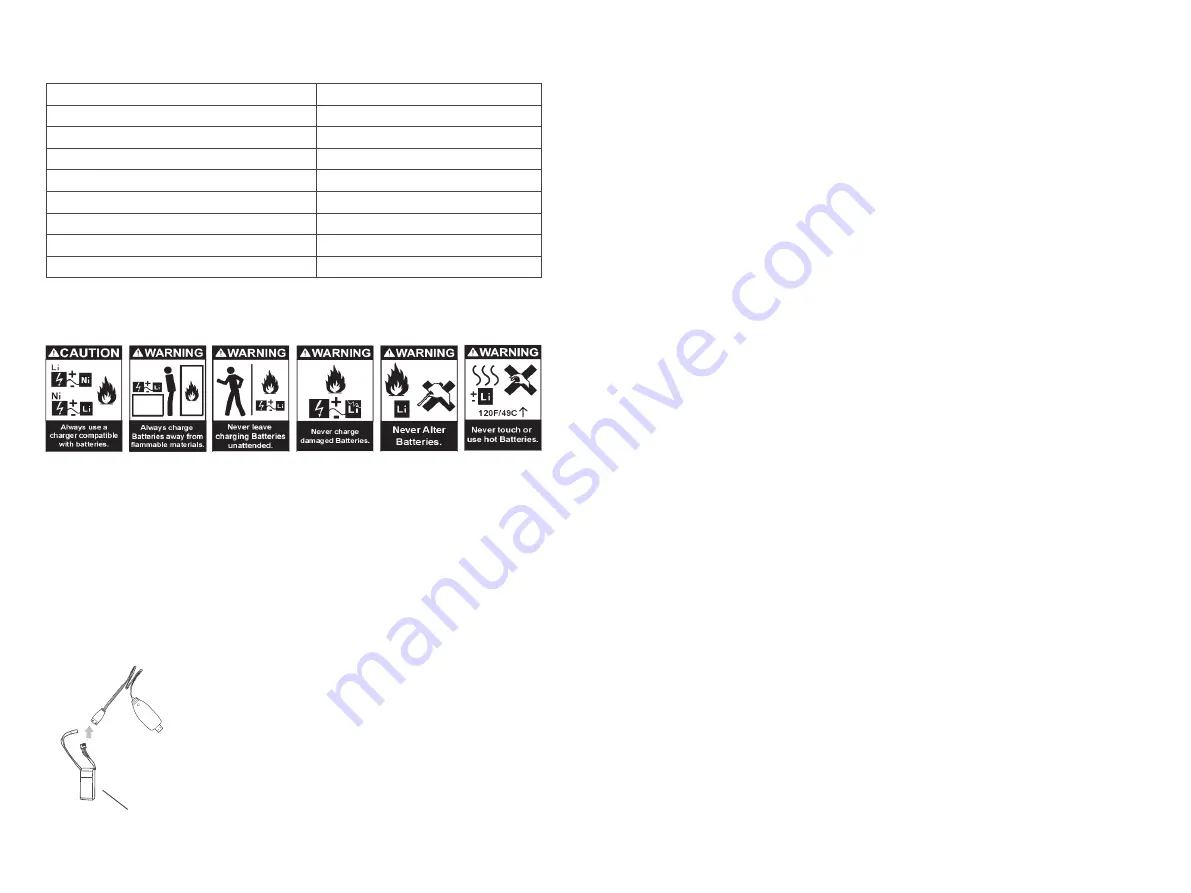
Warning and Guid
ance on
Battery Usage
Notice Before Flight
Length
Height
Weight
Length of Main
Roto
r
Diameter of Tail
Rotor
Battery Specification
Flight Time
Brushless
Main Motor
Brushless Tail Motor
330 mm
105mm
181g
355 mm
56mm
11.1v 500mAh 30C
7-9 Min
2507
1103
1.
Ensure the batteries for both the
TX
and helicopter are fully charged.
2.
Before turn
ing
on the TX, please make sure the throttle control is at the lowest
position and the TH.HOLD and 3D mode switches are in the back position
(back cover direction).
3.
Make sure the TX has paired with
the
helicopter. If not or please carry out the
pairing process.
4.
Please turn on the TX first, then connect the battery to the helicopter and wait
until it
is
paired with
the
TX. When
switching
off, please unplug the power from
the
helicopter first and then turn off the TX.
5.
Keep away from people,
cars, high-tension power lines and water sources such
as ponds, lakes, rivers etc.
Pairing
With Transmitter
If you have the RTF package, the helicopter ia already paired
at
the factory.
However, if you need to pair again, please follow the following steps.
1.
First turn on the transmitter and make sure the throttle stick is at the bottom
position
and
3D IDLE switch is in the OFF position.
2.
Remove the canopy
for access.
3.
Apply power to the helicopter, the red led flashes slowly
.
P
ress the
bind
button
for 1 second, then the red lamp will go out and get ready for pairing.
4.
When the red and blue lights turn on solid, the pairing
is
successful.
5.
While carrying out the pairing, ensure there are no other transmitters are
operating nearby to avoid unintended pairing.
Tips: This product is compatible with all FUTABA 2.4GHZ S-FHSS transmitter.
WARNING
:
It is highly recommended to use the supplied charger to charge the
battery.
Notice
:
When the battery voltage is lower than 11.1V, the lithium battery may be
damaged, and may no longer
be
correctly charged. When the battery voltage is
lower than 11.1V during a flight, the main ESC drops the head speed significantly.
Please land immediately and charge the battery as soon as possible.
Battery Charging
Warning
1.
For maximum safety, please monitor the battery while charging.
2.
Please do not allow children to carry out the charging by themselves but ensure
adult supervision
is available
at all times.
3.
Please use the original standard charger of this product for charging. The use of
unknown charger may pose risks of fire and explosion.
4.
If available, it is recommended that users use
a quality
Lipo
charger (
3s @2A
)
in
lieu of
using the USB charger. This helps to charge the battery at a faster rate.
11.1v 500mAh
-4-
1.
To charge the battery, please connect the charger USB plug
into a USB
power bank
or to a USB port of a computer
or a
power adaptor
. If no battery is connected, the USB charger
red
light will flash.
2.
Once the battery is plugged into the USB charger, the
charger's red light is lit to indicate the charging is in
progress.
3.
When the battery is fully charged, the USB red light will stay
off.
-
3-
Summary of Contents for E150
Page 1: ...User Manual E150...


