8
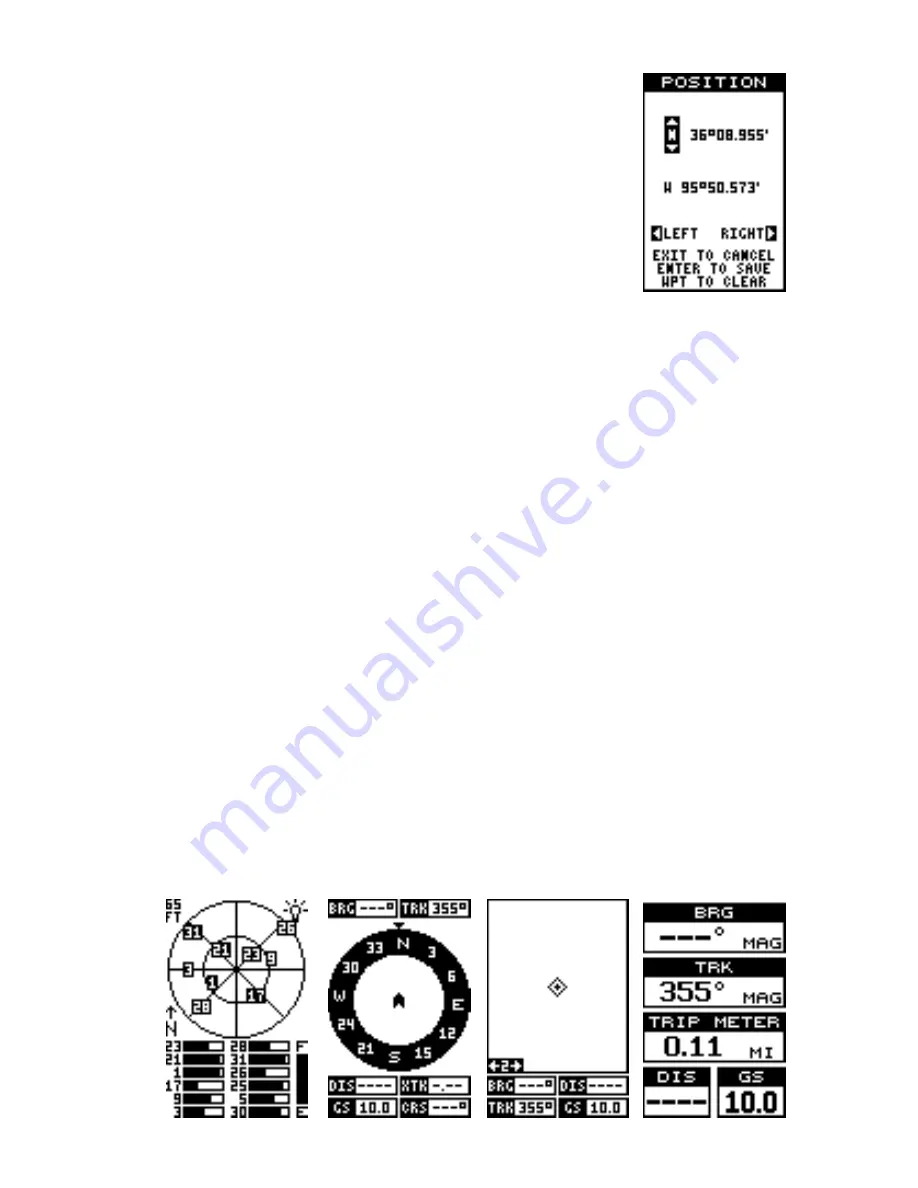
The unit returns to the full initialization screen.
Repeat this for each of the other settings until they’re
correct for your location and time. Note: The position
doesn’t have to be very accurate. If you enter a posi-
tion within one degree of your actual location, the unit
will be able to acquire the proper satellites.
Press the EXIT key to erase the full initialization menu.
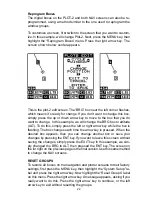
The unit will use the data you entered to find the satel-
lites that are currently in view. The receiver should lock onto them and
show a position within a few minutes.
Position Acquisition
When the receiver locks onto and calculates a position, it shows the mes-
sage “Position Acquired” on the screen. All position and navigation data
flashes until the unit acquires a position.
Do not rely on any data that is
flashing!
When the numbers are flashing, they represent the last known
values when the unit lost it’s lock on the satellites.
(Note: The altitude data may still flash even if the unit shows a “Position
Acquired” message and all other data is not flashing. The unit must be
locked onto at least four satellites to determine altitude. It only takes three
satellites to determine position. You can navigate with this unit if the alti-
tude is flashing, simply ignore the altitude display until it quits flashing.)
REMEMBER, DO NOT NAVIGATE WITH THIS UNIT UNTIL THE
NUMBERS STOP FLASHING!
POSITION/NAVIGATION SCREENS
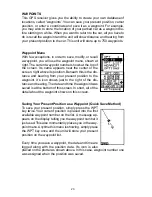
This unit has four modes: status, plotter, navigation, and window groups.
Use the PAGES and arrow keys to switch between the different screens.
The four screens that show by default are shown below.
STATUS
NAVIGATION
PLOTTER
WINDOWS
Summary of Contents for Expedition II
Page 1: ...INSTALLATION AND OPERATION INSTRUCTIONS Expedition II TM...
Page 60: ...56...


