38
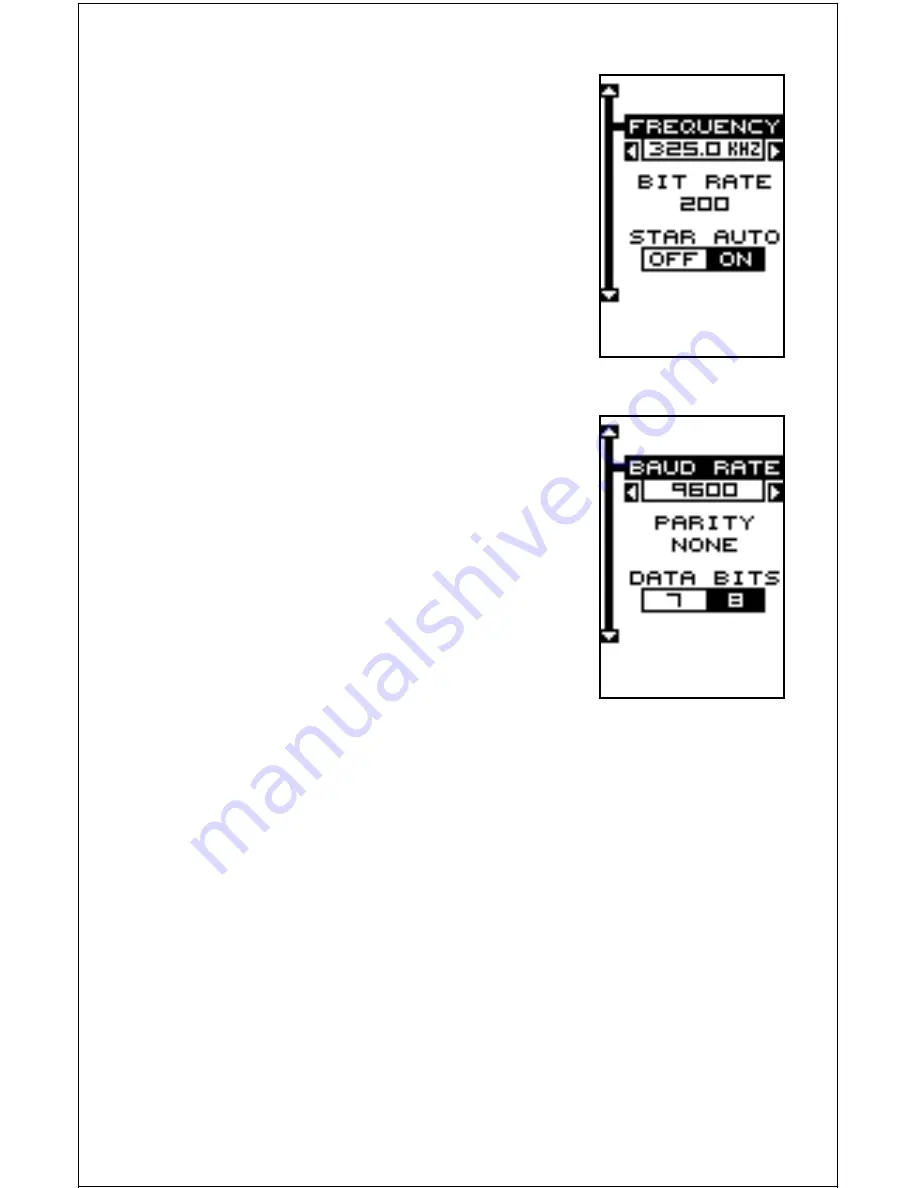
These menus select the beacon receiver’s fre-
quency and bit rate (in bits per second). If you
are using a Starlink receiver, turning the auto
mode on causes the Explorer to auto-detect the
frequency and bit rate.
To change one of these settings, simply highlight
the menu item you wish to change, then press
the right or left arrow key until the desired num-
ber appears. Press the EXIT key when you’re fin-
ished.
SERIAL COMMUNICATIONS SETUP
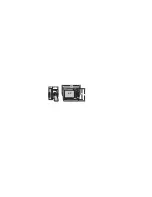
To set the data port, move the black box to the
“Com Port Setup” on the System Setup menu.
Press the right arrow key. The screen shown at
right appears.
Check your DGPS receiver’s manual for the proper
data settings. Highlight the menu item you need
to change. Press the left or right arrow keys to
change them. The serial port defaults are 4800
baud, no parity, and 8 data bits. Press the EXIT
key to erase this menu.
RESET OPTIONS
To return the Eagle Explorer to its original factory
settings, highlight the “Preset Options” menu on the System Setup screen.
Now press the right arrow key. A message appears, asking if you want to
restore the original options. Press the right arrow key if you do, the left
arrow key to quit.
If you restore the unit to the factory settings, all options such as contrast,
alarms, and other system choices are returned to their default values.
However, no waypoints, routes, or icons are erased.
RESET GROUPS
To return all groups on the navigation and plot-2 screens to their factory
defaults, highlight the “RESET GROUPS” label on the “System Setup”
menu. Finally, press the right arrow key. All digital boxes on these screens
are reset to their factory settings.


