


24
The Fish ID feature can’t be used when the unit is in the manual mode. If
you turn the automatic feature off, the Fish ID feature will automatically be
turned off, also.
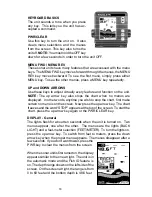
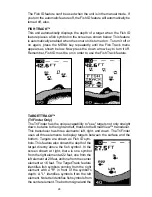
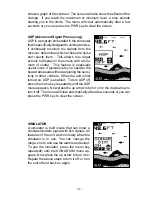
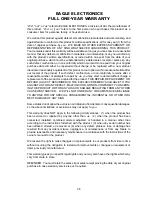
FISH TRACK™
This unit automatically displays the depth of a target when the Fish ID
feature places a fish symbol on the screen as shown below. This feature
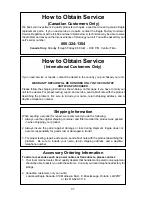
is automatically enabled when the sonar unit is turned on. To turn it off or
on again, press the MENU key repeatedly until the Fish Track menu
appears as shown below. Now press the down arrow key to turn it off.
Remember, Fish ID must be on in order to use the Fish Track feature.
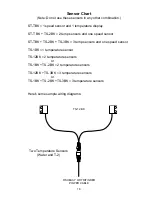
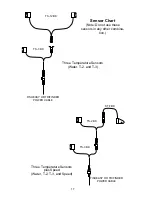
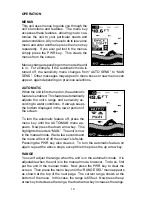
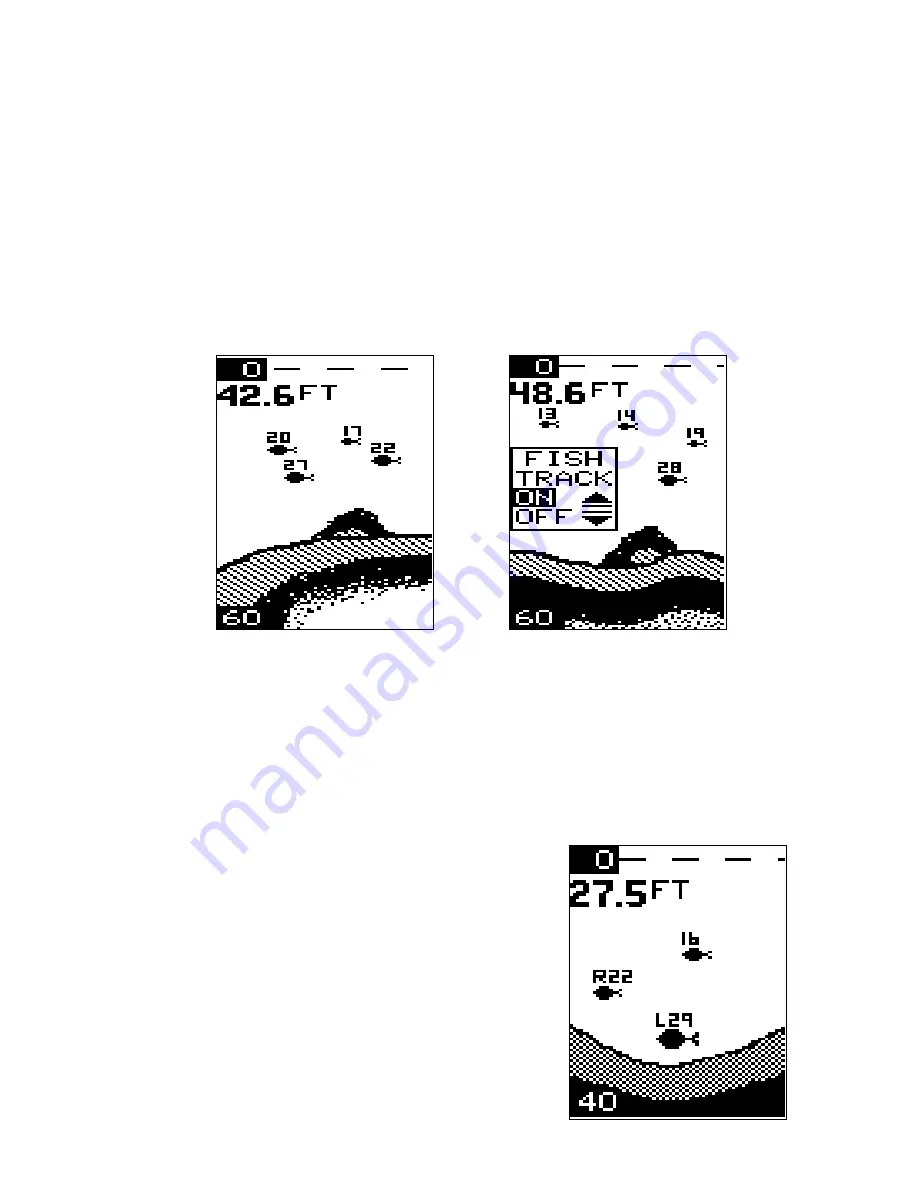
TARGETTRACK™
(TriFinder Only)
The TriFinder has the unique capability to "see" targets not only straight
down, but also to the right and left, thanks to the BroadView™ transducer.
This transducer has three elements: left, right, and down. The TriFinder
uses all three elements to display targets between the surface and the
bottom. Targets are shown as Fish ID sym-
bols. This feature also shows the depth of the
target directly above the fish symbol. In the
screen shown at right, there is one symbol
from the right element at 22 feet, one from the
left element at 29 feet, and one from the center
element at 16 feet. The TargetTrack feature
identifies fish symbols coming from the right
element with a "R" in front of the symbol's
depth. A "L" identifies symbols from the left
element. No letter identifies fish symbols from
the center element. The bottom signal and the


