60
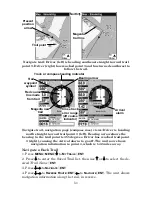
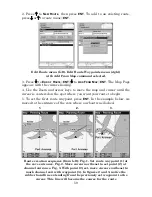
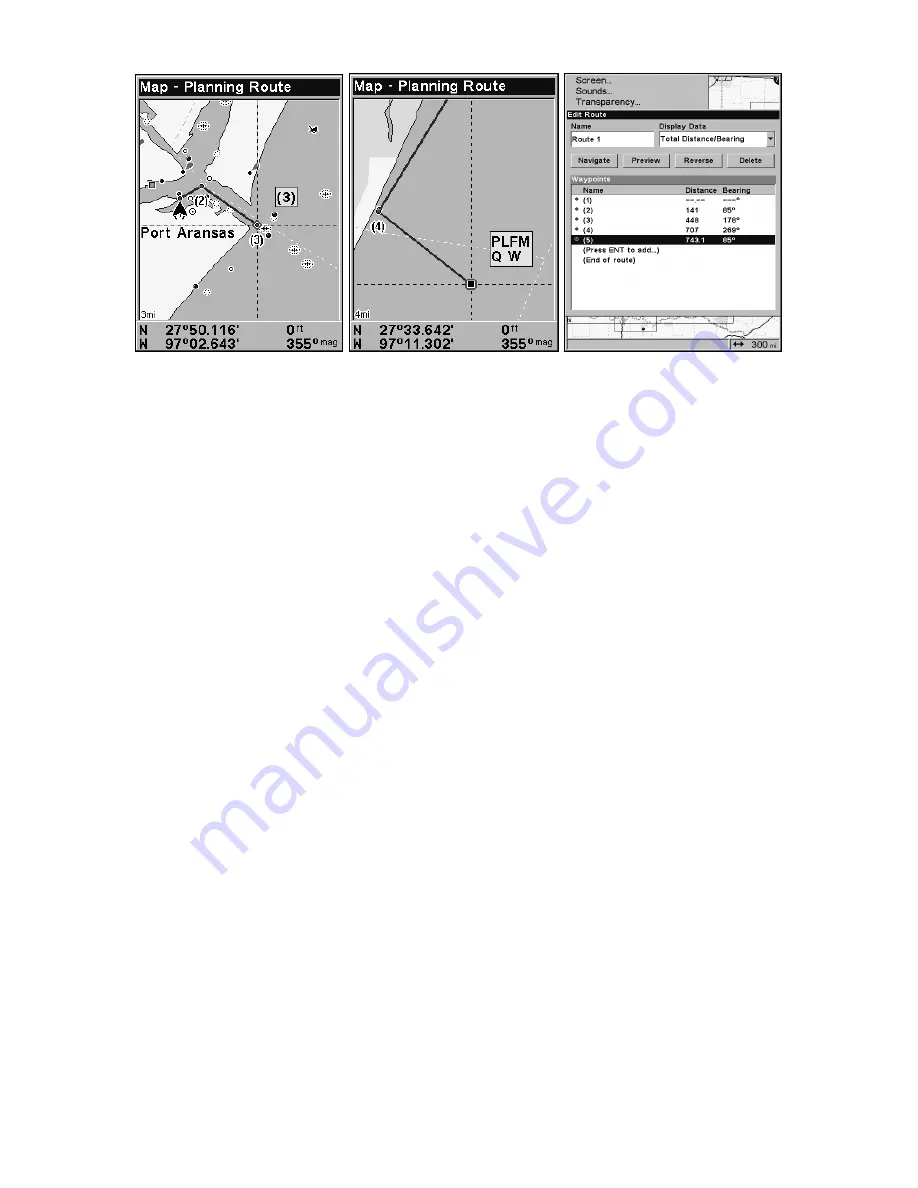
Route creation sequence, continued: Fig. 4. Point (3) set at channel mouth.
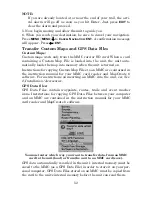
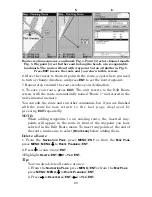
Fig. 5. Waypoint (4) set further south along the beach, at a recognizable
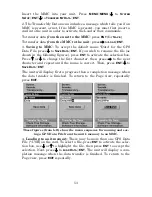
landmark. The route will end with waypoint 5 at an oil platform. Fig. 6.
Press
EXIT
to save the route and you return to this screen.
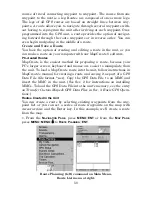
6. Move the cursor to the next point in the route, a spot where you need
to turn or change direction, and press
ENT
to set the next waypoint.
7. Repeat step six until the route reaches your destination.
8. To save your route, press
EXIT
. The unit reverts to the Edit Route
screen, with the route automatically named "Route 1" and stored in the
unit's internal memory.
You can edit the route and run other commands, but if you are finished
with the route for now, r e t u r n t o t h e l a s t p a g e d i s p l a y e d b y
p r e s s i n g
EXIT
repeatedly.
NOTE:
When adding waypoints to an existing route, the inserted way-
points will appear in the route in front of the waypoint you have
selected in the Edit Route menu. To insert waypoints at the end of
the route, make sure to select
(R
OUTE END
)
before adding them.
Delete a Route
1. From the
N
AVIGATION
P
AGE
, press
MENU
|
ENT
or from the
M
AP
P
AGE
press
MENU
|
MENU
|
↓
to
R
OUTE
P
LANNING
|
ENT
.
2. Press
↓
to
route name
|
ENT
.
3.Highlight
D
ELETE
|
ENT
|
←
to
Y
ES
|
ENT
.
Tip:
You can also delete all routes at once:
1. From the
N
AVIGATION
P
AGE
, press
MENU
|
ENT
or from the
M
AP
P
AGE
press
MENU
|
MENU
|
↓
to
R
OUTE
P
LANNING
|
ENT
.
2. Press
→
to
D
ELETE
A
LL
|
ENT
|
←
to
Y
ES
|
ENT
.
5.
6.
4.
Summary of Contents for IntelliMap 640C
Page 16: ...10 Notes ...
Page 28: ...22 Notes ...
Page 74: ...68 Notes ...
Page 120: ...114 Notes ...
Page 126: ...120 Notes ...
Page 127: ...121 Notes ...
Page 128: ...122 Notes ...
Page 129: ...123 Notes ...
Page 130: ...124 Notes ...


