39
returns to the route list with the waypoint removed from
the list. (Note: This doesn’t delete the waypoint from
the database, it simply removes it from the route.)
Waypoint Statistics
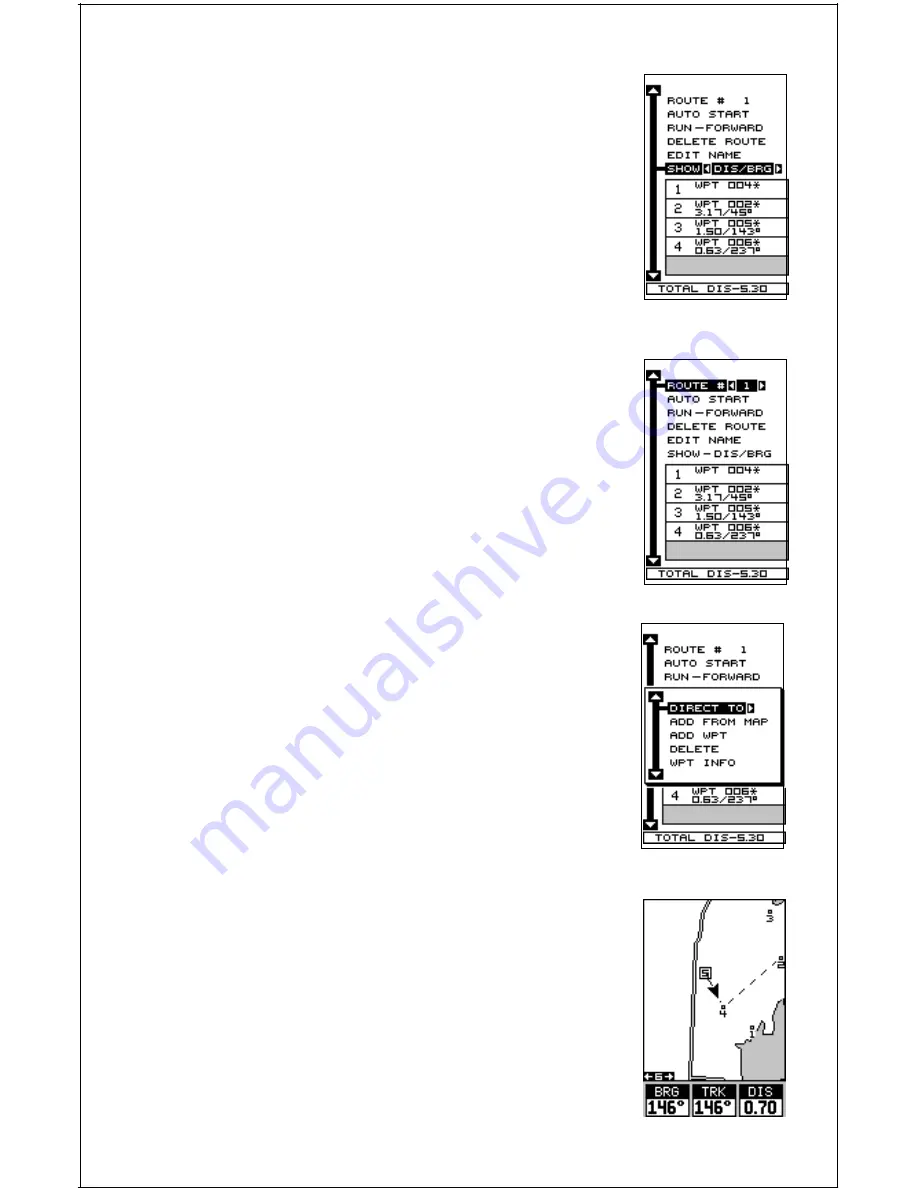
By default, this unit shows the distance and bearing
from each waypoint in the route to the next. It will also
show estimated time en route (ETE), estimated time of
arrival (ETA), or the waypoint names (NAMES). To view
the different statistics, highlight the “SHOW-DIS/BRG”
label, then press the left or right arrow key until the
desired statistic appears.
Following a Route - Direct To Method
Before starting the route, you’ll need to decide if you
want to start at the first waypoint and travel forward to
the last waypoint or start at the last waypoint in the
route and travel backwards (reverse) to the first way-
point. The default is forward. You can also start at the
closest waypoint to your position, then travel forward
or reverse through the route using the “AUTO START”
feature.
To follow a route, first select the route number that you
wish to follow by highlighting the “Route #” label, and
pressing the left or right arrow keys until the desired
route number appears. In this example we’re using
route number one. To run the route from the last way-
point to the first, highlight the “RUN” label and press
the right arrow key to change it from forward to re-
verse.
Now highlight the first waypoint in the route that you
wish to start with and press the right arrow key. (The
first waypoint in the route is used in this example.) The
screen shown above right appears. Now select “DI-
RECT TO” and press the right arrow key.
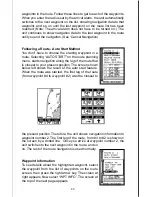
The unit returns to the last used navigation, mapping,
or windows screen. In this example, map screen 2 was
in use. A box with the “S” inside represents your loca-
tion when you started the route. A dotted line shows
from your starting position to the waypoint. A dashed
line extends from this waypoint to each of the other

