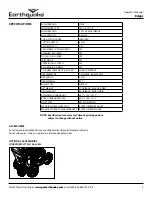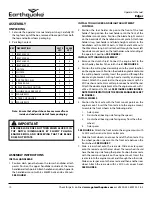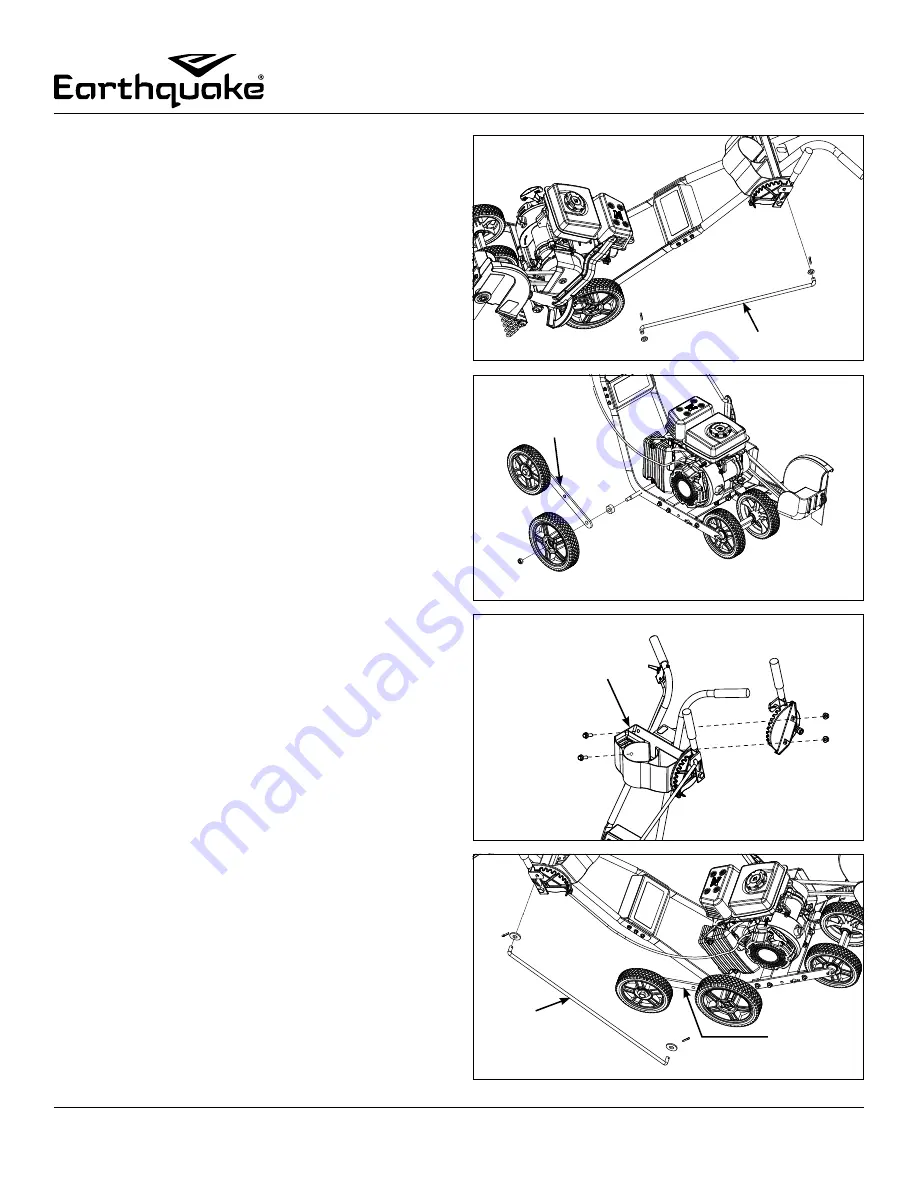
INSTALL CONTROL ROD
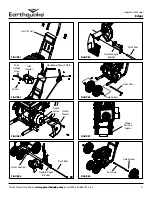
8. Insert the control rod into the cutting head assembly so that
the hole for the cotter pin is on the outside of the cutting head
assembly facing away from the engine. Insert the other end
of the control rod into the height adjustment handle. Attach
both ends of the control rod with 2 x M10 washers and 2 x
2mm cotter pins.
SEE FIGURE 9.
INSTALL CURB WHEEL ASSEMBLY (OPTIONAL)
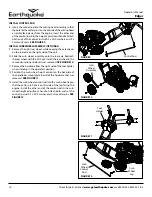
9. Remove the right rear wheel, while keeping the axle spacer
on the rear axle on the right side of the unit.
10. Slide the curb wheel assembly onto the rear axle. Reattach
the rear wheel with the M10 nut. Install the rear wheel in the
same orientation as before it was removed.
SEE FIGURE 10.
11. Remove the hardware from the right side of the tool holder,
when standing in the operator’s position.
12. Position the curb wheel height control on the backside of
the handlebar mount plate. Reinstall the hardware that was
removed.
SEE FIGURE 11.
13. Install the curb wheel control rod into the curb wheel leg so
that the cotter pin hole is on the side of the leg facing the
engine. Install the other end of the control rod in the curb
wheel height adjustment handle. Attach both ends of the
control rod with 2 x M10 washer and 2mm cotter pins.
SEE
FIGURE 12.
FIGURE 9
FIGURE 10
FIGURE 11
FIGURE 12
Control Rod
Curb
Wheel
Assembly
Tool
Holder
Curb
Wheel
Control
Rod
Curb
Wheel
Leg
Operator’s Manual
Edger
12
Check for parts online at
www.getearthquake.com
or call 800-345-6007 M-F 8-5


