Chapter 2
— Getting Started
•
Use a clean, dry, cloth to remove dust, smudges, or fingerprints.
Wipe from the center outward.
•
Do not write on the surface of the disc.
•
Extremes in temperature may damage discs. Store discs in a
cool dry place.
•
Do not use benzene, thinners, or cleaners with detergent. Only
use COMBO/DVD-DUAL cleaning kits.
•
Do not bend or drop the discs.
•
Do not place objects on top of discs.
Warning:
Do not insert any
foreign objects into the
disc tray. Do not force
the tray to open or close
manually. When not in use,
keep the tray closed to
prevent dust or dirt from
entering the drive unit.
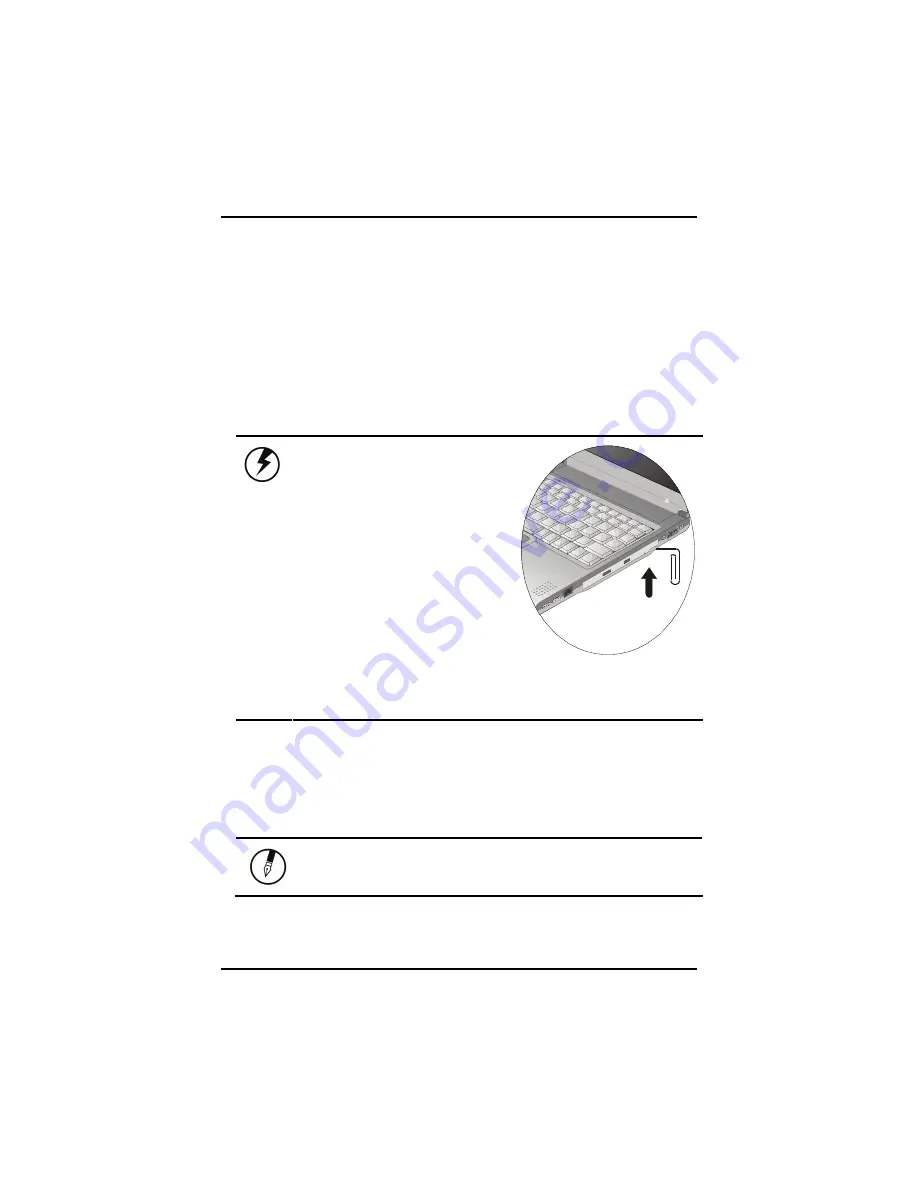
If you experience
difficulty when removing a
CD disc, stretch a paper
clip (or use a pin or a
thin metal rod) and insert
it into the emergency
eject hole located on the
front panel:
The CD disk tray should eject immediately. This
procedure can also be used to remove a CD from the
drive when the notebook is powered off.
Connecting the Printer
To connect a printer to your notebook via the USB port, use the supplied
USB to printer adapter cable.
Note:
Before use, you must install the driver for
the adapter cable.
26
Summary of Contents for eBuddy 8.5
Page 5: ...C Ch ha ap pt te er r 1 1 I In nt tr ro od du uc ct ti io on n ...
Page 18: ...Chapter 1 Introduction 14 ...
Page 19: ...C Ch ha ap pt te er r 2 2 G Ge et tt ti in ng g S St ta ar rt te ed d ...
Page 37: ...Getting Started Information about the Wireless LAN button 33 ...
Page 38: ...C Ch ha ap pt te er r 3 3 M Ma ak ki in ng g C Co on nn ne ec ct ti io on ns s ...
Page 42: ...C Ch ha ap pt te er r 4 4 S Sy ys st te em m S So of ft tw wa ar re e ...
Page 44: ...C Ch ha ap pt te er r 5 5 P Po ow we er r M Ma an na ag ge em me en nt t ...
Page 51: ...Chapter 5 Power Management 48 ...
Page 61: ...Chapter 6 Using the BIOS Setup Utility 58 ...
Page 66: ...A Ap pp pe en nd di ix x B B S St ta at te em me en nt ts s ...

