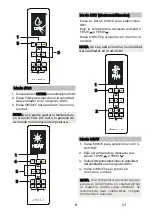

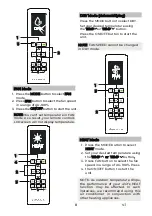
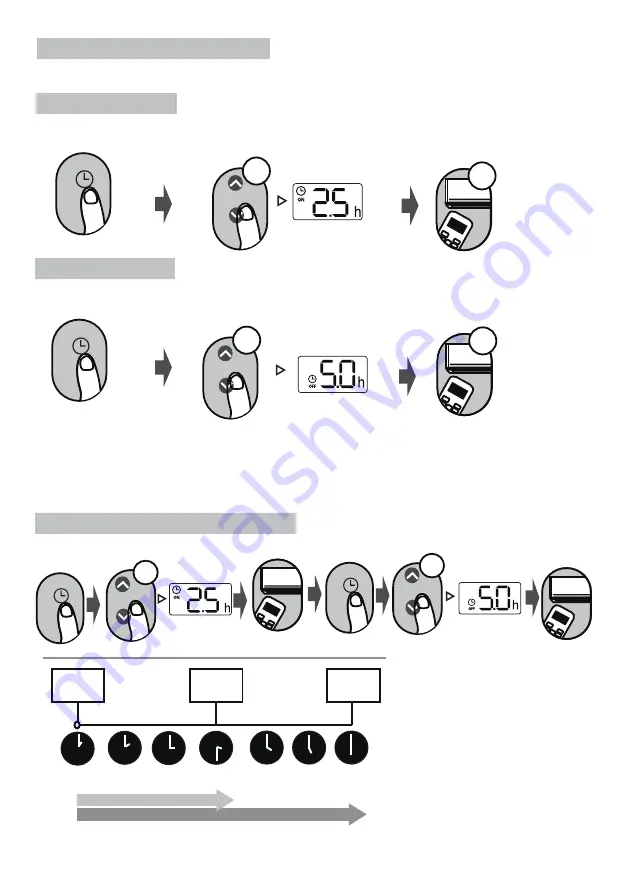
Setting the TIMER
TIMER ON setting
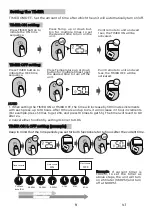
TIMER OFF setting
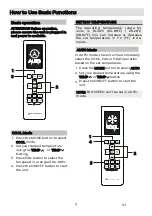
TIMER ON/OFF - Set the amount of time after which the unit will automatically turn on/off.
Press TIMER button to
initiate the ON time
sequence.
Press Temp. up or down but-
ton for multiple times to set
the desired time to turn on the
unit.
Press Temperature up or down
button for multiple times to set
the desired time to turn off the
unit.
NOTE:
Point remote to unit and wait
1 sec, the TIMER ON will be
activated.
Press TIMER button to
initiate the OFF time
sequence.
Point remote to unit and wait
1sec, the TIMER OFF will be
activated.
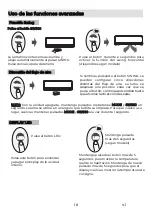
Current
time 1PM
2:00PM
3:00PM
4PM
5PM
6PM
Timer starts
Unit turns
ON
Unit turns
OFF
2.5 hours later
5 hours later
3:30PM
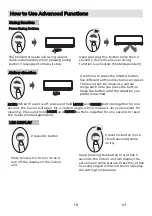
Example: If current timer is
1:00PM, to set the timer as
above steps, the unit will turn
on 2.5h later (3:30PM) and turn
off at 6:00PM.
ON/
OFF
MO
DE
FAN
CU
SH
OTRT
TIMER N
TIMER O
O
FF
TEMP
SLEEP
1
sec
ON/OFF
MODE
FAN
OR
SHCUTT
TI
M
MER ON
TIER OFF
TEMP
SLEEP
ON/OFF
MODE
FAN
CUOR
SHTT
TI
M
MER ON
TIER OFF
TEMP
SLEEP
ON/
OFF
MO
DE
FAN
CU
SH
OTRT
TIMER N
TIMER O
O
FF
TEMP
SLEEP
1
sec
x5
x10
xn
xn
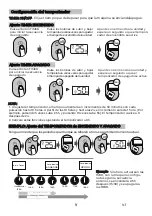
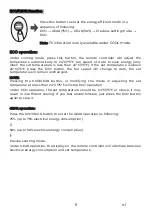
1. When setting the TIMER ON or TIMER OFF, the time will increase by 30 minutes increments
with each press, up to 10 hours. After 10 hours and up to 24, it will increase in 1 hour increments.
(For example, press 5 times to get 2.5h, and press 10 times to get 5h,) The timer will revert to 0.0
after 24.
2. Cancel either function by setting its timer to 0.0h.
TIMER ON & OFF setting (example)
Keep in mind that the time periods you set for both functions refer to hours after the current time.
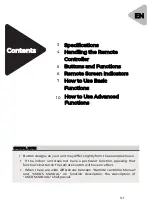
9
V.1


