29
Where
E
block gauge dimension
d
2
normal pitch diameter
P
workpiece pitch
/2
workpiece tooth radius
a + b
measuring block dimension
(marked
on
the
non-working
surface)
d
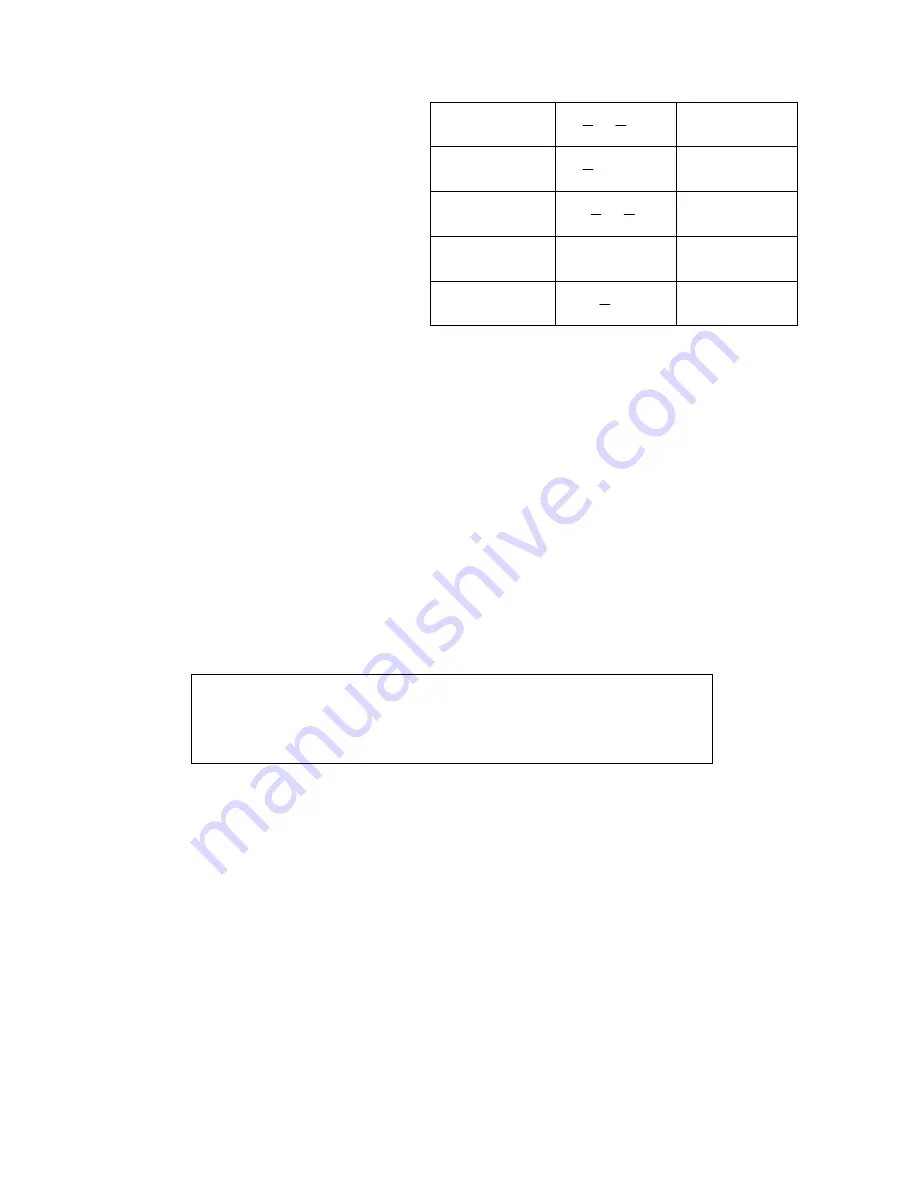
the recommended diameter for rob according to the right table.
The recommended table for the rob is not applied to the stop gauge with tooth cut
short. If other kind of rob needed, please contact with the manufacturer for special
requirements.
Before measuring, it is needed to calculate the dimension (E) for underlay between
the measuring blocks:
E = d
2
- P/2
Ctg(
/2) - (a + b)
+ P
2
/{8
[d
2
+ P/2
Ctg(
/2) - d/Sin(
/2)]}
Measuring steps for internal pitch meter:
a)
Combined Standard Sample:
According to normal pitch diameter, calculate the dimension (E) for underlay with the
above formula. For a standard sample, it is only needed to round to 0.1mm (normally, “E”
is not a integral number), and the difference value is considered as E
For example
for measuring a thread ring gauge M52
1f T
, the measuring block
dimension is M52
1f T
and the rob diameter is 0.8mm.
2
2.5
8
5
4
3
1.35
3
3.35
8
7
1
1.8
4
4.5
1
8
1
2
1
2.3
5
3.1
1
2
1
3.75
Summary of Contents for EX-100
Page 4: ...3 Fig 3...


