Record & Disk Management
NVR User Manual
52
7.4.2 Timing Recording
Timing Recording
: the system will record automatically according to the schedule.
Set the timing record schedule of each camera. See 7.3 Schedule Setting for details.
7.4.3 Motion Based Recording
Motion Based Recording
: the system will start motion based recording when the motion
object appears in the setup schedule. The setup steps are as follows:
①
Set the motion based recording schedule of each camera. See 7.3 Schedule Setting for
details.
②
Enable the motion and set the motion area of each camera. See 9.2.1 Motion
Configuration for details.
The camera will start motion based recording once you finish the above settings.
7.4.4 Sensor Based Recording
①
Set the sensor based recording schedule of each camera. See 7.3 Schedule Setting for
details.
②
Set the NO/NC type of the sensor, enable the sensor alarm and then check and configure
the “Record”. See 9.1 Sensor Alarm for details.
7.5 Disk Management
Click Start
Settings
Disk
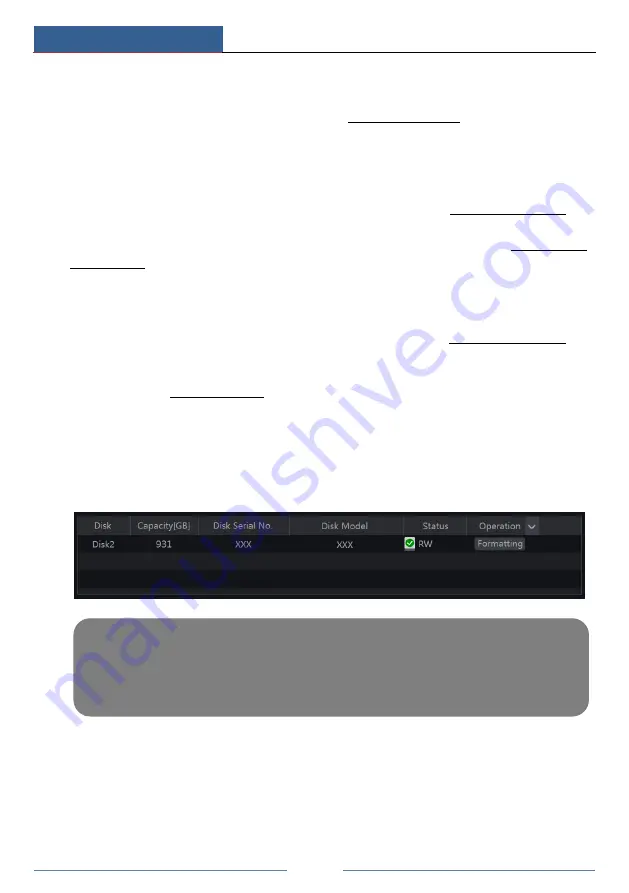
Disk Management to go to disk management interface. You can
view the NVR’s disk number and disk status and so on in the interface. Click “Formatting”
button to format the HDD.
7.5.1 Storage Mode Configuration
Click Start
Settings
Disk
Storage Mode to go to the interface as shown below.
Note: 1. The new HDD should be formatted for normal use.
2. For normal use of the HDD which has been used in other NVR, if the NVR is of the same
model with the new NVR, please import the configuration file of the NVR to the new NVR or
format the HDD; if the models of the two NVRs are different, please format the HDD.
Summary of Contents for 23SE-S
Page 22: ...Wizard Main Interface NVR User Manual 17...
Page 59: ...Record Disk Management NVR User Manual 54...
Page 108: ...FAQ NVR User Manual 103 Fig 11 1 Fig 11 2...
Page 111: ...450011000729 A4...


