4
VALVE INSTALLATION
NOTE: Pipe dope and Teflon tape are not required for the valve threads. The valve
is normally installed at the faucet that is furthest away from the hot water heater.
If there are separate hot water branches in the residence, additional valves may be
required.
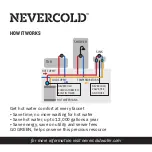
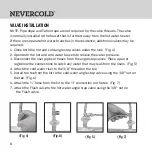
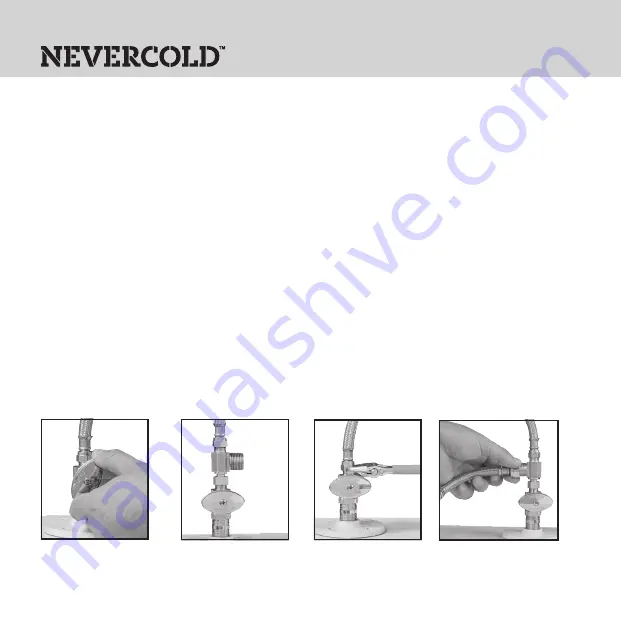
1. Close both the hot and cold angle stop valves under the sink. (Fig. 4)
2. Open both the hot and cold water faucets to relieve the water pressure.
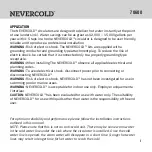
3. Disconnect the riser pipes or hoses from the angle stop valves. Place a pan or
rag below the connections to catch any water that may leak from the risers. (Fig. 5)
4. Attach the cold water riser to the 3/8" thread on the tee.
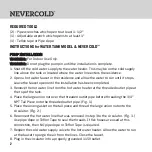
5. Install the tee from the kit to the cold water angle stop valve using the 3/8" nut on
the tee. (Fig. 6)
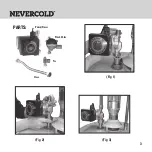
6. Attach the ½" hose from the kit to the ½" connection on the tee. (Fig. 7)
7. Attach the Flash valve to the hot water angle stop valve using the 3/8" nut on
the Flash valve.
(Fig. 4)
(Fig. 5)
(Fig. 6)
(Fig. 7)


