background image

6


Eastwood Technical Assistance: 800.544.5118  >>  techelp@eastwood.com

5 .

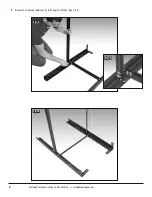
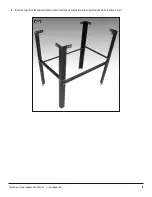
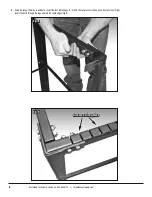
  Using the large 10mm nuts and bolts, install the four table edges (D, E) with the cut grooves in the up and inner position (Fig 8). 

Insert the bolts through the legs and into the table edges (Fig 9).

Fig. 9

Fig. 9

Grooves on long piece

Grooves on long piece

Fig. 8

Fig. 8

Summary of Contents for 14142

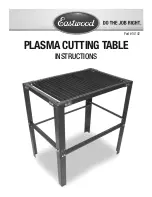
Page 1: ...PLASMA CUTTING TABLE INSTRUCTIONS Part 14142...

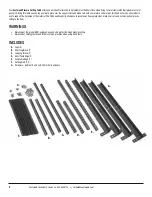
Page 2: ...and not worry about what to use to support the back side of the material The 250 pound capacity allows you to layout even heavy plate steel make your cuts and not worry about pieces falling to the fl...

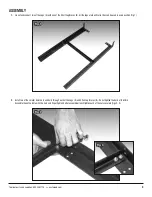
Page 3: ...e identical so they can be used in every position Fig 1 2 Install two of the smaller 8mm nuts and bolts through each of the Legs A and Short Leg Braces B Do not tighten the bolts at this time Assemble...

Page 4: ...4 Eastwood Technical Assistance 800 544 5118 techelp eastwood com 3 Install each of the Long Leg Braces C to the Legs A in Step 2 Figs 4 5 6 Fig 4 Fig 4 Fig 5 Fig 5 Fig 6 Fig 6...

Page 5: ...To order parts and supplies 800 345 1178 eastwood com 5 4 Install two Legs A on the opposite side and connect them with a Short Leg Brace B using the small 8mm bolts and nuts Fig 7 Fig 7 Fig 7...

Page 6: ...om 5 Using the large 10mm nuts and bolts install the four table edges D E with the cut grooves in the up and inner position Fig 8 Insert the bolts through the legs and into the table edges Fig 9 Fig 9...

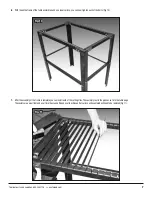
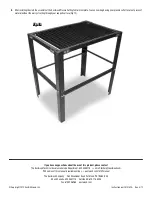
Page 7: ...ten each of the bolts Fig 10 7 After the assembly of the frame is complete you can install each of the cutting slats These simply rest in the grooves cut into the table edge These slats are a wear ite...

Page 8: ...f this manual is available online eastwood com 14142manual The Eastwood Company 263 Shoemaker Road Pottstown PA 19464 USA US and Canada 800 345 1178 Outside US 610 718 8335 Fax 610 323 6268 eastwood c...

Reviews: