background image

2 TON ALUMINUM 

FLOOR JACK 

 INSTRUCTIONS

Item #30169

© Copyright 2015 Easthill Group, Inc.     1/15     Instruction part #30169Q     Rev 0

If you have any questions about the use of this product, please contact 

The Eastwood Technical Assistance Service Department: 800.544.5118  >>  email: techelp@eastwood.com

PDF version of this manual is available online  >>  eastwood.com/30169manual

The Eastwood Company     263 Shoemaker Road, Pottstown, PA 19464, USA

US and Canada: 800.345.1178     Outside US: 610.718.8335

Fax: 610.323.6268     eastwood.com

MAINTENANCE

GENERAL

  •  Provide several drops of oil to pivot points periodically to prevent binding.
  •  Keep all areas of the jack clean particularly the hydraulic ram and sliding frame components.
  •  Before each use, check all hardware for tightness, all components for damage, hydraulic fl uid  
    leaks and rust or dirt on moving parts.
  •  Store in a clean & dry environment when not in use.

BLEEDING

With use your jack may accumulate some air in the hydraulic system which will hinder performance. 
If this occurs, follow the bleeding procedure outlined in the Initial Set Up section of this manual.

ADDING OIL

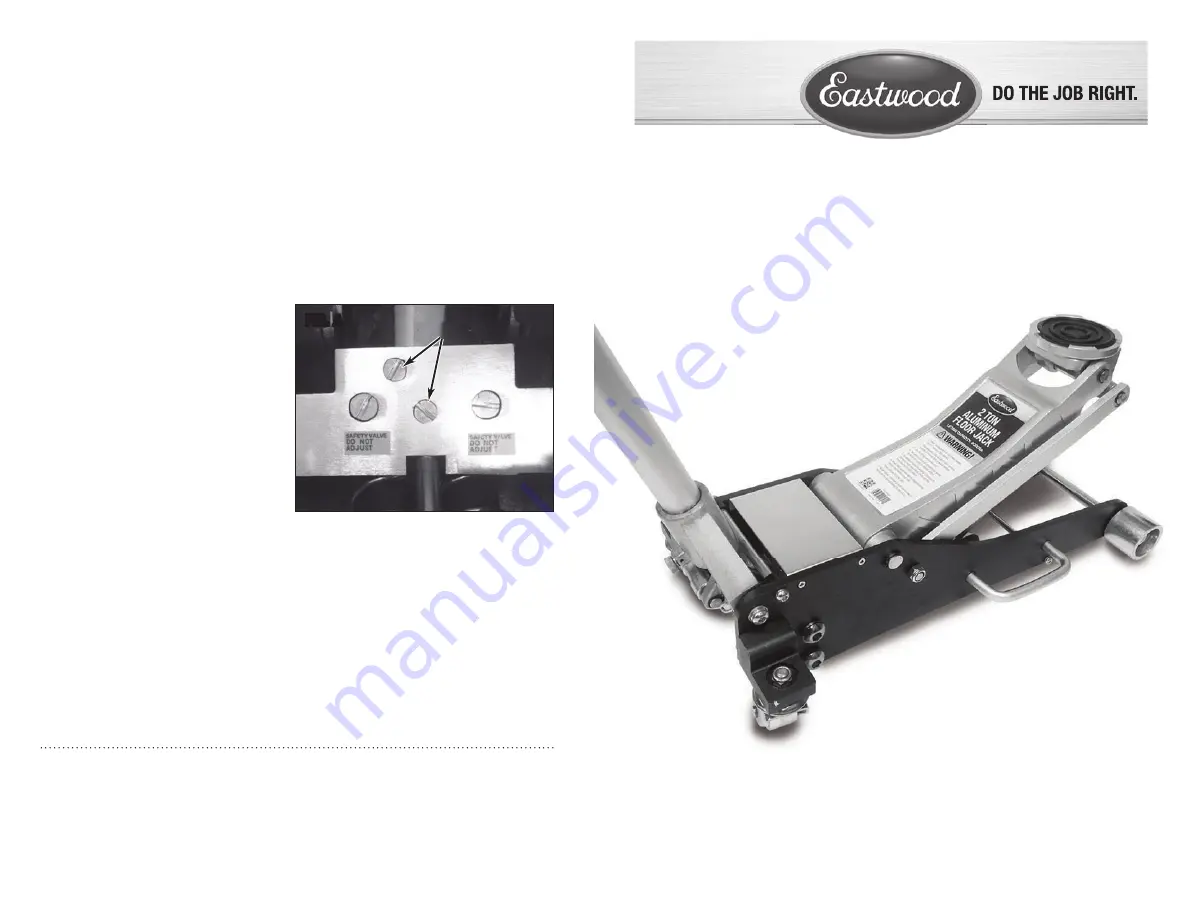
  1.  Remove the two Oil Fill Screws at the  
    rear of the jack body (

Fig A

). Do not  

    move the jack  handle while the Oil Fill  
    Screws are removed.
  2.  Fill with high quality hydraulic jack oil until  
    the oil reaches the top of the fi ll holes.
  3.  Replace the Oil Fill Screws and follow the  
    bleeding procedure outlined in the Initial  
    Set Up section of the manual.

FIG. A

Oil Fill Screws

Summary of Contents for 30169

Page 1: ...clean particularly the hydraulic ram and sliding frame components Before each use check all hardware for tightness all components for damage hydraulic fluid leaks and rust or dirt on moving parts Store in a clean dry environment when not in use BLEEDING With use your jack may accumulate some air in the hydraulic system which will hinder performance If this occurs follow the bleeding procedure outli...

Page 2: ... only in areas that are specified by the manufacturer of the vehicle LENGTH 25 WIDTH 12 1 2 WEIGHT 45 lbs INITIAL SET UP INSTALLING HANDLE 1 Attach the upper and lower handle together by aligning the ball detent 2 Loosen the thumb screw on the floor jack where the handle is installed Slide the handle into the socket while lining up the square drive on the jack to the handle 3 Tighten the thumb scre...

Page 3: ... only in areas that are specified by the manufacturer of the vehicle LENGTH 25 WIDTH 12 1 2 WEIGHT 45 lbs INITIAL SET UP INSTALLING HANDLE 1 Attach the upper and lower handle together by aligning the ball detent 2 Loosen the thumb screw on the floor jack where the handle is installed Slide the handle into the socket while lining up the square drive on the jack to the handle 3 Tighten the thumb scr...

Page 4: ...clean particularly the hydraulic ram and sliding frame components Before each use check all hardware for tightness all components for damage hydraulic fluid leaks and rust or dirt on moving parts Store in a clean dry environment when not in use BLEEDING With use your jack may accumulate some air in the hydraulic system which will hinder performance If this occurs follow the bleeding procedure outli...

Reviews: