To order parts and supplies: 800.343.9353 >> eastwood.com
5
COMPRESSOR SET-UP
•
Level Scroll Compressor
- Using an accurate level, check to see that
the Scroll Compressor is level and not prone to rocking or vibration.
Use suitable shims under the corners of the frame, if necessary, to achieve
a level condition.
•
Remove Panels
- Access to all interior components is by panel removal.
All four sides and top panels are removable:
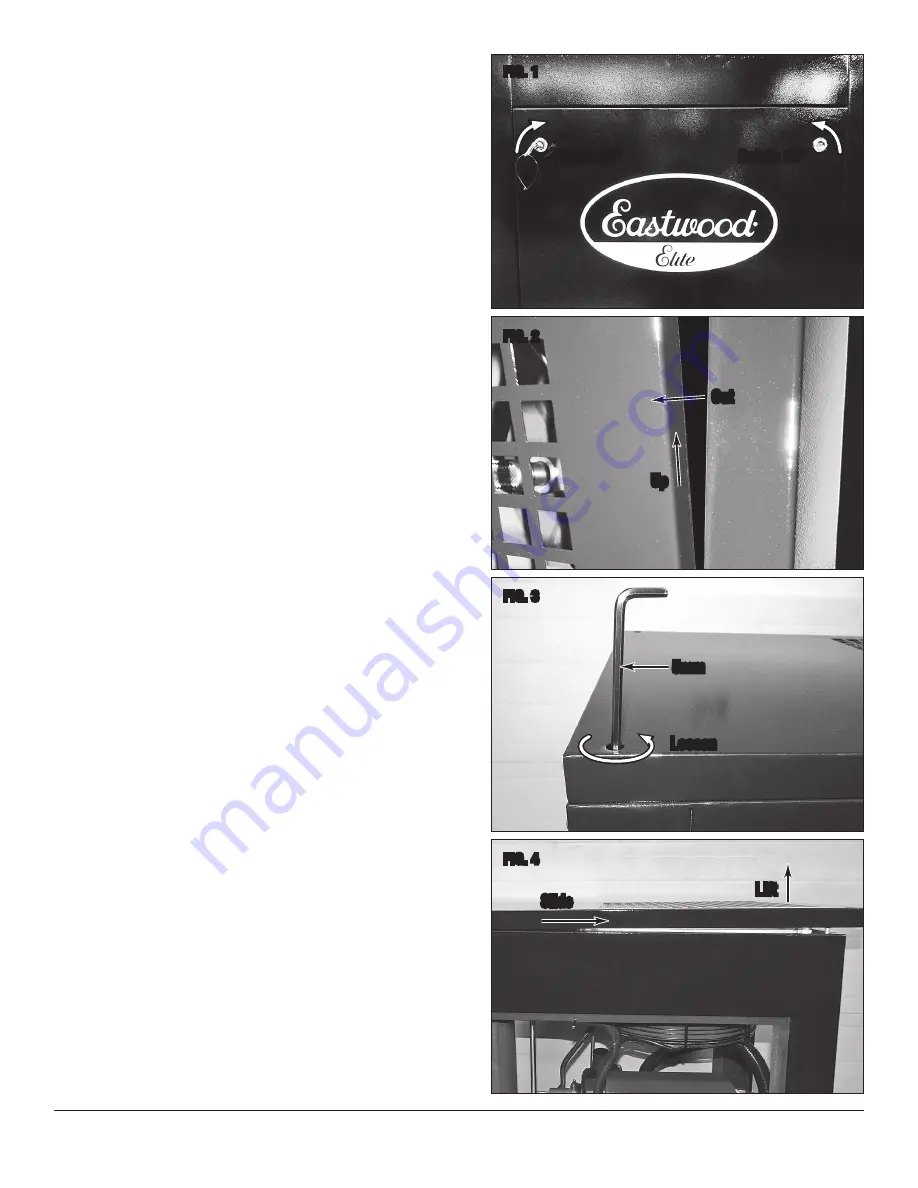
- Front rear and side panels are removed by placing the included
triangular profile key over the triangular posts of the latches
(FIG 1)
.
Front and rear panels have 2 latches each and are released by turning
the key 1/4 of a turn to the respective outside corner. End panels have
one latch each and are released with 1/4 turn to the right.
- After latch release, lift panel off locating pins on the outer floor of the
unit then pull up and away
(FIG 2)
.
- The top panel is removed by inserting a 5mm hex key into the holes at
the corners and loosening the socket head cap screws.
NOTE:
Do not remove the screws as the underside flange of the top
panel has “Keyhole” slots. Standing at the rear of the Compressor, slide
the top panel to the right to clear screw heads and lift off
(FIGS 3 & 4)
.
FIG. 1
FIG. 2
FIG. 3
FIG. 4
Rotate 90° Rotate 90°
Out
Up
5mm
Loosen
✓
✓
✓
✓
✓
Slide
Lift


