

2
Eastwood Technical Assistance: 800.343.9353 >> tech@eastwood.com
To order parts and supplies: 800.343.9353 >> eastwood.com
3
This
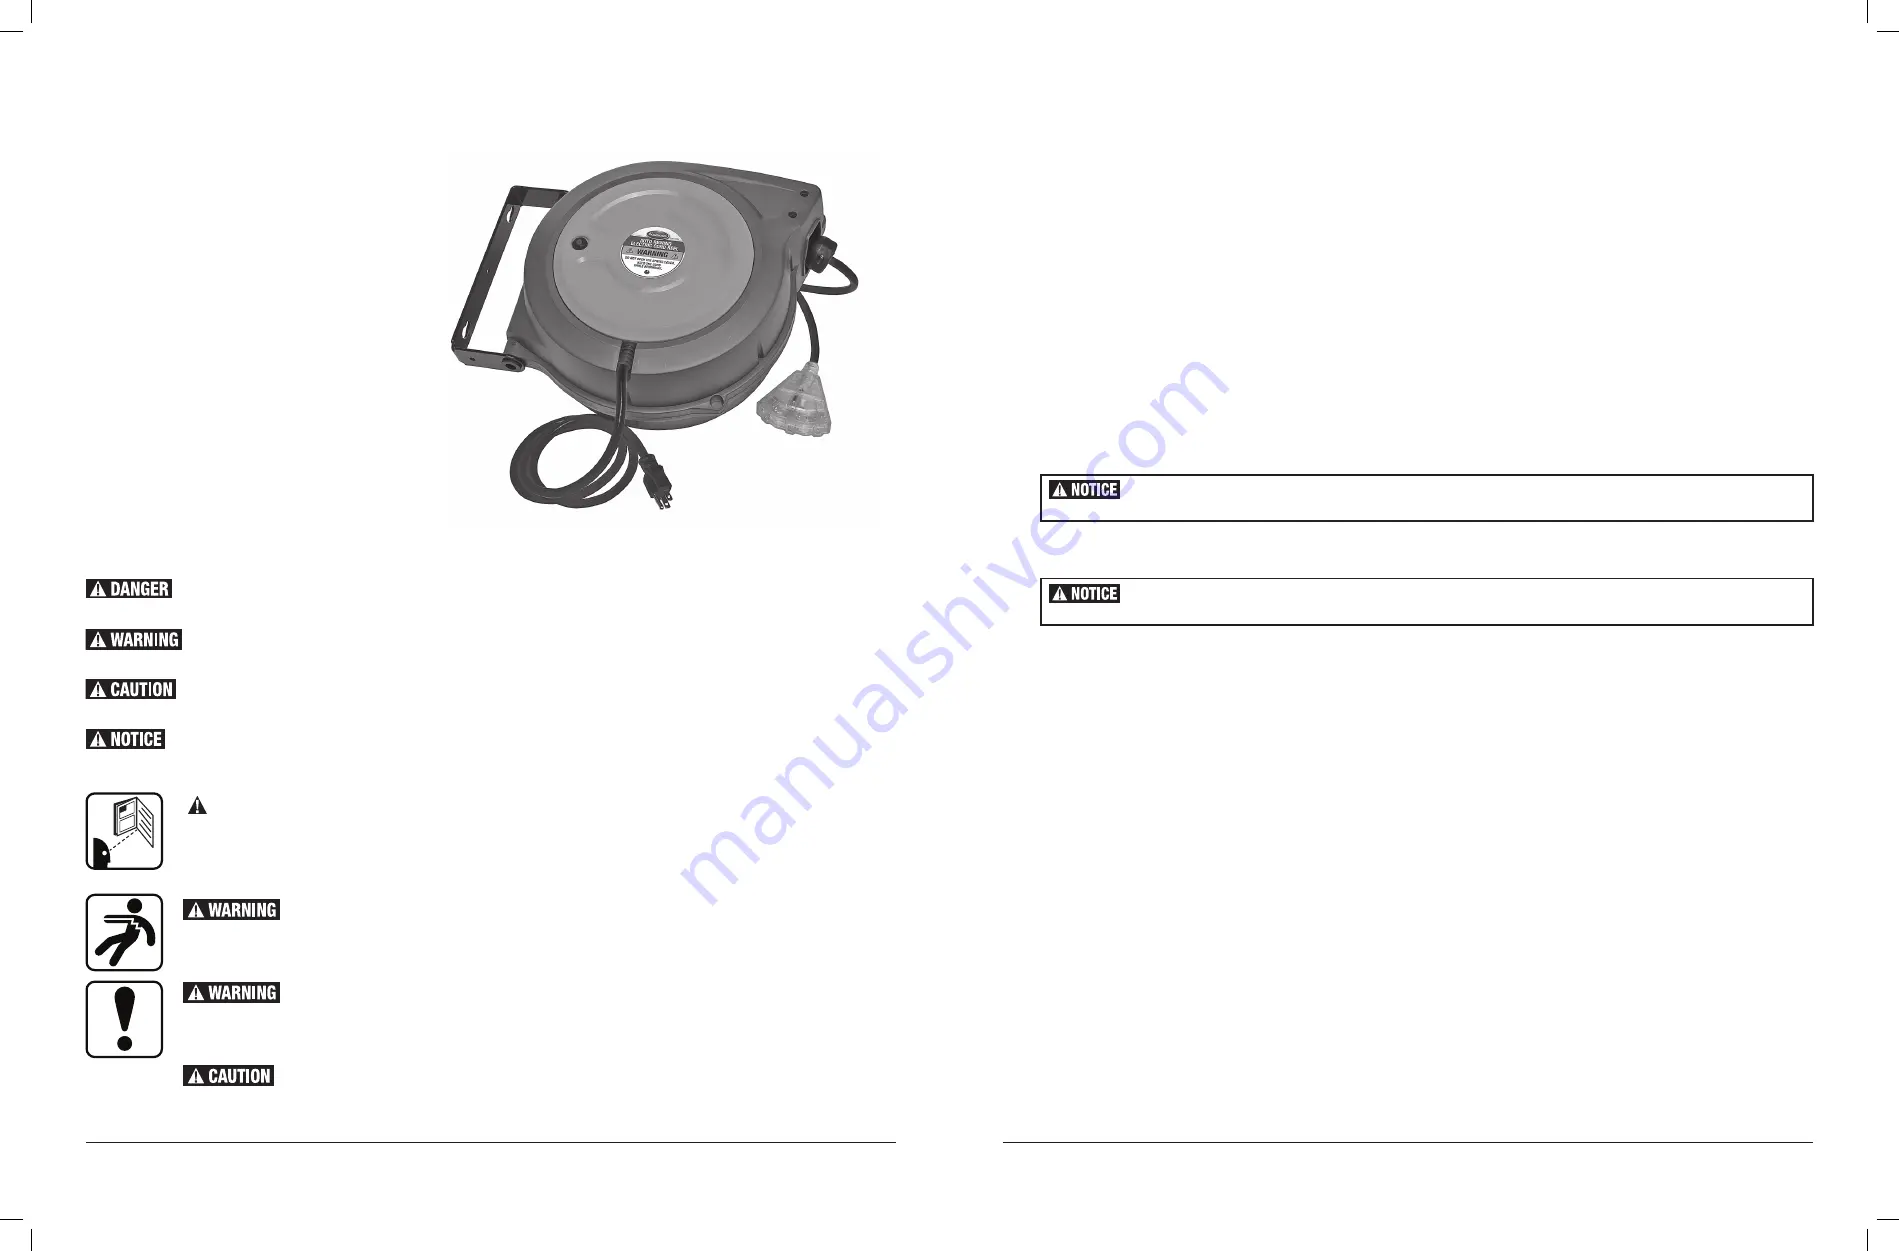
EASTWOOD AUTO REWIND ELECTRIC CORD REEL
features a heavy-duty, 12 Gauge, 3 conductor power cord with a triple-tap receptacle head to provide
electricity to work areas without the need to roll up extension cords when the work is done. A stop anywhere clutch mechanism and slow auto rewind offers
added convenience. The built-in thermal overload breaker provides an extra measure of protection.
CONTENTS
(1)
Auto Rewind Electric Cord Reel
and integral cord unit with pre-mounted wall bracket
SPECIFICATIONS
Input Voltage:
120 VAC, 15 Amp
Input Cord:
52” [1.3m], 12 Ga, 3 conductor cord
Plug Type:
3 prong, grounded
Retracting Cord:
50’ [15.2m], 12 Ga, 3 conductor cord
Receptacle Head:
Triple, 3 prong, grounded
DANGER indicates a hazardous situation which, if not avoided, will result in death or serious injury.
WARNING indicates a hazardous situation which, if not avoided, could result in death or serious injury.
CAUTION indicates a hazardous situation which, if not avoided, could result in minor or moderate injury.
NOTICE is used to address practices not related to personal injury.
SAFETY INFORMATION
The following explanations are displayed in this manual, on the labeling, and on all other information provided with this product:
READ INSTRUCTIONS
• Thoroughly read and understand these product instructions before using this tool. Failure to follow all warnings can result in tool
damage or serious physical injury.
• Keep these product instructions for future reference.
SHOCK HAZARD!
• For indoor use only. DO NOT use in outdoor, wet, or damp locations. If the cord should become cut or damaged, discontinue use
immediately.
INJURY HAZARD!
• The internal retracting mechanism is under high spring tension. DO NOT allow the cord to suddenly release. Personal injury and damage
to the unit can occur.
INJURY HAZARD!
• DO NOT disassemble unit. There are no user serviceable parts inside.
• DO NOT use this unit to support or hang other items from.
SET-UP & CONNECTION
• Unit must be securely mounted on a wall, ceiling, floor, workbench etc, capable of holding the static weight of the unit (15.4 lbs. [7.0 kg]) plus significant
pulling stresses from operation. The use of 1/2” bolts or lag screws with substantial washers, to fasten supplied mounting bracket to a structural member,
is highly recommended.
• If placing unit on a studded wall, the use of a 6” x 3/4” board capable of spanning a minimum of 2 studs is required as a mounting surface.
• If attaching to a hollow block wall, the use of a 6” x 3/4” x 12” board attached to the wall using proper anchors with the load spread is required as a
mounting surface.
• Plug into a properly grounded 15 or 20amp 120 VAC Outlet (20 amp recommended).
• A red LED located on the left side will illuminate to indicate that power is present at the cord.
• DO NOT plug in electrical devices which total more than 15 AMPS together. If the rated 1875-watt capacity of the unit is exceeded, a thermally activated
circuit breaker will cut power. Should this occur; unplug the overloading device, allow several minutes for the breaker to cool then depress the red button
on the left side of the unit to reset.
OPERATION
LATCHING REEL
• Slowly and carefully pull cord out to desired length. Once desired length is reached, reduce the pulling force on the cord and the reel will lock in place.
RETRACTING CORD
• Slowly and carefully pull cord out beyond latch point (point at which the reel releases).
• This unit is designed with an auto rewind mechanism which will slowly return the cord into the reel.
• Guide cord slowly and allow it to feed into the reel.
• When the stop block reaches the guide rollers, the cord can be released.
ADJUSTING CORD FREE LENGTH
• The length of cord that extends beyond the Guide Rollers is factory set at 16” however it can be adjusted. To do so, pull the cord out several feet and allow
it to latch in place.
• Loosen the two Philips head screws in the Stop Block, slide to desired location on cord then re-tighten the screws.
MAINTENANCE
• Keep cord clean from dirt and oil to maintain proper operation.
DO NOT let go of cord until it is locked into place. Sudden retraction will damage the unit.
DO NOT let go of cord. Sudden retraction will damage the unit.


