


This
Eastwood Abrasive Blasters
are specifically designed to quickly and efficiently designed to strip away old paint and coatings,
body fillers, accumulated dirt and moderate to major rust leaving a clean, bare metal surface ready for damage repair or painting.
Please read these instructions thoroughly before attempting to operate your new blaster
as the set-up and
operating procedures are highly detailed and must be followed in a specific sequence.
You will need to refer to these instructions frequently for the set-up, operating, maintenance and troubleshooting procedures.
2
Eastwood Technical Assistance: 800.544.5118 >> techelp@eastwood.com
To order parts and supplies: 800.345.1178 >> eastwood.com
15
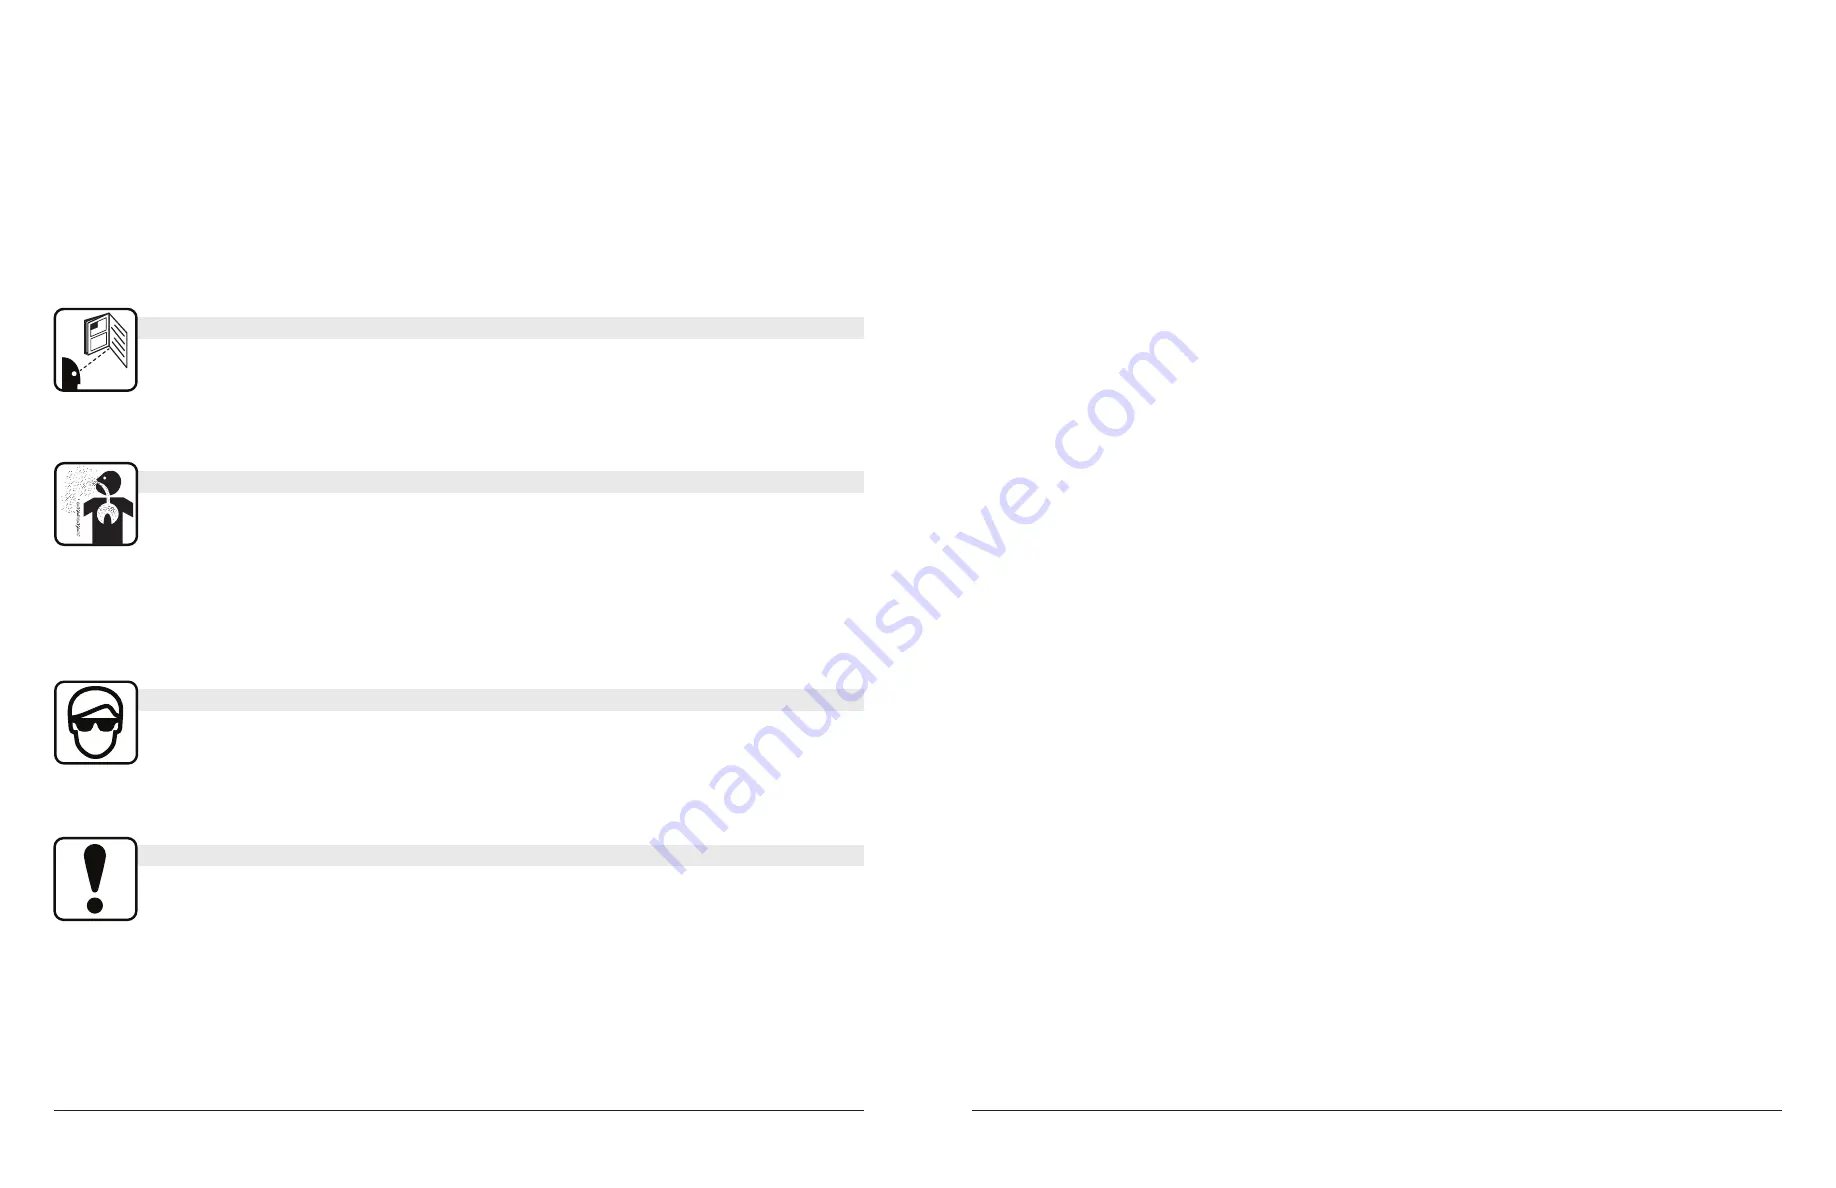
READ INSTRUCTIONS!
• Thoroughly read and understand this instruction manual before using the blaster. Learn the blaster’s applications
and limitations as well as potential hazards.
• Before operating your abrasive blaster, inspect each connection, double checking to make sure that all are tight
and properly sealed.
• Save these instructions for future reference.
SAFETY INFORMATION
HEALTH WARNING!
• Pressure blasters and blast cabinets emit abrasive particles under high pressure. Adequate respiratory, eye, and
body protection must be utilized at all times during product operation. Inhalation of silica based blast media par-
ticles have been known to cause cancer and other deadly diseases and must be avoided. Always wear your blast
hood, NIOSH approved respiratory protection, ANSI-approved safety glasses and heavy duty canvas gloves when
operating this equipment. In addition, levels of hazardous materials such as lead, zinc chromate, etc. may be
present in coatings being removed. Additional protection may be required in the presence of these substances.
•
DO NOT
use any sand or silica based abrasives with this blaster. Silica based abrasives have been linked to
severe respiratory disease.
OPERATIONAL HAZARDS!
• The Eastwood Abrasive Blaster is designed to operate at optimal efficiency when used with Eastwood Abrasive
Blast Media. Blockage can cause severe damage to the equipment and/or operator injury.
NOTE:
If this should occur, stop work immediately, disconnect from air supply, release all pressure and drain
tank by removing cap and inverting unit. Replace cap, repressurize unit and purge all remaining media from
valves and hose.
REQUIRED SAFETY EQUIPMENT!
• Use safety equipment. Eye protection should be worn at all times when operating this tool. Use ANSI approved
safety glasses. Everyday eyeglasses are NOT safety glasses. NIOSH approved respiratory protection, non-skid
safety shoes, blast hood, hard hat, and hearing protection should be used in appropriate conditions.
• Wear proper heavy protective gloves and clothing. Severe skin abrasion and flesh removal can quickly occur
from exposure to the blast stream.


