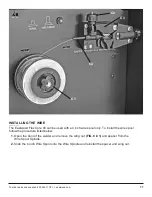
10
Eastwood Technical Assistance: 800.544.5118 >> techelp@eastwood.com
ASSEMBLY
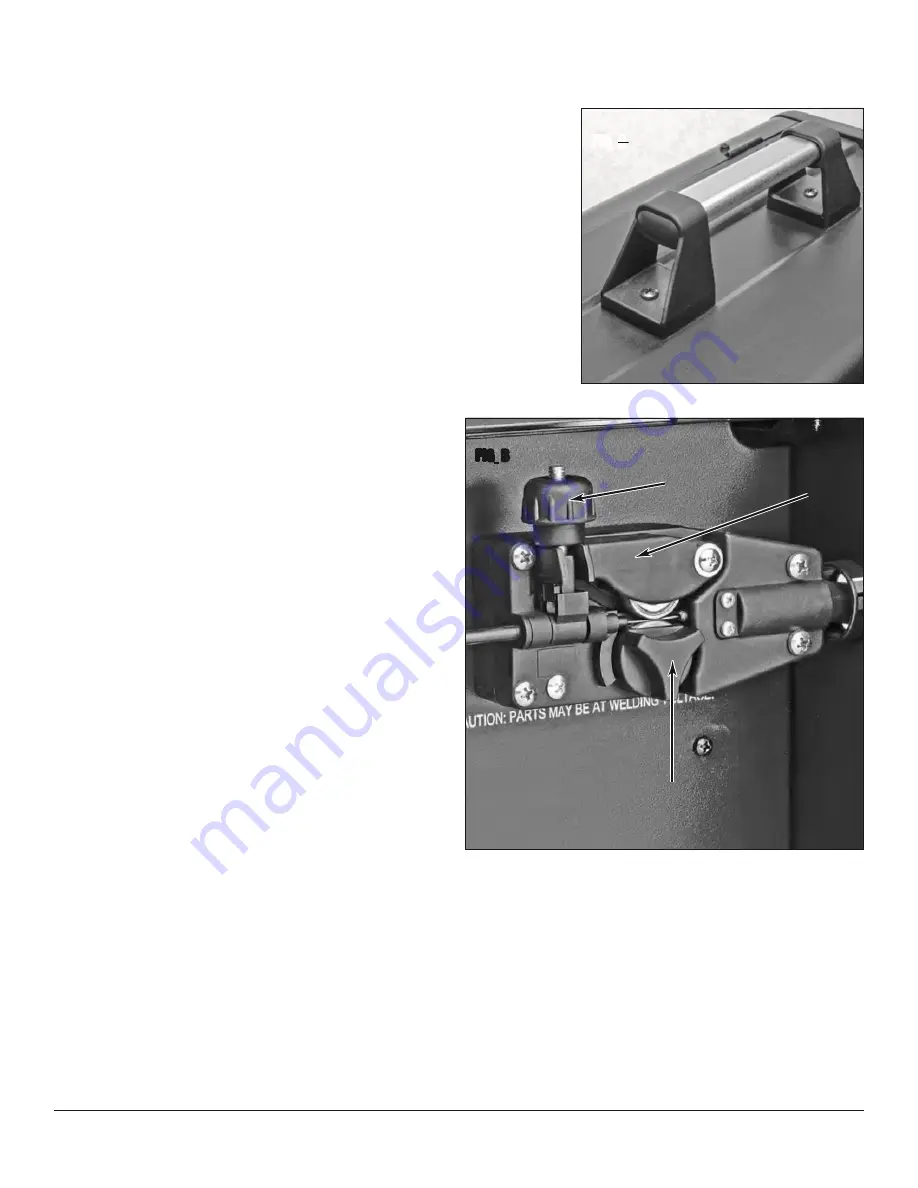
INSTALLING THE HANDLE
1.
Line up the holes in the handle with the holes
in the top in the welder.
2.
On each screw place an included lock
washer followed by a flat washer.
3.
Insert each screw through the handle and
into the top of the welder and tighten.
CONNECTING THE WELDER TO A POWER
SOURCE
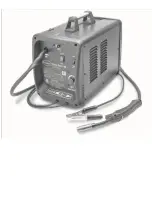
The Eastwood Flux Core 90 welder requires a
dedicated 120 VAC, 20 Amp, 60 Hz grounded
outlet protected by a circuit breaker. Do not use
on power sources that have voltages less than
105 VAC or higher than 132 VAC. If using an
extension cord, use a minimum 12 AWG cord for
up to 25 feet.
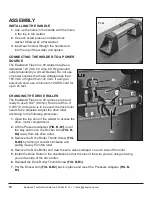
CHANGING THE DRIVE ROLLER
The Eastwood Flux Core 90 comes set up and
ready to use 0.030" (0.8mm) Flux-Core Wire. If
0.035" (0.9mm) wire is to be used, the drive roller
needs to be adjusted. Adjust the drive roller
according to the following procedure:
1.
Open the top door of the welder to access the
drive motor compartment.
2.
Lift the Pressure Adjuster
(FIG. B-B1)
out of
the way and move the Rocker Arm
(FIG. B-
B2)
away from the drive roller.
3.
Remove the Drive Roller Thumb Screw
(FIG.
B-B3)
by turning it counter clockwise and
pulling it away from the roller.
4.
Remove the Drive Roller and view the wire sizes stamped on each side of the roller.
5.
Install the Drive Roller in the orientation so that the size of the wire you are using is facing
you on the side of the drive roller.
6.
Reinstall the Drive Roller Thumb Screw
(FIG. B-B3)
.
7.
Put the Rocker Arm
(FIG. B-B2)
back in place and reset the Pressure Adjuster
(FIG. B-
B1)
.
FI
G
.
A
B1
FI
G
.
B
B2
B3


