To order parts and supplies: 800.343.9353 >> eastwood.com
7
STEP 4 – MOISTURE DRAIN SYSTEM
The Moisture Drain System is specifically designed to provide enhanced moisture
extraction capability for operation in high humidity and extreme use environments.
Installation
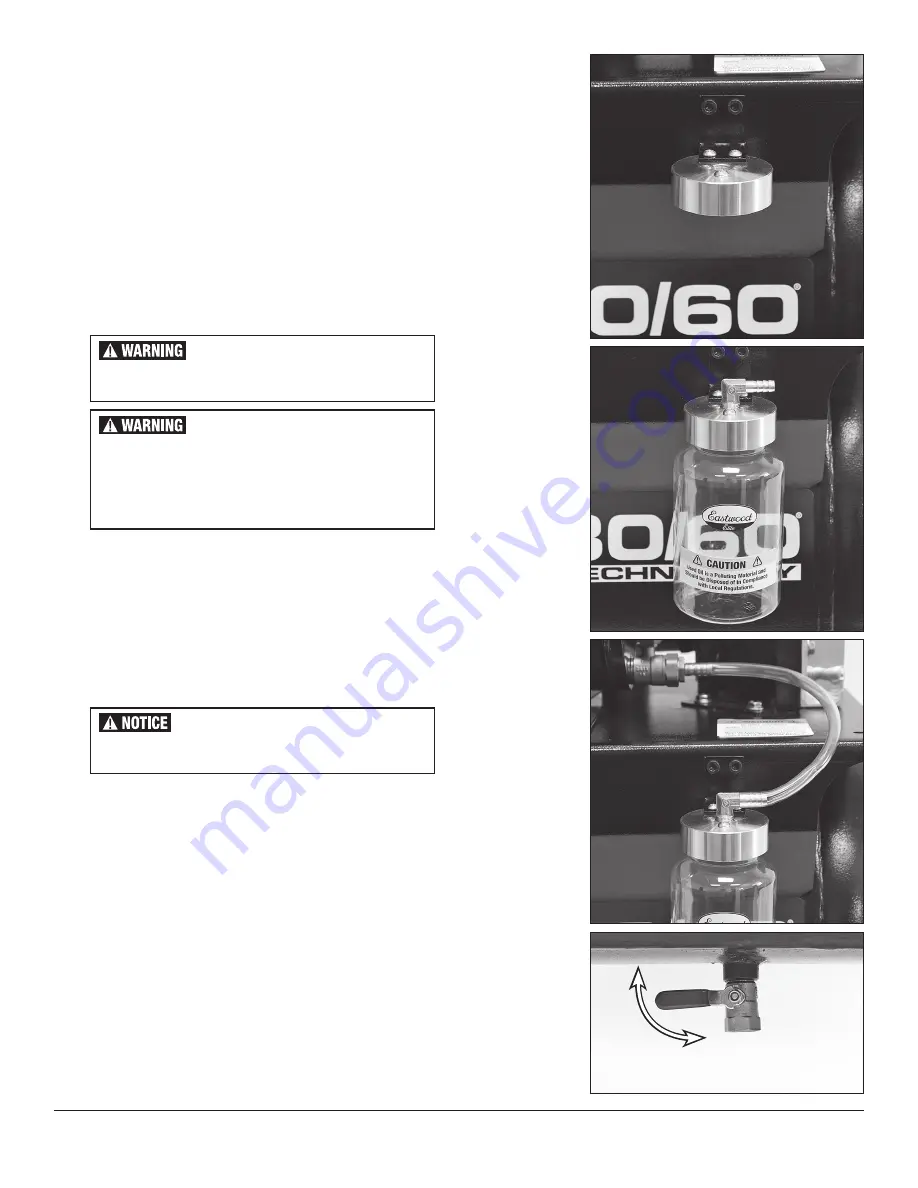
• Use two M5 Phillips Head screws, Lock Washer, Washer and Nuts to secure
the Lid Assembly to the pre-installed Mounting Bracket
(FIG 9)
.
• Screw the Bottle into the Lid.
• Install the 90° Brass Barbed Fitting to the Lid by threading it into the tapped
hole in the center of the Lid
(FIG 10)
.
• Slip the oil drain hose over the Brass Barbed Fitting on the Moisture Drain
Lid, attaching it securely
(FIG 11)
.
FIG. 9
FIG. 9
FIG. 10
FIG. 10
FIG. 11
FIG. 11
FIG. 12
FIG. 12
BURN HAZARD!
The Scroll Pump generates heat during operation.
Use caution when servicing to avoid burns.
If any air or oil leaks are discovered, call Eastwood Tech
at: 1-800-343-9353 or email at tech@eastwood.com
INJURY HAZARD!
Before performing any service, turn Power Switch
to the “OFF” position (FIG 1). Shut off breaker or discon-
nect power supply. Release pressure from Tank (FIG 12)
until Gauge indicates 0 PSI. and allow to cool minimum
1 hour after last use before servicing to avoid burns.
CAUTION! Open Slowly!
Open
Close
STEP 5 – CHECK RUN PROCEDURE
• Close all outlet valves.
• Connect Compressor to power supply.
• Move the Power Switch to the “ON” position
(FIG 1)
.
• Allow the Compressor to run until it builds full pressure and
automatically shuts off (approx. 3 minutes)
• Move the Power Switch to the “OFF” position.
• Listen for any air leakage and observe the Scroll case, all lines and
fittings for any evidence of oil leakage.
• If no leaks exist, the Eastwood Elite QST 30/60 Compressor is now
ready for use.


