A, B, C (Dog Channel) Buttons:
Short press on A, B or C button will allow you to
choose the dog channel.
Step 2: Charge the Collar Receiver
Caution!
Always use the supplied power adaptor to charge the collar receiver. Do
NOT charge the collar receiver in an especially hot area. Do NOT leave charging
unattended or charge overnight!
The system has been tested in factory. When you receives the product, the collar
receiver might still have power left. You might skip this step and try to turn it on
(please go to Step 3) and start using the system. If the collar receiver cannot be
turned on, please put it on charge as following.
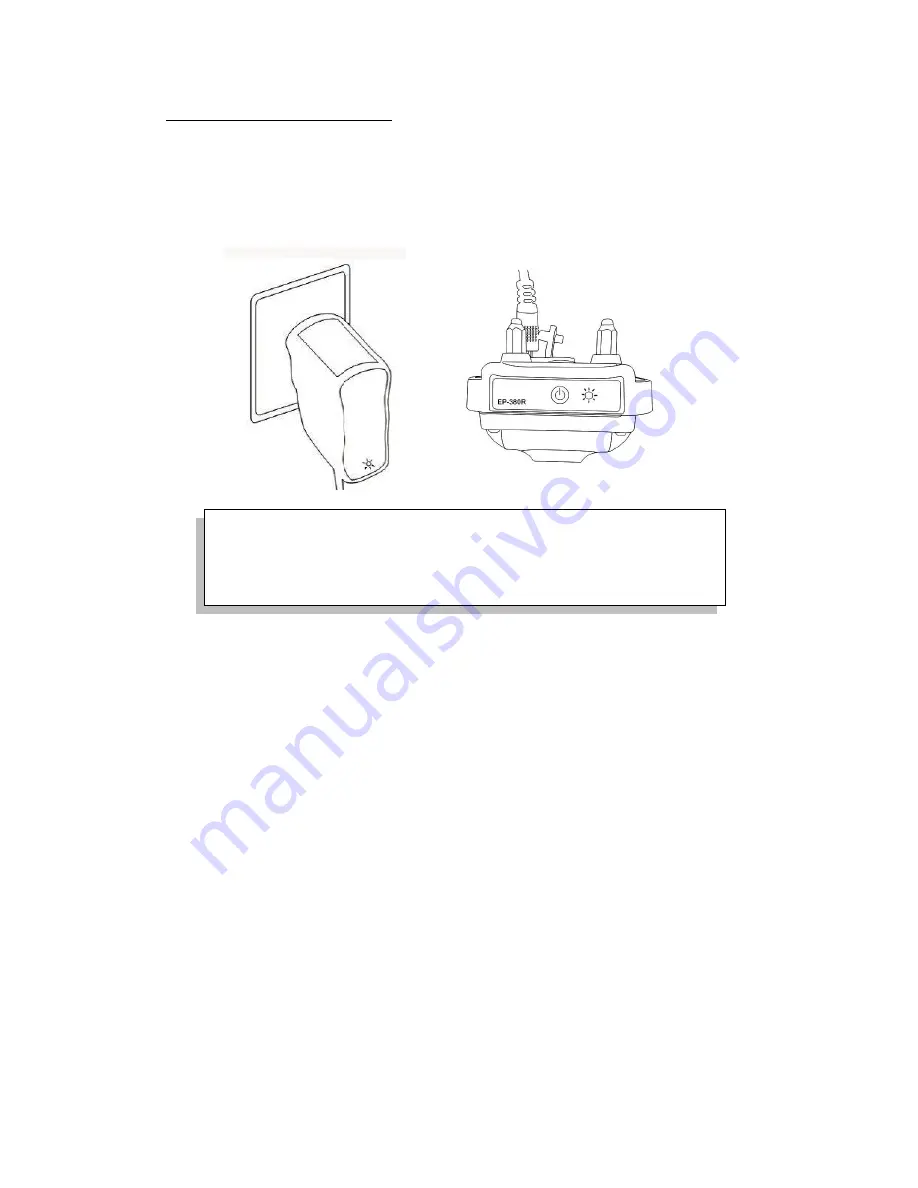
To charge the collar receiver, lift the small rubber bung on the receiver to access the
charger port. Plug the supplied wall charger into the wall socket and into the charger
port of the receiver. A red LED light on the collar receiver will come up and stay on
during charging. When it is fully charged, the red LED light on the collar receiver will
turn GREEN. Once the charger plug is removed from the wall socket, the LED light on
the collar receiver will go off, the collar receiver will be turned on automatically after
charging.
The normal charging time for the collar receiver is around 2 to 3 hours. For new
battery, it might take longer to get fully charged in first few cycles. Please remove
the charger from the collar receiver when it is fully charged.
Normal charging time for collar receiver: around 2 to 3 hours
To insert the rubber bung smoothly back into the charging port, please
lift up the bung and make sure the rubber bung is in vertical position.

