easyRAID Q16QS-4GR3
SAS Disk Array System
19
3
M
ain
te
na
n
ce –
Up
gr
a
din
g Me
m
or
y
4
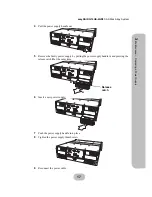
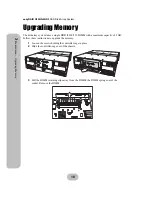
Gently push the new DIMM into the socket, then push the corners of the DIMM down.
The DIMM is secured by the DIMM retaining clips.
5
Push the controller cage back in, lower the handle, and tighten the retaining screws.
Note
The DIMM module will fit in only one direction. Do not force the
DIMM into place.
Term
UPS
Ch 3
Ch 4
Ch 1
Ch 2
LAN
EXP
Term
UPS
Ch 3
Ch 4
Ch 1
Ch 2
LAN
EXP
Summary of Contents for Q16QS-4GR3
Page 2: ......
Page 3: ...easyRAID Q16QS 4GR3 iSCSI 1Gb to SAS Disk Array System Hardware User Manual ...
Page 4: ......
Page 6: ......
Page 12: ......
Page 25: ...easyRAID Q16QS 4GR3 SAS Disk Array System 15 2 Basic Configuration Mounting in a Rack ...
Page 26: ......
Page 32: ......


