2-6
Getting Started
Power Source
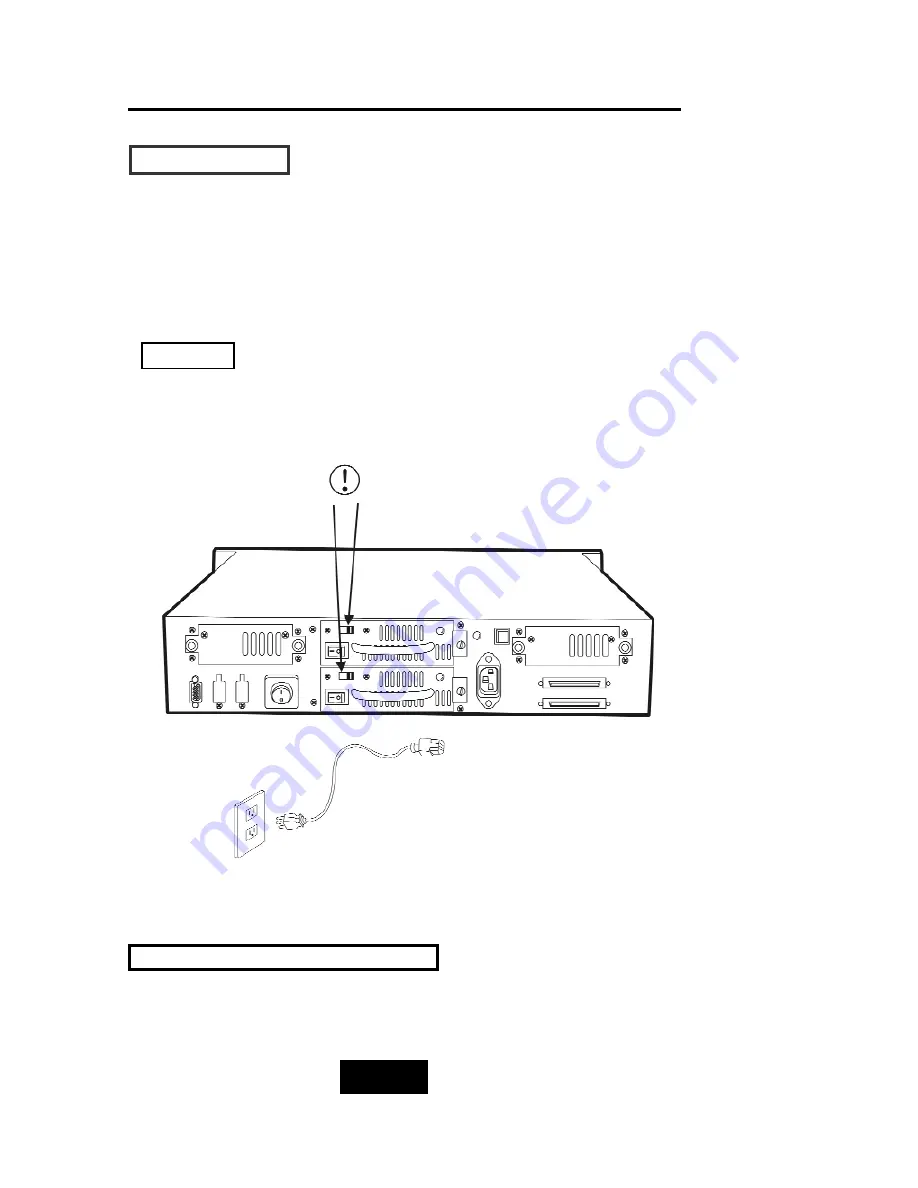
Choosing a Working Voltage
The system can run either on AC 115V (+/10%) or AC 230V(+/10%),
Slide the AC voltage select switch on the power supply to the
correct position which corresponds with the wall outlet supply
voltage.
Wrong AC Voltage input will harm the power supply and cause
serious damage to the Disk Array.
Figure : Power Source
This Disk Array is supplied with an AC power cord equipped with
a 3-wire grounding type plug. This is a safety feature and it is
important to only use a 3-wire grounded mains power cord.
! This Disk Array must be grounded
Warning !
Summary of Contents for X6P U3R2
Page 1: ...Ultra 160 SCSI to IDE Disk Array system User s Guide Version 1 0 Feb 2003 easyRAID X6P U3R2 ...
Page 54: ...4 3 Advanced Information Installing Memory Modules 1 Unscrew Remove cover Figure Remove Cover ...
Page 56: ...4 5 Advanced Information Disk Array Controller Block Diagram ...
Page 58: ...4 7 Advanced Information Setup VT100 Terminal Example Setup VT100 Terminal in Windows Step 1 ...
Page 59: ...4 8 Advanced Information Step 2 ...
Page 60: ...4 9 Advanced Information Step 3 Enter a name for your Terminal ...
Page 61: ...4 10 Advanced Information Step 4 Select a connecting port in your Terminal ...
Page 62: ...4 11 Advanced Information Step 5 Port parameter setting ...
Page 63: ...4 12 Advanced Information Step 6 ...
Page 67: ...4 16 Advanced Information 3 Select transfer Send Text File and press Enter ...
Page 68: ...4 17 Advanced Information 4 Locate the new Firmware file on your PC ...
Page 69: ...4 18 Advanced Information 5 Press Go to confirm to download the new firmware ...
Page 92: ...5 3 Hot Swap b Gently pull out the HDD tray ...
Page 93: ...5 4 Hot Swap c Unscrew and unplug the cables Figure Swap HDD Unplug cables ...
Page 96: ...5 7 Hot Swap b Replace with a new power supply unit Figure Swap P S unit Swap with a new unit ...


