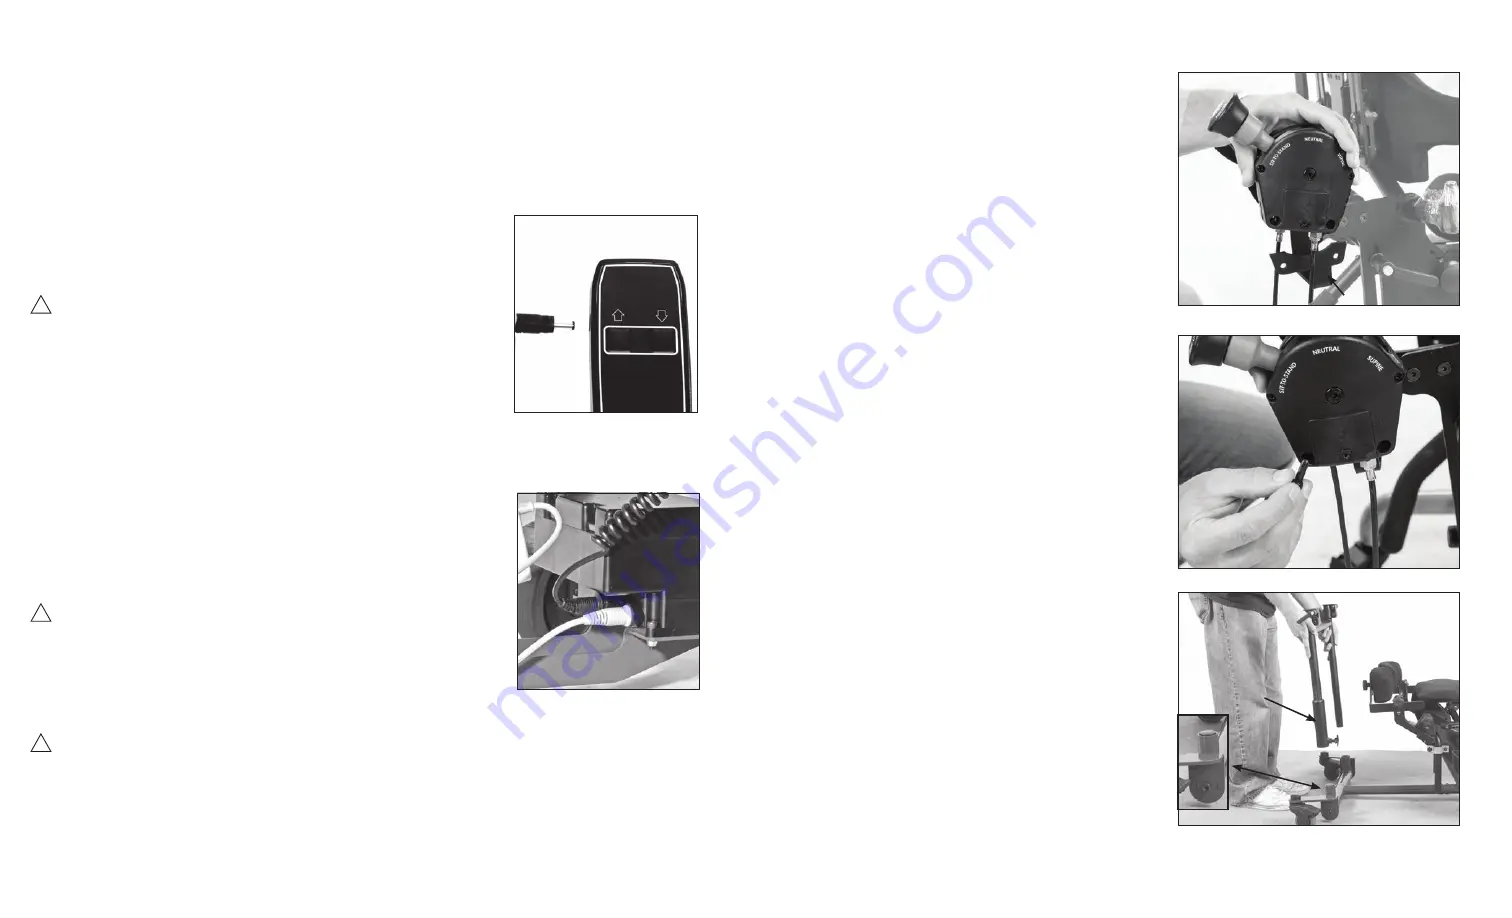
16 . Place controller onto the bracket on the side of the
unit. The bracket will slide into the slot on the bottom of
the controller.
17 . Making sure the nuts are in the back on the
controller, line up holes and insert both bolts. Tighten
securely.
18 . If you ordered the Swing-Away Front, remove the
tray bracket from the H-frame and set the bracket aside
for step 19. Place the H-frame onto the the base of the
unit, making sure the swivel collar is placed onto the
tube insert.
If you ordered a Shadow Tray, please skip to step 24.
bracket
Tube Insert
Swivel Collar
Charging the Battery
The EasyStand Bantam Pow’r Up Lift uses two 12-volt sealed lead batteries rated at 2.9 amps each. An
EasyStand Bantam can be lifted approximately 100 times on one full battery charge. An audible alarm
will sound when the battery is low. Please charge the battery after the alarm sounds. A battery need-
ing to be fully recharged will take approximately 8 hours. The EasyStand Bantam
can be raised to the standing position while being charged. The function of the charger is to detect a
full battery and then provide a constant potential power supply to hold the battery
at a full condition without overcharging. When the battery EMF rises to
a factory preset point, the charger circuit will not allow the peak output
voltage to exceed that value. This factory setting protects a battery from
excessive depletion of electrolyte, which can occur from overcharging.
The charger can be found in the tool pouch on the back of the unit.
CAUTION: Use only the Linak charger, model numbers 10CH01S-00,
provided by Altimate Medical with the Pow’r Up option.
1. Plug the receptacle into a wall outlet. The light on the charger will be
green indicating an open circuit.
2. FIG
. A- Plug the charger cord into the side of the hand control. The
light on the charger will turn yellow indicating the batteries are being
charged.
3. FIG . B- The unit will arrive unplugged from the battery, plug in the white
cord that supplies power to the actuator and the black cord that supplies
power to the remote. The black cord has a notch on it to orient the
connector properly. Fully charge battery before use.
Note: The white cord has a rubber washer on it, which makes it very
sticky and sometimes will not get pushed in completely, make sure to
push the cord all the way into the battery.
4. When the batteries are charged, the light on the charger will turn green.
5. Fully charge the batteries every three months or less during periods of
intermittent or non-use.
CAUTION: The Bantam Pow’r Up Option is not designed for continuous
use. Duty Cycle 5% Max, 1 min. / 19 min.
Raising the Lift - Press the UP (arrow up) button on the hand control to
lift the seat.
Lowering the Lift - Press the DOWN (arrow down) button on the hand control to lower the seat.
CAUTION: Ensure the cables are attached properly per the instructions for use. Do not allow the
cables to drag on the floor or to catch on objects.
Pow’r Up Lift Option Usage
FIG . A
FIG . B
!
!
!
The hand pendant is a
Type BF applied part.
Page 23
Page 8


