background image


17 

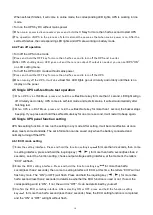
④ E xit from  the setting interface. Press and hold function setting key

for more than 2 seconds, exit from 

the setting interface and return to main interface. 


4.6.2 Input methods setting 


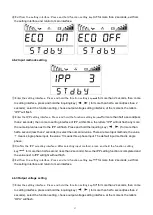
① E nter the setting interface. Press and hold the function setting key

for more than 2 seconds, then come 

to setting interface, press and hold the inquiring key (

,

for more than half a second(less than 2 

seconds), select the function setting, choose output voltage setting interface, at the moment, the letters 

“IPP” will flash. 

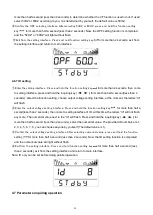
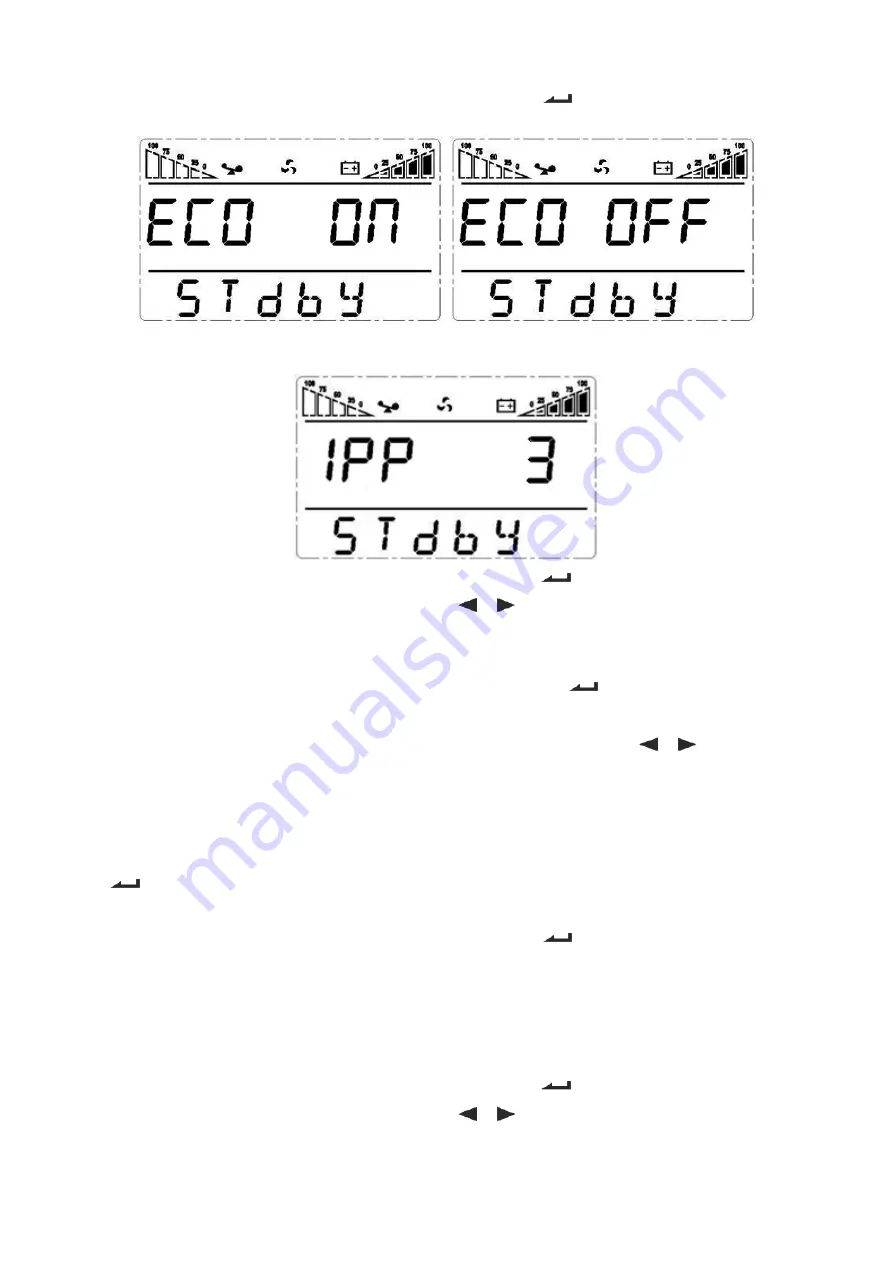
② E nter the IPP setting interface. Press and hold the function setting key

for more than half a second(less 

than 2 seconds), then come to setting interface of IPP, at this time, the letters “IPP” will not flash any more, 

the numerical value next to the IPP will flash. Press and hold the inquiring key (

,

for more than 

half a second (less than 2 seconds) to select the numerical value. There are two Input methods, the value 

‘1’ means single phase input, the value ‘3’ means three phase input. The default input method is single 

phase. 

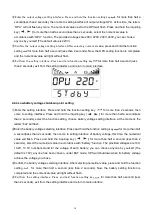
③ Confirm  the IPP selecting interface. After selecting input m ethod, press and hold the function setting 

key

  for more than half a second (less than 2 seconds). Now, the IPP setting function is completed and 

the value next to IPP will light without flash. 

④ E xit from  the setting interface. Press and hold function setting key

for more than 2 seconds, exit from 

the setting interface and return to main interface. 


4.6

.3 Output voltage setting 

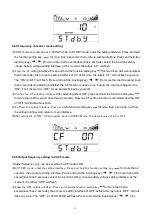
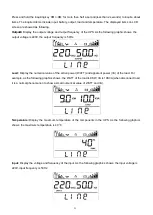
① E nter the setting interface. Press and hold the function setting key

for more than 2 seconds, then come 

to setting interface, press and hold the inquiring key (

,

for more than half a second(less than 2 

seconds), select the function setting, choose output voltage setting interface, at the moment, the letters 

“OPU” will flash. 

Summary of Contents for EA906S

Page 1: ......

Page 2: ...1...

Page 3: ...2...

Page 4: ...purchase it from our local service center or distributors to avoid fever and lighter which can cause fire from inadequate power capacity Batteries may cause electric shocks and have a high short circu...

Page 5: ...T OPEN EXCEPT QUALIFIED TECHNICIAN Input Breaker USB Parallel Port Intelligent Slot BAT_NTC RS232 EPO Manual Bypass Switch Fan Terminal Block INPUT BREAKER ON OFF WARNING HIGH LEAKAGE CURRENT EARTH CO...

Page 6: ...before used Once the AC mains power energizes the UPS it will automatically charge the battery Without prior charging UPS output remains as usual but with shorter back up time than normal When connect...

Page 7: ...n take all the load independently It allows isolation repairs for malfunctioning UPS and according to users own different requirements every single UPS could install manual maintenance bypass switch 3...

Page 8: ...GE CURRENT EARTH CONNECTION ESSENTIAL BEFORE CONNECTING SUPPLY Parallel system of two UPS wiring HIGH LEAKAGE CURRENT EARTH CONNECTION ESSENTIAL BEFORE CONNECTING SUPPLY USB EPO RS232 PARALLEL PORT IN...

Page 9: ...to a common terminal block Connect input cables of all UPS together to one common utility power terminal block I nput com m on t er m i nal bl ock U t i l i t y pow er suppl y O ut put com m on t er m...

Page 10: ...he system with mains power After inputting the mains power turn on any one UPS of system others will start by themself at same time All UPS will enter into Line mode Start the system without mains pow...

Page 11: ...can not connect 16 batteries to UPS if the UPS should be connected 20 units Please strictly follow the procedure of batteries connection or will get electric shocks 1 Set the battery switch at OFF pos...

Page 12: ...n1 and pin2 or there is a anther useful simple way is pulling it out 3 5 3 Intelligent card option This series High frequency online UPS supply a intelligent slot on rear panel it s for SNMP card dry...

Page 13: ...e switch if the UPS has this function When you need to maintain or repair the UPS online follow the procedure as below Open the maintenance bypass switch cover UPS will transfer to BYPASS mode automat...

Page 14: ...l board Note for long run type UPS there are two chargers users have to operate two charger board 4 Panel function and operation The operation is simple operators only need to read the manual and foll...

Page 15: ...TION SETTING KEY Non function setting mode Press and hold the key for more than 2 seconds Function setting interface Function setting mode Press and hold the key for more than half a second less than...

Page 16: ...ate ECO mode activate CUCF mode select an ID number and so on by operating function setting key and inquiring keys Mode display area A This area will display the power capacity of the machine after st...

Page 17: ...old the self test mute key for more than 1 second the buzzer stops beeping If you press and hold the self test mute key for one more second it will restart to beep again 4 6 Single UPS panel function...

Page 18: ...inquiring key for more than half a second less than 2 seconds to select the numerical value There are two Input methods the value 1 means single phase input the value 3 means three phase input The def...

Page 19: ...an 2 seconds then come to setting interface Press and hold the inquiring key for more than half a second less than 2 seconds select the function setting choose battery voltage setting interface at the...

Page 20: ...r OFF press and hold the function setting key for more than half a second less than 2 seconds Now the CF setting function is completed and the ON or OFF will light without flash Exit from the setting...

Page 21: ...ltage setting interface at the moment the letters Id will flash Enter the output voltage setting interface Press and hold the function setting key for more than half a second less than 2 seconds then...

Page 22: ...output frequency is 50Hz Load Display the numerical value of the active power WATT and apparent power VA of the load For example as the following graphics shows the WATT of the load is 9KW VA is 10KVA...

Page 23: ...what LCD displays depending on the exact load and battery capacity Turn to bypass mode under the following two conditions Turn off the UPS line mode while start the bypass output Overload in line mod...

Page 24: ...is on and the buzzer beeps UPS will turn to fault mode UPS cuts off the output and LCD display fault codes At the moment you can press the mute key to make the buzzer stop beeping temporarily to wait...

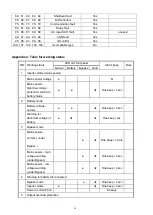
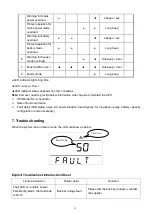
Page 25: ...ttery Bypass Fault 1 Inverter mode mains power Mains power voltage N Mains power high low voltage protection switch to battery mode One beep 4 sec 2 Battery mode Battery voltage normal One beep 4 sec...

Page 26: ...itions Note End user need to provide below information when require to maintain the UPS UPS Model No Serial No Date of fault occurrence Fault detail LED status noise AC power situation load capacity f...

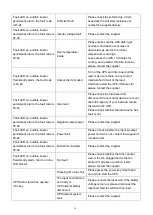
Page 27: ...ase check the load level and disconnect the noncritical devices recount the total capacity of your load and reduce the load to the UPS Please check whether the load device has fault or not Fault LED o...

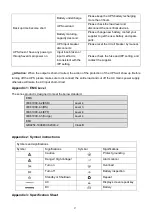
Page 28: ...tion When the output is short circuited the action of the protection of the UPS will show up Before turning off the UPS please make sure to disconnect the entire load and cut off the AC mains power su...

Page 29: ...zed with utility on AC mode 50 60 0 1Hz on battery mode Waveform Pure sine wave Crest Factor 3 1 Harmonic Distortion 2 Linear load 5 Non linear load Transfer Time AC mode to battery mode 0ms Inverter...

Page 30: ...ension mm W D H 355 682 615 H 359 687 822 S 359 687 717 H Net Weight kg 25 0 H 73 0 S 25 5 H 74 0 S 38 5 H 39 0 H Gross Weight kg 28 5 H 82 5 S 29 0 H 83 5 S 47 0 H 47 5 H Derate capacity to 70 in CUC...

Reviews: