background image

QUICK START GUIDE

QUICK START GUIDE

VERSION 1.0

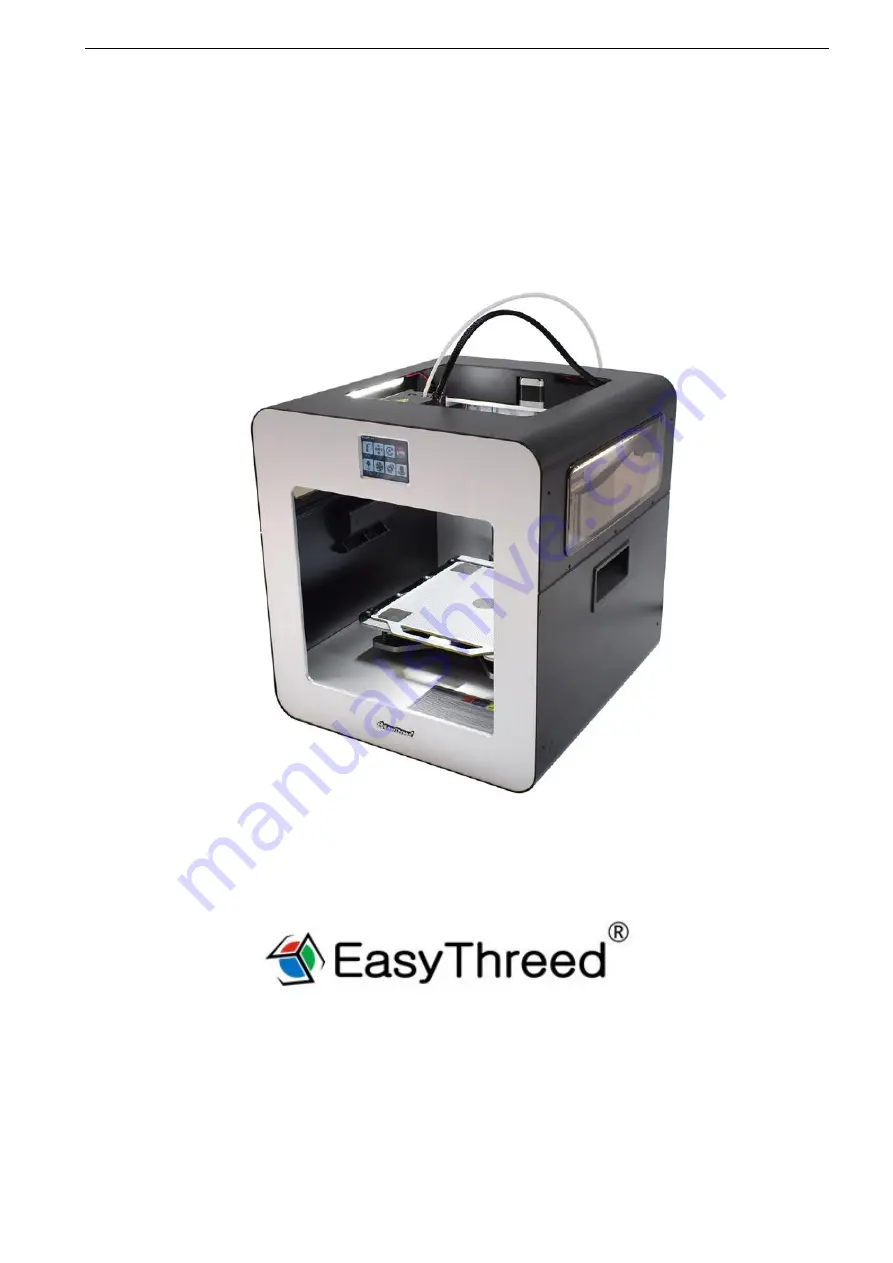
ELITE 3D PRINTER

Please read this User’s Manual carefully before use.

Please keep this User’s Manual properly for future reference.

Pictures are for reference only, subject to our available products.

Summary of Contents for ELITE

Page 1: ...CK START GUIDE VERSION 1 0 ELITE 3D PRINTER Please read this User s Manual carefully before use Please keep this User s Manual properly for future reference Pictures are for reference only subject to our available products ...

Page 2: ...f power supply 1 2 3 Instructions during printing 1 3 PRODUCT INTRODUCTION 1 3 1 Name of main components 1 3 2 Basic Parameter 2 4 UNPACKING AND INSTALLATION 3 5 INTRODUCTION OF STARTING UP THE PRINTER 4 5 1 Power On 4 5 2 Printing 6 5 3 Instruction of LCD Display 7 6 MAINTANANCE 7 7 LIST OF ACCESSORIES 7 8 FAQ 8 ...

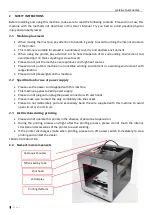
Page 3: ...rking environment with large vibration Please do not pile weights on this machine 2 2 Specification for use of power supply Please use the power cord supplied with this machine This machine applies to 220V power supply Please do not plug and unplug the power connector with wet hands Please make sure to insert the plug completely into the socket Please do not deliberately pull and excessively bend ...

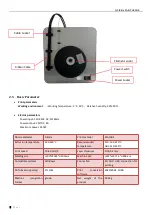
Page 4: ...ABS Extrusion temperature 180 240 C Recommended temperature PLA 190 210 C ABS 210 230 C Print speed 10 60 mm S Layer thickness 0 05 0 2mm Molding size L200 W185 H200mm Machine size L393 W371 6 H406 6m Compatible systems Windows Connection SD Card USB connection for printing 3D format supported STL OBJ Print conversion software EASYWARE CURA Machine recognition format gcode Net weight of the produc...

Page 5: ...mplete 3 Take out the top accessory box and then take out 3D Printer Remove all packing foam and put printer on a level table 4 Take out the foam inside the printer 5 Put theglass reinforced epoxy laminate sheet into the platform 6 Fix the material holder on the hole at the back of the 3D printer with the screws Take out the printing Filament and hang them on the material rest Rocker arm ...

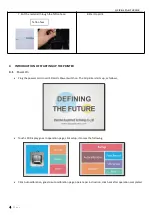
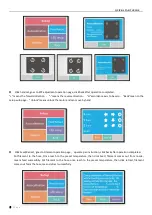
Page 6: ...UP THE PRINTER 4 1 Power On Plug the power cord Insert SD card Power Switch on The 3d printer starts up as follows Touch LCD Display goes to operation page click setup it comes the following Click Auto calibration goes to auto calibration page operate per instruction click back after operation completed Teflon hose ...

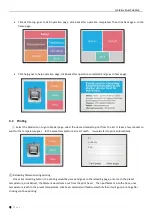
Page 7: ...Unlock means unlock the motor and can move by hand Click Feed Retract goes to Filament operation page operate per instruction click back after operation completed Put filament to the hose Once reach to the preset temperature then click Feed filament comes out from nozzle means feed successfully Put filament to the hose once reach to the preset temperature then click retract filament comes out form...

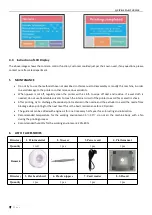
Page 8: ...t takes a few minutes to wait for the temperature goes to the preset temperature Once it reach it would start to print automatically Reloading filament during printing Once click reloading button the printing would be pause and goes to the reloading page once reach the preset temperature click Retract the filament would come out from the print head Then put filament into the hose once temperature ...

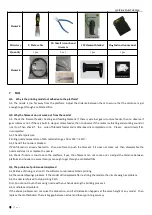
Page 9: ...uit of the printer to avoid fire or electric shock After printing try to discharge the residual print material in the nozzle and the extruder to avoid the nozzle from blockage when printing for the next time This is the basic maintenance for a 3D printer The guide rail can be added with engine oil for one time every half a year for anti rusting and lubrication Recommended temperature for the worki...

Page 10: ...ng nozzle temperature of PLA material range s from 195 210 A3 Check if the nozzle is blocked If PLA filament is already heated to then use force to push the filament if it does not come out then disassemble the nozzle and clean it or replace the nozzle A4 Check if nozzle is too close to the platform if yes then filament can not come out so adjust the distance between platform and nozzle to assure ...

Page 11: ...could avoid affecting the appearance and size of the model Q6 The inappropriate distance between the platform and nozzle The first layer is not formed because of large distance if the distance is too small the nozzle will scratch the platform The distance between the nozzle and the platform must be adjusted to get through a calibrate film Q7 Printing supplies difference With the maturity of 3D pri...

Reviews: