
QUICK START GUIDE
7
|
P a g e
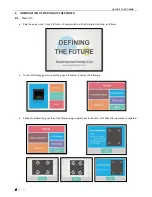
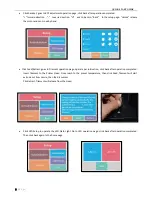
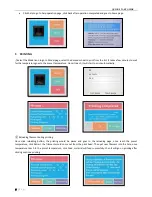
5.1
Instruction of LCD Display
The above images shows the common control function, Customer could adjust per their own need, if any questions, please
contact our after-sales department.
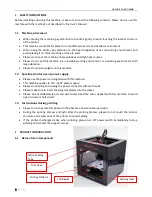
6
MAINTANANCE
Do not try to use the methods those not described in this manual to disassembly or modify this machine, in order
to avoid damage to the printer or other more serious accidents.
Regularly clean the printer with a cloth to wipe off dust and residue. If a wet cloth is needed, do not use
flammable solvents to touch the internal circuit of the printer to avoid fire or electric shock.
After printing, try to discharge the residual print material in the nozzle and the extruder to avoid the nozzle from
blockage when printing for the next time! This is the basic maintenance for a 3D printer.
The guide rail can be added with engine oil for one time every half a year for anti-rusting and lubrication.
Recommended temperature for the working environment: 5 °C-30 °C , do not air the machine body with a fan
during the printing process.
Recommended humidity for the working environment: 20%-80%.
7
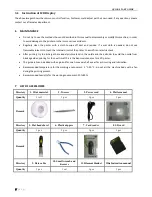
LIST OF ACCESSORIES
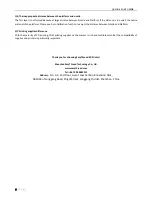
Directory
1. Print material
2. Tweezer
3. Power cord
4. Platform mat
Quantity
1 roll
1 pcs
1 pcs
1 pcs
Remark
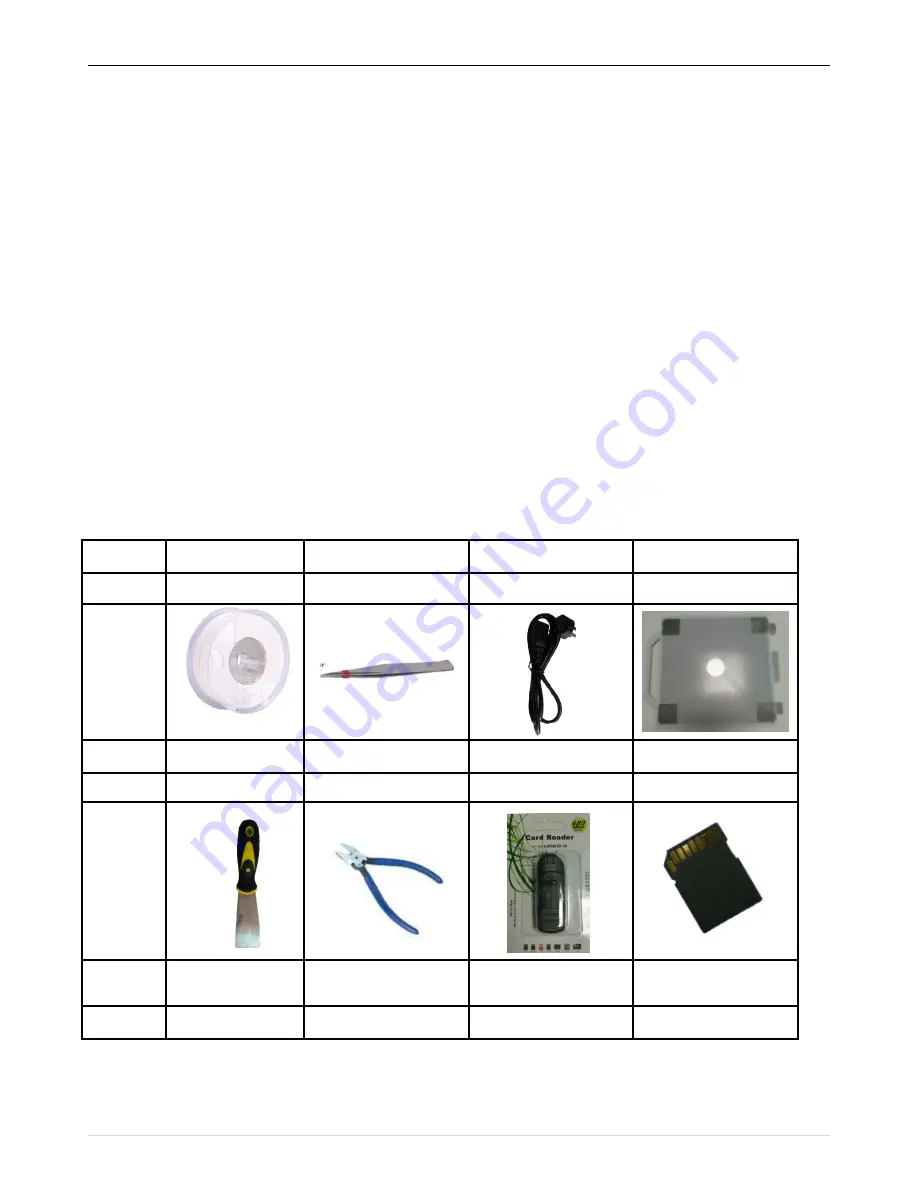
Directory
5. Flat head shovel
6. Plastic nippers
7. Card reader
8. SD card
Quantity
1 pcs
1 pcs
1 pcs
1 pcs
Remark
Directory
9. Data cable
10. Small wrench and
tweezers
11.Filament blanket
12
、
Instruction manual
Quantity
1 pcs
1 set
1 pcs
1 pcs


