

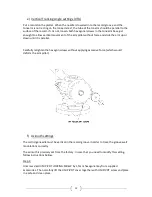
10
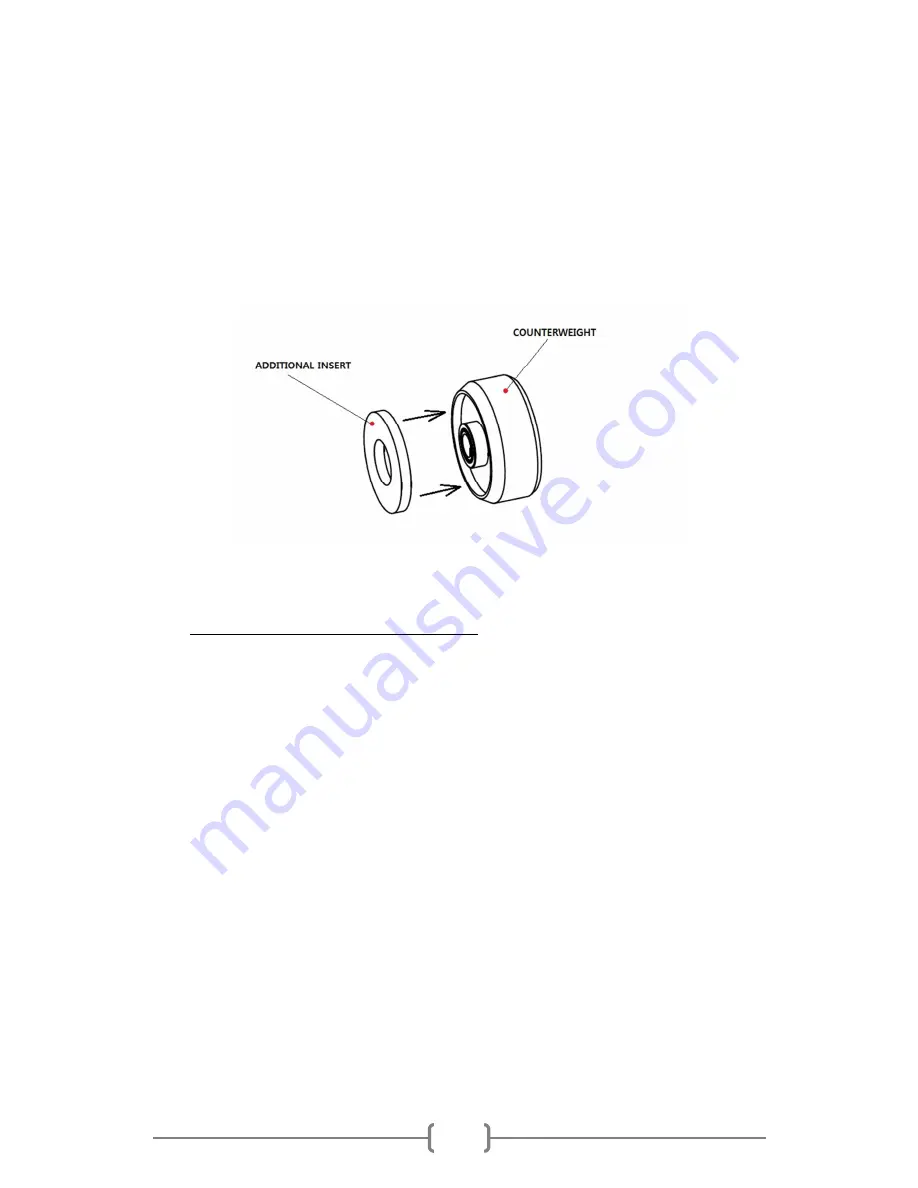
Counterweight without additional insert can balance cartridges
from
5 to 9g
.
Weight of the counterweight itself is
125g
.
Counterweight with additional insert can balance cartridges
from 8,5 to 13g
.
Weight of the counterweight with additional insert is
142g
.
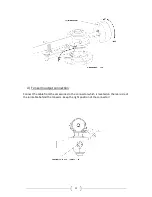
c)
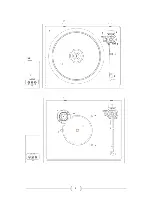
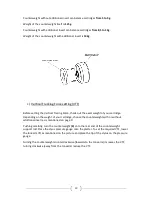
Vertical Tracking Force setting (VTF)
Before setting the Vertical Tracing Force, check out the exact weight of your cartridge.
Depending on the weight of your cartridge, choose the counterweight with or without
additional insert as is mentioned on page 9.
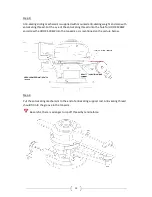
Pushing carefully, turn the counterweight
(4)
onto the rear end of the counterweight
support rod. Place the styus pressure gauge onto the platter. To set the required VTF, lower
the tonearm lift as mentioned on the picture and place the tip of the stylus on the pressure
gauge.
Turning the counterweight counterclockwise (towards to the tonearm) increases the VTF,
turning clockwise (away from the tonearm) reduce the VTF.
Summary of Contents for C-Sharp
Page 1: ...European Audio Team INSTRUCTIONS FOR USE EAT C Sharp ...
Page 4: ...4 ...


