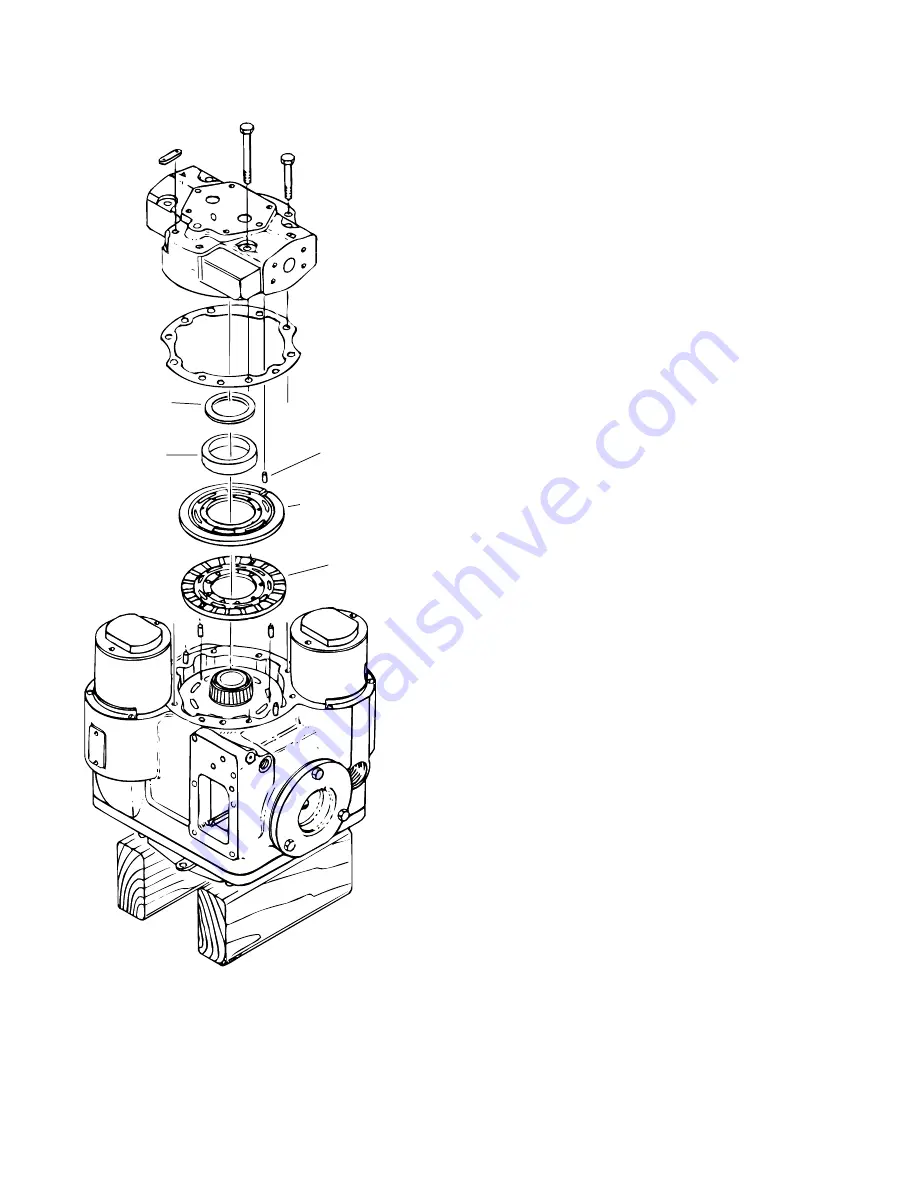
14
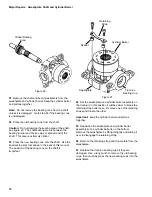
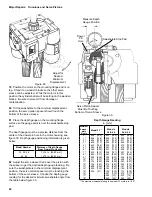
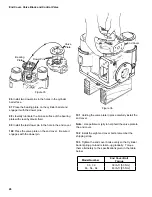
Valve Plate
Bearing Plate
Dowel Pin (7)
Figure 14
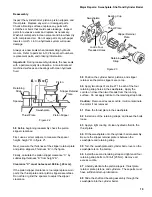
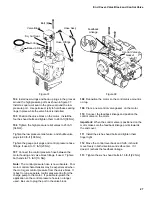
27 Remove the end cover.
Caution: The cylinder barrel spring pre-load will
damage the motor’s internal parts if the end cover is
removed incorrectly.
Start by removing six of the eight bolts that hold the end
cover to the motor. Leave two bolts that are directly
across from each other tight.
Next, loosen the two remaining bolts one or two turns.
The end cover should rise as the bolts are loosened. If it
doesn’t tap it with a plastic hammer to break the gasket
seal.
After the gasket seal is broken loosen the bolts
gradually and evenly until the cylinder barrel spring pre-
load is relieved.
Remove the bolts and lift the end cover from the motor.
Be careful; do not drop the valve plate, it may lift away
with the end cover.
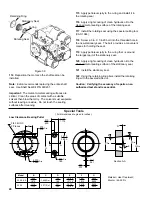
Important: Use care when handling the motor’s internal
parts. They are machined to extremely close tolerances.
28 Turn the end cover over and set it on a clean cloth.
Important: Always protect machined surfaces.
29 Remove the valve plate; it will either be on the end
cover or bearing plate.
Note: Keep track of the dowel pins, see figures 14 and
17. There is a total of seven dowel pins in the motor. It
is a good idea to put them in a small box so they don’t
get lost.
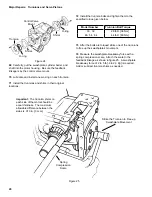
30 The bearing cup is slip-fit into the end cover. The
shims under the bearing cup adjust the shaft end play.
It is not necessary to remove these parts at this time.
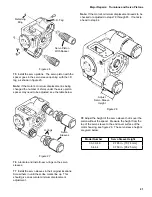
31 Remove the bearing plate.
32 Remove the end cover gasket.
33 Remove the two dowel pins from cylinder barrel face.
Shims
Bearing
Cup
Major Repairs: End Cover and Servo Sleeves
Summary of Contents for 1 Series
Page 31: ...31 Notes...


