UPS SYSTEM INSTALLATION
Eaton 9395 UPS (450–825 kVA) Installation and Operation Manual
S
164201725 Rev 4
www.eaton.com/powerquality
4-28
6.
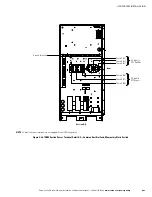
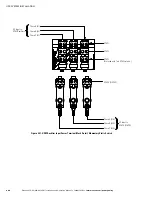
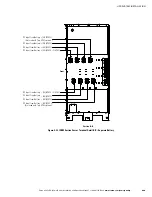
Connect phase A, B, and C rectifier input power wiring from the utility source to
each UPM rectifier input terminal block in the UPS cabinet. See paragraph 3.2.2
on page 3-11, Table 3‐8 on page 3-18, and Table 3‐14 on page 3-21 for wiring and
termination requirements.
7.
Proceed to Step 9.
8.
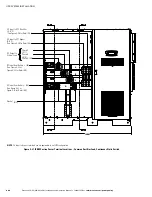
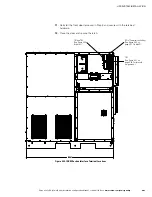
Using hardware from the external wiring terminal hardware kit (see Table 3‐12 on
page 3-21), connect phase A, B, and C rectifier input power wiring from the utility
source to the rectifier input terminals in the ISBM section. See paragraph 3.2.2
on page 3-11 for wiring and termination requirements.
9.
If installing a UPS configured as an Input Output Module (IOM), proceed to
Step 11; otherwise, proceed to Step 10.
10.
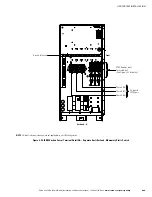
Using hardware from the external wiring terminal hardware kit (see Table 3‐12 on
page 3-21), connect phase A, B, and C, and Neutral (if required) bypass input
power wiring from the utility source to the bypass input terminals and neutral
terminals in the ISBM section. See paragraph 3.2.2 on page 3-11 for wiring and
termination requirements.
11.
If wiring a distributed bypass system, proceed to Step 12; otherwise, proceed to
Step 14.
C
A
U
T
I
O
N
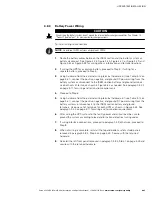
Distributed bypass system wiring length should be in accordance with Figure 4‐24, to ensure approximately
equal current sharing when in Bypass mode.
12.
Using hardware from the external wiring terminal hardware kit (see Table 3‐12 on
page 3-21), connect phase A, B, and C, and Neutral power wiring from the output
and neutral terminals of each UPS unit to the customer-supplied tie cabinet or
load distribution panel. See paragraph 3.2.2 on page 3-11 for wiring and
termination requirements.
13.
Proceed to paragraph 4.8.3.
14.
Using hardware from the external wiring terminal hardware kit (see Table 3‐12 on
page 3-21), connect phase A, B, and C, and Neutral (if required) power wiring
from output terminals and neutral terminals to the critical load. See
paragraph 3.2.2 on page 3-11 for wiring and termination requirements.
15.
Proceed to paragraph 4.8.3.


