42
4–20kVA Users Guide P-164000669 4–20kVA Users Guide P-164000669—Rev 09
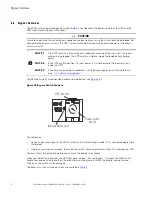
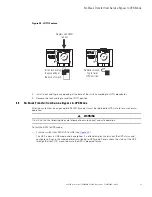
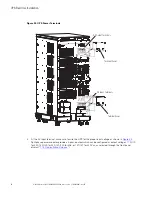
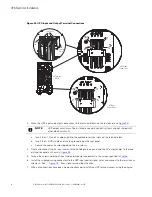
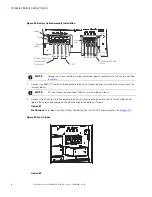
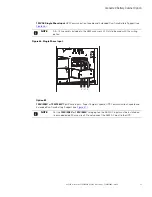
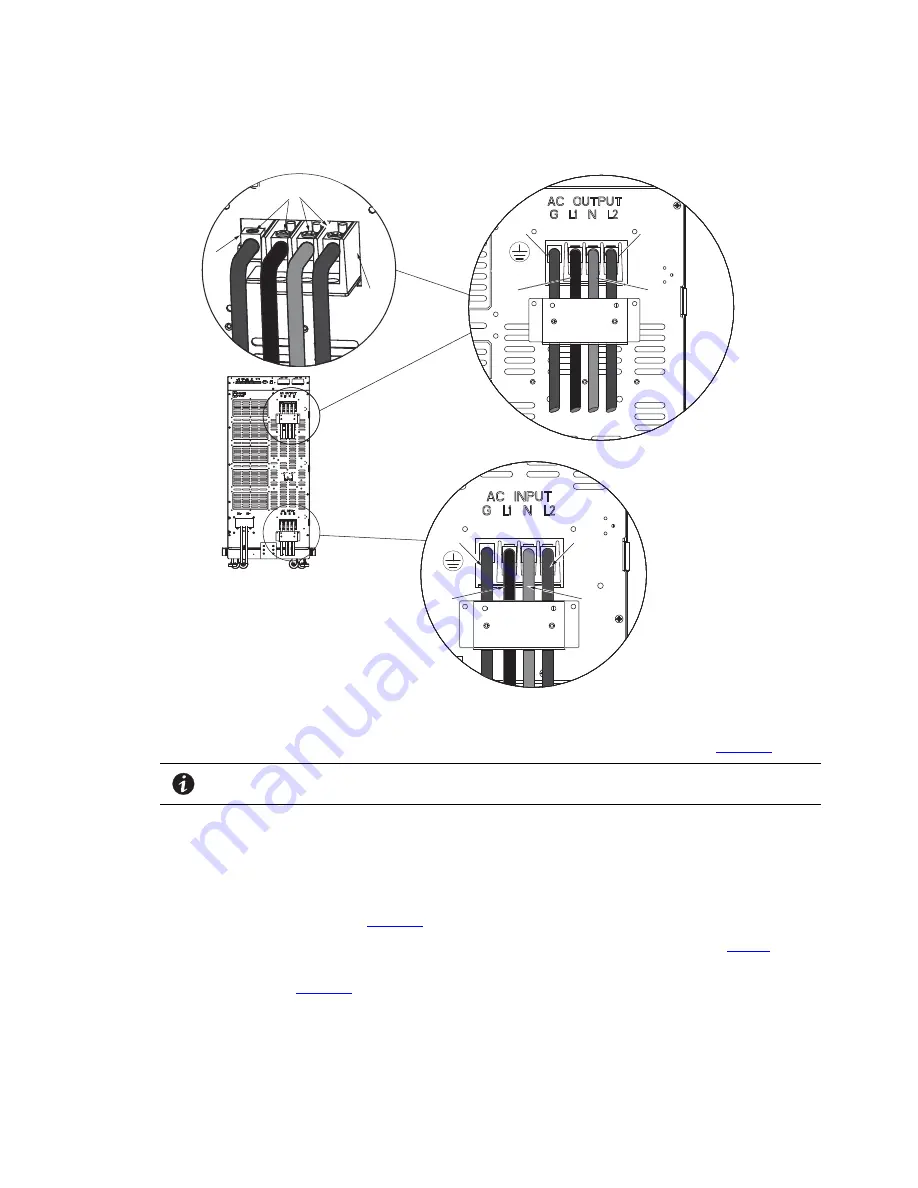
Figure 35. UPS Input and Output Terminal Connections
L2
N
GND
L1
AC Input
Connections
AC Output
Connections
N
L2
GND
L1
L1
AC Terminal
Blocks
Lug Screws
Terminal
Block
Ground
Lug
3.
Make the UPS input and output connections to the terminal blocks on the rear panel (see
):
NOTE
UPS output circuits must be installed in separate conduit systems and not shared with
other electrical circuits.
a.
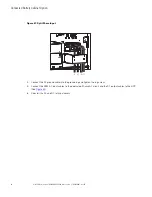
Insert the L1, N and L2 cable ends into the applicable terminal slots on the terminal block.
b.
Insert the G (GND) cable end into the ground lug on the rear panel.
c.
Secure the cables by screwing down the lug screws.
4.
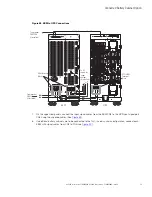
Route and connect the AC input cables to the building service panel and the AC output cables to the load
distribution panel as shown in
.
5.
Torque the screws holding all input and output power conductors to the values specified in
.
6.
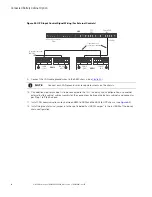
Install the supplied wiring connectors to the UPS input control signal wires and connect to the terminals as
shown in . See , “
” from signal terminal identification.
7.
When all connections have been made and checked, reinstall the UPS terminal covers using the original.
Summary of Contents for 9PXM
Page 1: ...p n P 164000669 Revision 09 Eaton 9PXM UPS 4 20kVA Users Guide Eaton 9PXM UPS ...
Page 4: ......
Page 8: ...viii 4 20kVA Users Guide P 164000669 4 20kVA Users Guide P 164000669 Rev 09 Table of Contents ...
Page 12: ...xii 4 20kVA Users Guide P 164000669 4 20kVA Users Guide P 164000669 Rev 09 List of Figures ...
Page 14: ...xiv 4 20kVA Users Guide P 164000669 4 20kVA Users Guide P 164000669 Rev 09 List of Tables ...
Page 22: ...8 4 20kVA Users Guide P 164000669 4 20kVA Users Guide P 164000669 Rev 09 Physical Features ...
Page 110: ...96 4 20kVA Users Guide P 164000669 4 20kVA Users Guide P 164000669 Rev 09 Communication Slots ...
Page 130: ...P 16400066909 P 164000669 09 ...

