


Serial Interface Operation
Eaton Advanced ePDU User’s Guide P-164000042—Rev 1
www.eaton.com/ePDU
82
Enable/disable the SNMP Agent
1.
Access the Serial interface and log in.
2.
Type
1
(Network Management Card Settings) and press [Enter].
3.
Type
2
(Network Settings) and press [Enter].
4.
Type
3
(Communication Control) and press [Enter].
5.
Type
7
(SNMP Control) and press [Enter].
6.
Type
1
(SNMP Control) and press [Enter].
7.
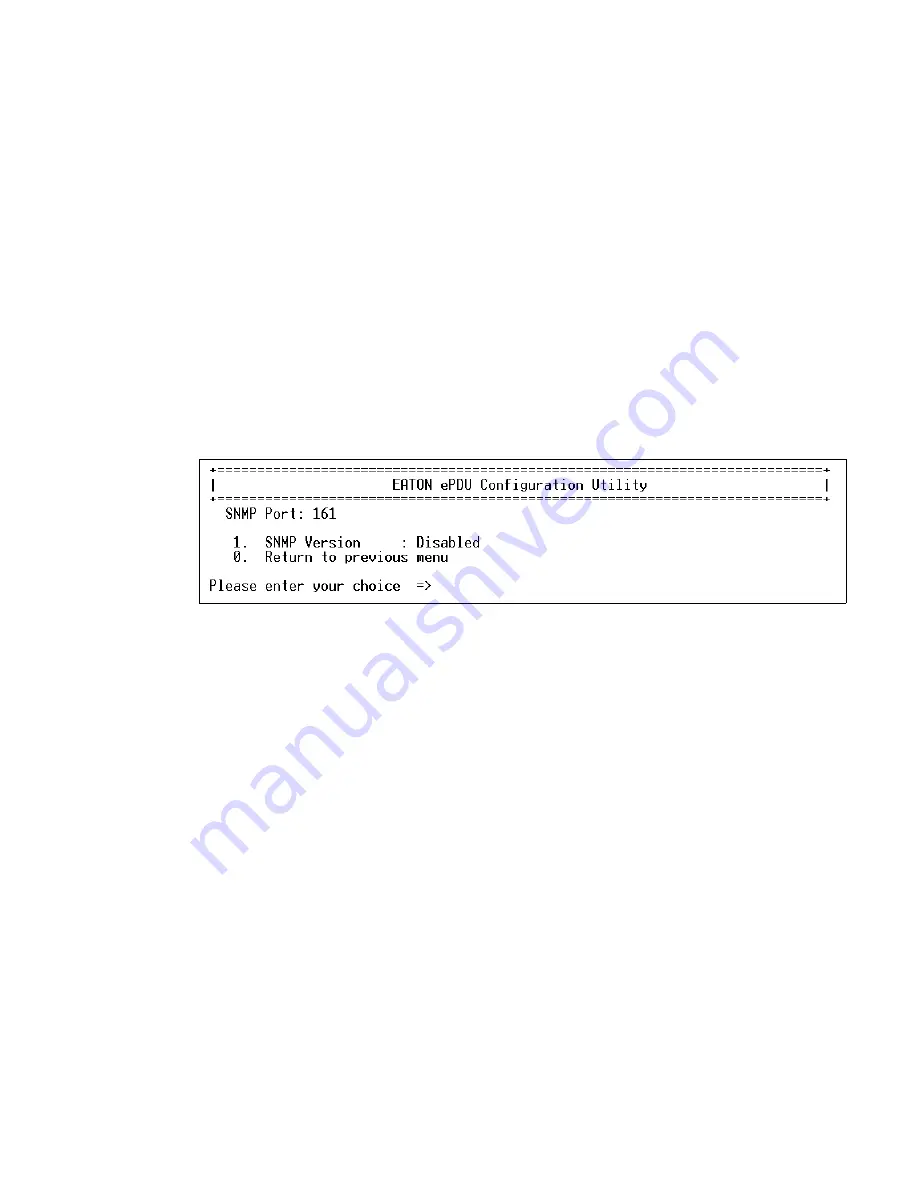
Choose an SNMP version:
l
Disabled
: Type
0
and press [Enter]. The agent is disabled. The MIB cannot be read and no traps are
sent (see Figure 59).
l
SNMPv1
: Only SNMPv1 users and SNMPv1 traps are supported. Type
1
and press [Enter].
l
SNMPv3
: Only SNMPv3 users and SNMPv3 traps are supported. Type
2
and press [Enter].
l
SNMPv1 & v3
: Both SNMPv1 and SNMPv3 users and traps are supported. Type
3
and press [Enter].
Figure 59. SNMP Version Status
Define SNMPv1 Users
1.
Access the Serial interface and log in.
2.
Type
1
(Network Management Card Settings) and press [Enter].
3.
Type
4
(SNMPv1 Community) and press [Enter].
4.
Type
1
(Modify - Modify a table entry) and press [Enter].
5.
Type the number of SNMPv1 user to modify and press [Enter].
6.
Type the community name (SNMP user’s name) and press [Enter].
7.
Choose the access rights allowed to the SNMPv1 user as follows:
l
No Access
: The SNMPv1 user is disabled with no access to the MIB objects. Type
0
and press [Enter].
l
Read-Only
: The SNMPv1 user can only get the MIB objects. Type
1
and press [Enter].
l
Read/Write
: The SNMPv1 user can get and set the MIB objects. Type
2
and press [Enter].
Define SNMPv3 User-based Security Model Users
1.
Access the Serial interface and log in.
2.
Type
1
(Network Management Card Settings) and press [Enter].
3.
Type
5
(SNMPv3 USM Table) and press [Enter].
4.
Type
1
(Modify - Modify a table entry) and press [Enter].


