Serial Interface Operation
Eaton Advanced ePDU User’s Guide P-164000042—Rev 1
www.eaton.com/ePDU
88
13. Type
5
(IPv6 Default Router) and press [Enter].
14. Type the gateway IPv6 address and press [Enter].
15. Type
0
(Return to previous menu) and press [Enter].
16. Type
0
(Return to previous menu) and press [Enter].
17. Type
0
(Return to previous menu) and press [Enter].
18. Type
3
(Restart Network Management Card) and press [Enter].
19. Type
Y
and press [Enter]. The Network Management Card restarts.
Configure the Date and Time
The ePDU date and time can be configured from the remote interfaces, from the SNMP agent, or either
manually or automatically from a network NTP server.
Manually Configure the Date and Time
1.
Access the Serial interface and log in.
2.
Type
1
(Network Management Card Settings) and press [Enter].
3.
Type
6
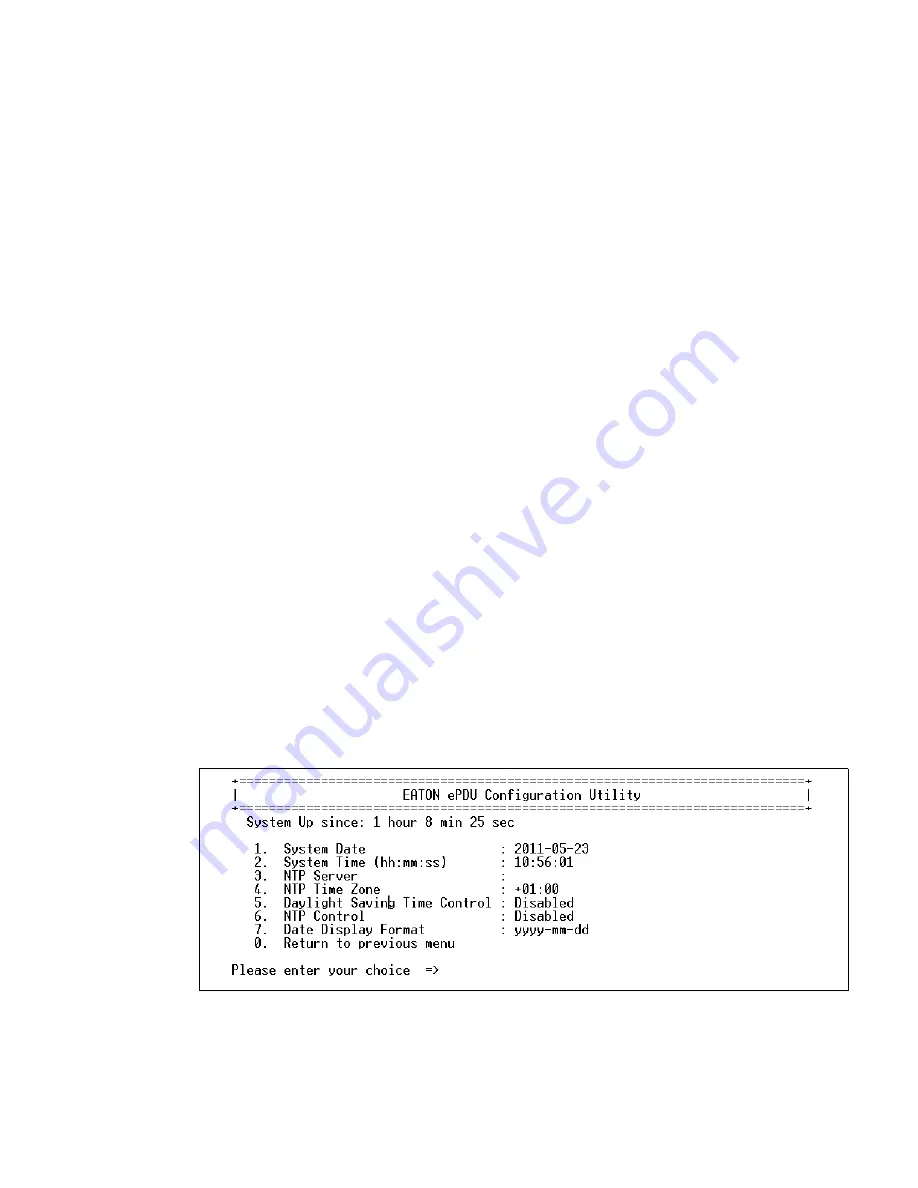
(Date and Time) and press [Enter].
4.
Type
7
(Date Display Format) and press [Enter].
5.
Choose the date format by typing
1, 2, 3,
or
4
and press [Enter].
6.
Type
6
(NTP Control) and press [Enter].
7.
Type
0
(Disabled) and press [Enter].
8.
Type
1
(System Date) and press [Enter].
9.
Type the system date and press [Enter]. The date format is
yyyy-mm-dd
, where
yyyy
= year,
mm
= month,
and
dd
= day.
10. Type
2
(System Time)
and press [Enter].
11. Type the system time and press [Enter]. The time format is
hh:mm:ss
, where
hh
= hours,
mm
= minutes,
and
ss
= seconds.
Figure 63. Date and Time Configuration


