background image

INS #

Brand Logo  

reversed out of 

black

INS #

IB501001EN 

Installation Instructions – Arbor Bollard 

Instructions d’installation – Arbor Bollard

Instrucciones de instalación – Arbor Bollard 

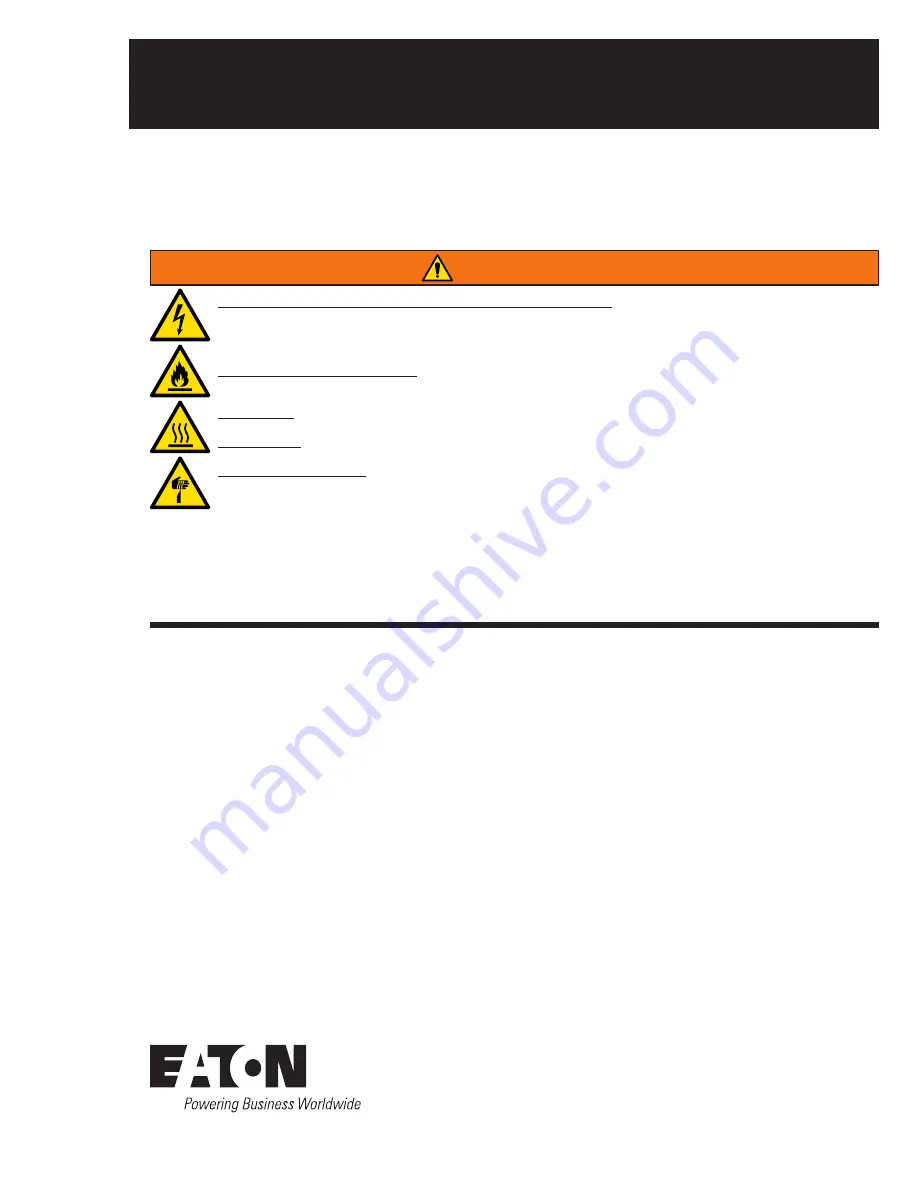
Risk of Fire, Electrical Shock, Cuts or other Casualty Hazards- Installation and maintenance of this 

product must be performed by a qualified electrician. This product must be installed in accordance 

with the applicable installation code by a person familiar with the construction and operation of the 

product and hazards involved. 

Risk of Fire and Electric Shock- Make certain power is OFF before starting installation or attempting 

any maintenance. Disconnect power at fuse or circuit breaker.

Risk of Fire- Refer to product label for specific minimum supply conductor requirements.

Risk of Burn- Disconnect power and allow fixture to cool before handling or servicing.

Risk of Personal Injury- Fixture may become damaged and/or unstable if not installed properly.

Failure to comply with these instructions may result in death, serious bodily injury and property damage.

WARNING

DISCLAIMER OF LIABILITY: Eaton assumes no liability for damages or losses of any kind that may arise from the 

improper, careless, or negligent installation, handling or use of this product.


NOTICE:

 Green ground wire provided in proper location. Do not relocate.

ATTENTION Receiving Department:

 Note actual fixture description of any shortage or noticeable damage on 

delivery receipt. File claim for common carrier (LTL) directly with carrier. Claims for concealed damage must be 

filed within 15 days of delivery. All damaged material, complete with original packing must be retained.

Safety

: This fixture must be wired in accordance with the National Electrical Code and applicable local codes and 

ordinances. Proper grounding is required to insure personal safety. Carefully observe grounding procedure under 

installation section. 

APPLICATIONS

: This lighting fixture is designed for outdoor lighting services, and should not be used in area 

of limited ventilation or inside high ambient temperature enclosures. It must be stored in a dry location prior to 

installation. Do not expose lighting fixture to rain, dust or other environmental conditions prior to installation 

and insertion of photo control or shorting cap (if so equipped). Best results will be obtained if installed and 

maintained according to the following recommendations.

Summary of Contents for Arbor Bollard

Page 1: ...umes no liability for damages or losses of any kind that may arise from the improper careless or negligent installation handling or use of this product NOTICE Green ground wire provided in proper location Do not relocate ATTENTION Receiving Department Note actual fixture description of any shortage or noticeable damage on delivery receipt File claim for common carrier LTL directly with carrier Cla...

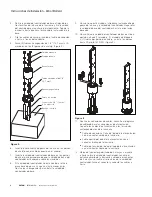
Page 2: ...4 Pull field wires including ground wire through conduit 5 Assemble 3 1 2 hex nuts and 3 washers to the 3 anchor bolts Figure 2 6 Insert the base rubber pad onto the anchor bolts with exposed wire thru the middle 7 Insert the base driver assembly onto the anchor bolts making sure the base driver assembly is sitting on the washers 8 If driver assembly is not leveled remove rubber base plate and mak...

Page 3: ...e driver assembly and fixture housing 14 Use 3 1 4 socket cap flat head screws and tighten to 30 in lbs 3 4 N M with Allen wrench 11 Make wire connections refer to wire diagram for power connections Connect the supply wires to appropriate luminaire leads Supply side ground wire to green luminaire lead Supply side neutral wire to white luminaire lead Supply side line voltage wire to black luminaire...

Page 4: ...tion et d entretien suivantes Risque d incendie de décharge électrique de coupure ou d autres accidents de personne L installation et l entretien de ce produit doivent être effectués par un électricien qualifié Ce produit doit être installé conformément aux règles d installation en vigueur par une personne familière avec la construction et le fonctionnement du produit ainsi qu avec les risques inh...

Page 5: ...coussinet de base en caoutchouc et l ensemble pilote Tournez l ensemble pilote de base jusqu à ce que vous obteniez l orientation souhaitée 10 Une fois l ensemble pilote de base en position ajoutez 1 rondelle 1 rondelle d arrêt et 1 écrou par boulon d ancrage et serrez les boulons à un couple de 41 N m 30 pi lb Figure 3 11 Connectez les fils en vous référant au schéma de câblage pour les connexion...

Page 6: ...de base puis alignez les orifices inférieurs avec l extrusion de la base Figure 4 Remarque R Assurez vous que les fils de mise à la terre et de DEL ne se retrouvent pas coincés entre l ensemble pilote de base et le boîtier du luminaire 14 Utilisez 3 vis à tête plate creuse de 6 3 mm 1 4 po et serrez à un couple de 3 4 N m 30 po lb avec une clé hexagonale Figure 4 ...

Page 7: ... sección de instalación APLICACIONES Este accesorio de iluminación está diseñado para servicios de iluminación al aire libre y no debe utilizarse en áreas de ventilación limitada o en lugares cerrados a alta temperatura ambiente Debe almacenarse en un lugar seco antes de la instalación No exponga el accesorio de iluminación a la lluvia el polvo u otras condiciones ambientales antes de la instalaci...

Page 8: ... terminales correspondientes de la luminaria Cable de conexión a tierra del lado de la alimentación con el conector verde de la luminaria Cable neutro del lado de la alimentación con el conector blanco de la luminaria Cable de tensión de línea del lado de la alimentación con el conector negro de la luminaria 12 Ubique el conector polarizado de 2 clavijas y el cable a tierra sobre la unidad del con...

Page 9: ...controlador de base y alinee los orificios inferiores con la extrusión de la base Figura 4 Nota N Asegúrese de que los cables del LED y a tierra no queden apretados entre la unidad del controlador de la base y el alojamiento 14 Use 3 tornillos hexagonales de cabeza plana de 1 4 6 3 mm y ajústelos hasta 30 in lb 3 4 N M con la llave Allen Figura 4 ...

Page 10: ... Todas las marcas comerciales son propiedad de sus respectivos propietarios Product availability specifications and compliances are subject to change without notice La disponibilité du produit les spécifications et les conformités peuvent être modifiées sans préavis La disponibilidad de productos las especificaciones y los cumplimientos están sujetos a cambio sin previo aviso Warranties and Limita...

Reviews: