I.B. 48003
Page 6
Effective 11/97
MECHANICAL INTERLOCKS
Before putting an Ampgard
®
controller into service,
become familiar with the mechanical interlocks.
Door Interlock.
With the isolating switch handle in the HORIZONTAL
position, the door to the medium-voltage compartment can
be opened. As soon as the door opens, a mechanical
interlock becomes effective. It is designed to prevent the
user from accidentally operating the isolating switch handle
and closing the starter on to the line with the door open.
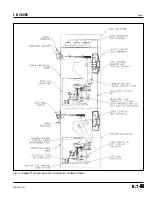
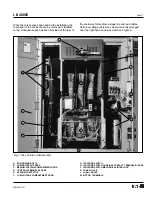
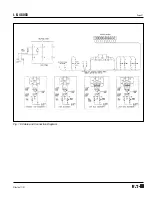
This interlock is a spring-loaded plunger located just
below the handle housing (Figure 5, View D). This
prevents the handle from being accidentally returned to
the OFF position. This interlock may be deliberately
bypassed by depressing the plunger with a screwdriver
so that the handle can be moved to the OFF position to
observe the operation of the isolating switch during
installation or maintenance. To do this, it is necessary to
deliberately bypass the interlock. The handle must be
returned to the HORIZONTAL position by again depress-
ing the interlock plunger before the door can be closed.
The operator must be aware of what he is doing and take
appropriate safety precautions.
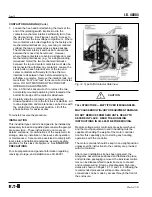
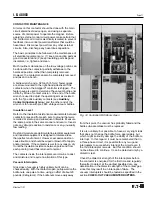
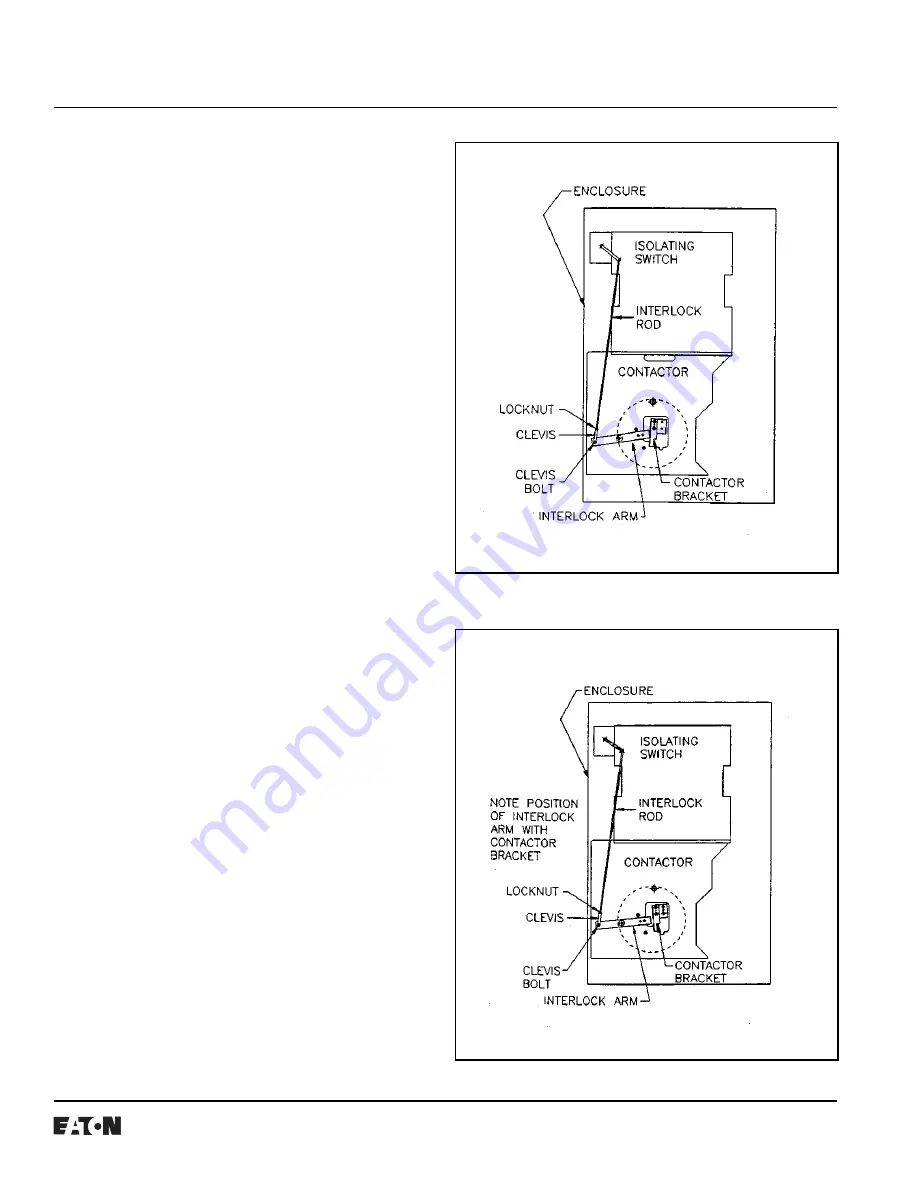
Contactor-to-Isolating-Switch Interlock.
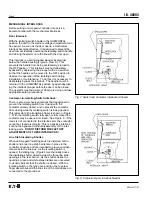
There is also a mechanical interlock that is designed to
prevent the isolating switch from closing with the
contactor already closed, and to prevent the contactor
from closing while the isolating switch is being opened.
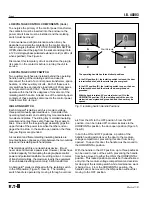
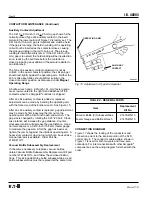
This latter state (the transition phase) is shown in Figure
7. With the isolating switch fully open or fully closed the
contactor may be opened or closed. See Figure 8. If the
clevis is not connected to the interlock arm, the contactor
cannot be closed electrically. This is a positive interlock,
it cannot be bypassed without disassembly of the inter-
locking parts. DO NOT DISTURB THE FACTORY
ADJUSTMENTS OF THESE INTERLOCKS!
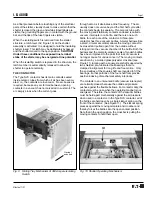
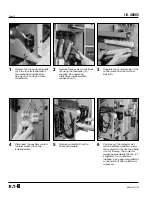
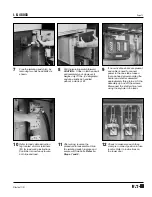
Line Stab Insulating Shutter.
When an Ampgard
®
isolating switch is installed, both a
shutter and a rear line stab barrier are in place in the
controller structure and are intended to prevent acciden-
tal access to the line bus. As the isolating switch is
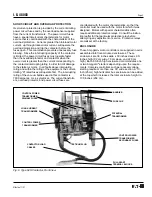
opened, the sliding tray (Figure 9) mechanically drives
the insulating shutter closed across the three line stab
openings in the rear barrier. As the shutter closes the
openings, green and white striped labels are uncovered
to visually indicate that the shutter is closed. With the
isolating switch in the fully open position, the fuse jaw
finger assemblies and the line side of the main fuses are
connected to the ground bar.
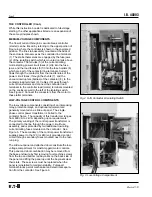
Fig. 8 Contactor Open, Interlock Neutral
Fig. 7 Switch and Contactor Interlocked Closed


