Effective
10
/00
Page 33
IL 33-K2C-3
STEP 15: TESTING THE BREAKER
NOTE:
Insure that a minimum of one (1) hour has
past since the final gap on the DTA was
set in Step 6-D. If one (1) hour has not
past, delay the start of testing until the
minimum time has been reached.
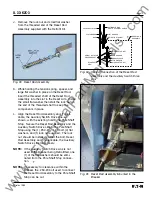
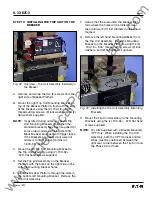
A. Measure the force necessary to trip the
Breaker at the point where the top of the DTA
Trip Plate impacts the Breaker trip Arm. The
force necessary to trip the Breaker
MUST NOT
EXCEED THREE
(3) lbs.
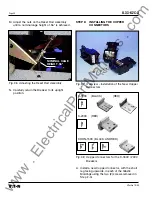
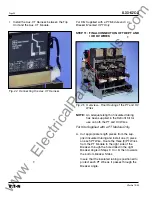
B. Temporarily remove the 7-Point Terminal Block
Cover and disconnect the DTA Extension
Harness wires from their terminals.
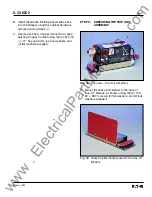
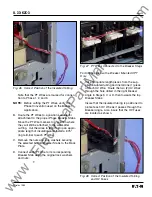
C. Connect a 24 VDC power supply to the DTA
Extension Harness wires; positive to positive
and negative to negative. Close the Breaker
manually. Energize the DTA to trip the Breaker;
de-energize when the Breaker trips. Make
certain that the DTA resets. If the Breaker fails
to properly trip or reset, make the necessary
adjustments to insure a .06" gap between the
top of the DTA Adjustment Disk and the bot-
tom of the Breaker Trip Bar (for Trip function)
and .56” cage height on the Reset Rod Assem-
bly (for Reset function). Repeat the procedure
until proper trip and reset is achieved.
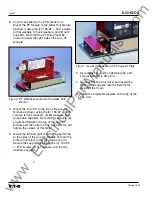
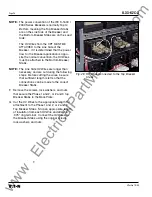
D. Reconnect the DTA Extension Harness wires to
the proper terminals of 7-Point Terminal Block
and reinstall the Terminal Block Cover.
E. The Retrofit must be tested using primary
injection. Refer to Section 8 of the Instructions
for the
Application of Digitrip RMS Retrofit Kits
on Power Circuit Breakers
(Publication
AD 33-855-2), supplied with the Retrofit Kit, for
detailed testing procedures and specifications.
For test information specific to the Trip Unit,
refer to the IL publication supplied with the
Retrofit Kit (see the Pick List for the IL number).
F.
While Section 8 of the
Instructions for the
Application of Digitrip RMS Retrofit Kits on
Power Circuit Breakers
provides the informa-
tion necessary for testing the Breaker, please
keep the following notes in mind when review-
ing other sections of the publication.
CAUTION:
WHEN ALL TESTING IS COMPLETE, THE TRIP
UNIT MUST BE RESET. FAILURE TO DO SO
MAY CAUSE THE BATTERY IN THE RATING
PLUG TO RUN DOWN.
NOTES:
1. For All Kits Other Than 510 Basic. If testing
the Breaker with Short Delay or Ground
Fault functions, be sure to either plug in the
Cell Harness Assembly or use the Zone
Interlock Shorting Plug. Failure to do so
may result in shorter than expected trip
times.
2.
For 810 and 910 Kits Only.
Without any
power applied to the system (neither the 120
volt power supply nor the Aux. Power Mod-
ule connected), plug the External Harness
into the Cell Harness and check the imped-
ance between COM 1 and COM 2. The
impedance should be between one (1) and
three (3) ohms. If the impedance is not
within this range, trace the wiring and
examine each connection to assure its
integrity.
Confirm that the PowerNet communication
wiring is correct by following the proce-
dures detailed in Section 7.4 of the Instruc-
tions for the Application of Digitrip RMS
Retrofit Kits on Power Circuit Breakers.
Note that for 810 and 910 Kits, the imped-
ance between COM 1 and COM 2 should be
between one (1) and three (3) ohms.
When testing is complete, disconnect the
External Harness from the Cell Harness.
Final External Harness connection will be
performed later in the Retrofit Process.
www
. ElectricalPartManuals
. com

