17
User Manual
MN032006EN
Effective December 2017
415U Condor-long-range
wireless I/O and gateway
EATON
www.eaton.com
The module’s default Ethernet settings are as follows:
•
IP Address:
192.168.0.1XX
(shown on the printed label on the side of the module)
•
Subnet Mask: 255.255.255.0
•
User Name:
user
•
Password:
user
If the module is new out-of-the-box you can use the default
credentials. Otherwise, you will need to use the values set
previously. If you have lost the password, you can clear the device
to set the username and password back to the default values.
For instructions, see “Restoring the factory default settings”
on
page 68
.
Once you have the device’s IP address and password:
1. Power on the device, and wait for the device to finish booting
and for the “PWR” LED to go solid green (about 1 minute).
2. Start the Configuration Application
3. Connect an Ethernet cable between the module’s Ethernet port
and the PC.
4. Configure your PC networking settings to be on the same
network as the device. For instructions on how to do this, see
“Configuring PC networking settings” on
page 68
.
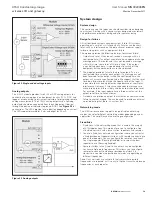
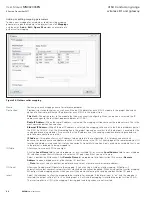
Select an option from the Communications panel, such as “Program
Unit”. You will be presented with a connection dialog.
Figure 30
Select option “Ethernet” and enter the Device’s IP Address. Enter
your User Name and Password, and click OK.
Configuring your System using the PC-Based
Configuration Utility
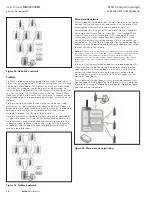
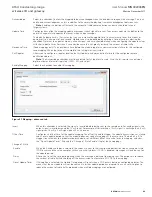
Once you have installed and started the configuration utility, you can
begin to configure your system. Begin by selecting the “Units” tree
node, and clicking “Add a new Unit”. Select the type of device you
will be adding, and click “OK”
Figure 31
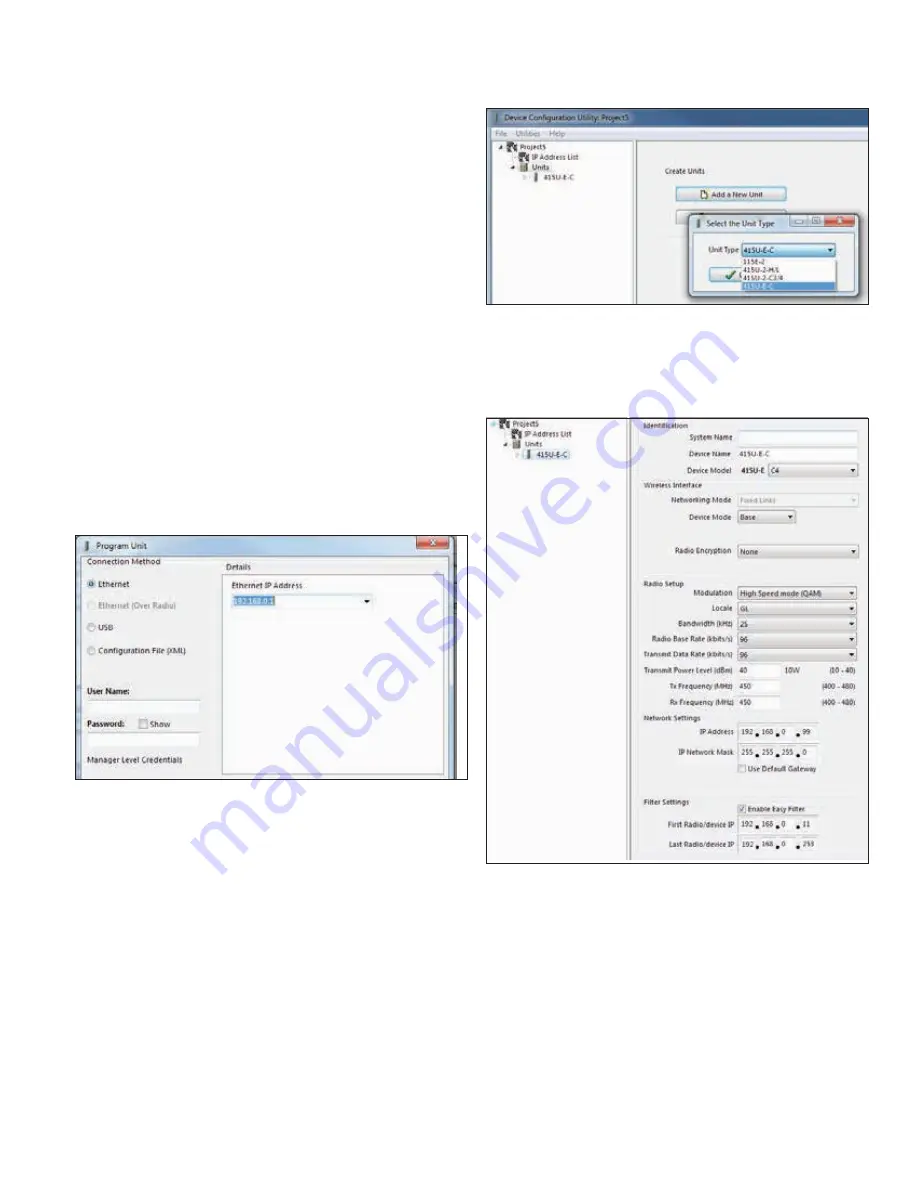
Configure how the device connects
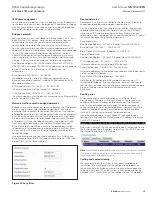
Once you have added the device, you will see the device’s main
configuration page. This page will allow you to set up the device to
communicate with the rest of the network
Figure 32
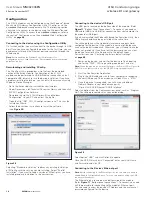
The first device you add should be configured as a base station. You
should add and configure each of the system base stations into your
project first, followed by the repeaters, then remotes.
Note: A system is made up of base stations, repeaters, and remote
sites. The base stations are connected to your wired backbone.
Remote sites are your field locations. Repeaters forward signals for
remotes that can’t reach the base directly.
Once you have added your site, configure each item as
described below.


