


5
TC-1 Timeclock User Guide
www.eaton.com/lightingsystems
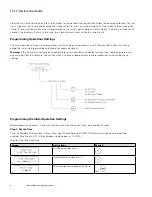
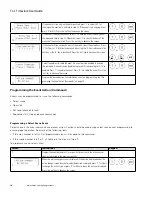
Step 2: Set the Date
The date is entered in Day:Month:Year format (DD:MM:YY). For example, February 16, 2019 would be entered as 16:02:19.
To adjust the time clock date:
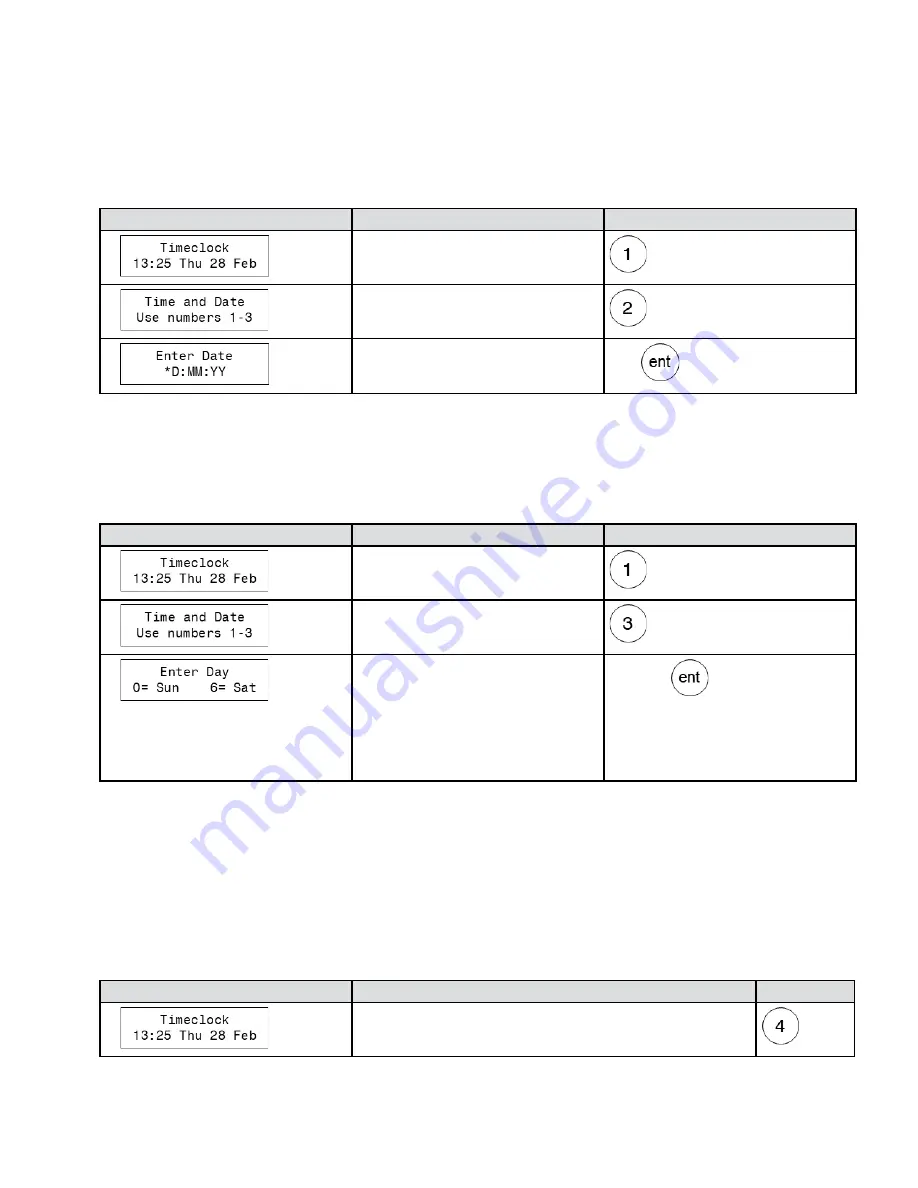
Screen
Instructions
Keypad
1.
From the main display, press ‘1’.
2.
In the time and date screen, press ‘2’.
3.
Enter the current date in DD:MM:YY format
followed by the ‘ent’ key.
Date
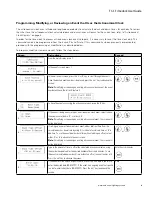
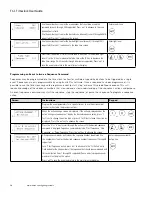
Step 3: Set the Day of Week
Enter the current day of week so that events run on the properly defined days.
To adjust the time clock day of week:
Screen
Instructions
Keypad
1.
From the main display, press ‘1’.
2.
In the time and date screen, press ‘3’.
3.
Enter the number corresponding to the current
day of week (0=Sun, 1=Mon, 2=Tues, 3=Weds,
4=Thurs, 5=Fri, 6=Sat).
Once the day is selected, press the ‘ent’ key
to save.
0-6 for day
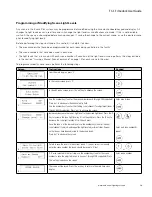
Additional Operations Setting Review
Astronomical clock settings, daylight savings time dates and firmware version may be reviewed through the onboard display.
Astronomical Clock Review
If astronomical clock parameters are adjusted from the onboard display, some parameters available only from iLumin Plus
software may be lost. Unless absolutely necessary, avoid using the TC1 screen to change pre-configured astronomical clock
coordinates. The TC1 display may be helpful to review the current dusk and dawn times.
To review the astronomical clock:
Screen
Instructions
Keypad
1.
From the main display, press ‘4’.


