InsulGard System Installation and Start Up Guideline
21
2.3 Verifying/Correcting Configuration
Verify that the proper InsulGard device has been installed by sticker on the InsulGard face and comparing serial
numbers in software and on the monitor label.
1. Go t
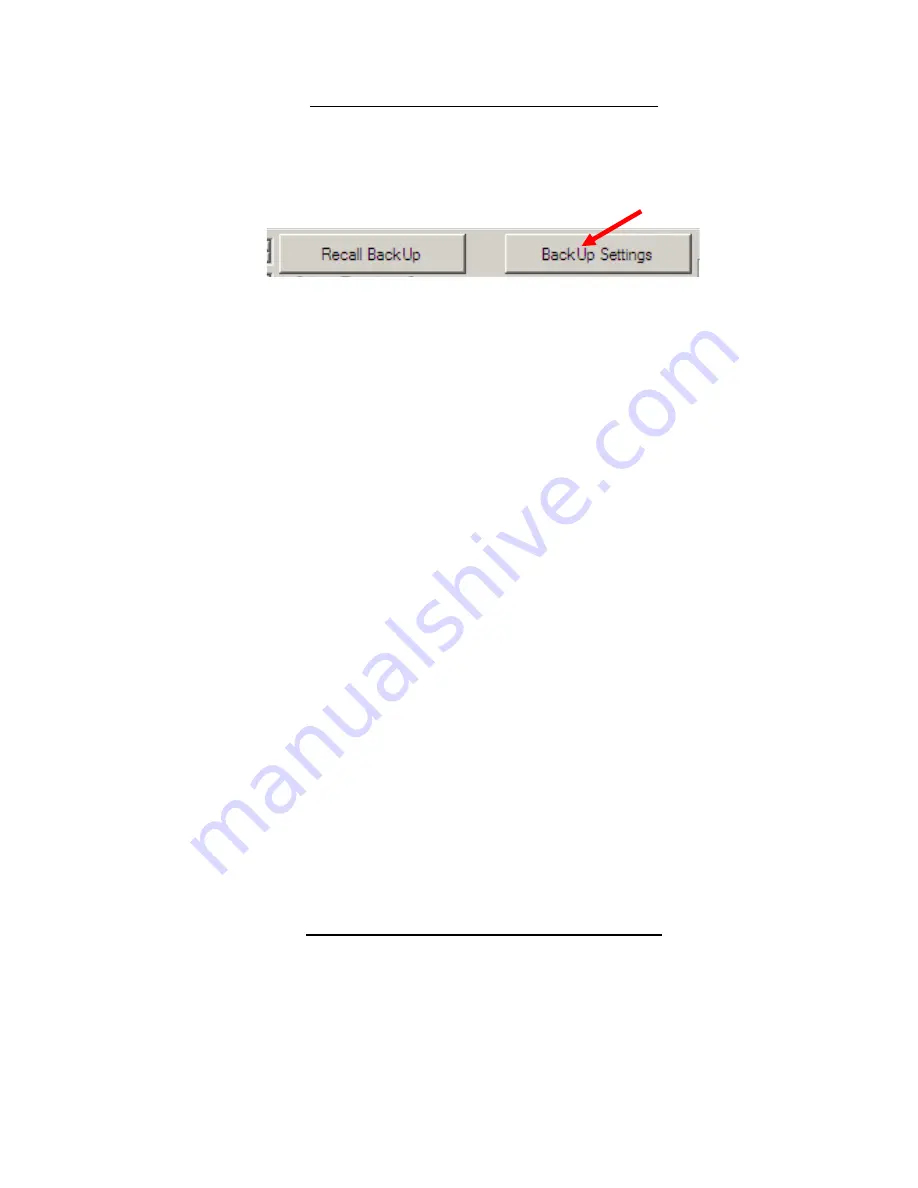
o “Unit settings” tab and save the existing settings by clicking “BackUp Settings”. One can always retrieve
those settings if faced a problem.
2.
Press the “Get Settings from Device” button located on the Communications Tab. If downloaded settings do not
coincide with database settings it is an evidence of possible modification by third party or switched InsulGard
devices.
3. If you have different settings in the device, database software will display warning message and list parameters
that are different. Write down the differences
– it will help to change settings wisely afterwards. Scroll through to
the end of the list
– some lines may be out of the window. Click “Update Database with Device Settings” if you
are sure that working with proper object and device and changes must be made.
4. Verify
channels activation and sensors’ IDs in software Unit Settings. If the existing database configuration does
not match actual sensors’ configuration in the monitored object, change software configuration to reflect the
actual sensors’ configuration (see Appendix).
5. After correcting settings in software p
ress “Backup Settings” in Unit Settings tab.
6. Send correct setti
ngs by pressing “Send Settings to Device” button in Communications Tab.
Set Correct Date and Time
The time and date on the InsulGard was set in Minneapolis, Minnesota. Local time and date must be entered. Also if
a device has spent too much time on a shelf, backup clock battery can be discharged and date/time corrupted:
1. Go to the Communications Tab.
2. If the time and date on your computer is the same as the local time and date, press "Apply PC Time" button.
3. Can make any changes to the time and date in the
“Device Time” field to reflect local time.
4. Click "Set Device Time" button.
Erase device memory
Erase all data that might be stored in the InsulGard memory
by clicking “Erase Device Memory” in
“Communications” tab.
2.4 PD Channel Calibration/Verification
(Optional but highly recommended.)
Perform calibration/verification by injecting Pulse Signal to the sensors from a calibrating generator and recording
data with InsulGard monitor. It is the only 100% reliable way to verify proper sensors connections and functioning
throughout the whole InsulGard/Sensors system. Errors like wrong sensor cable labeling, switched central wire and
shield of coax cables
can’t be verified with ohmmeter. Have PD calibrator or pulse generator with pulse width 100-
500 ns, repetition rate ~1-10 kHz and magnitude ~10 V (@50 Ohm load).


