Getting Started
Eaton Power Xpert Gateway PXGX PDP Card User’s Guide 164202122—Rev 1
17
13. From the
Start
menu, go to
All Programs > Accessories > Command Prompt
to open a Command
Prompt window.
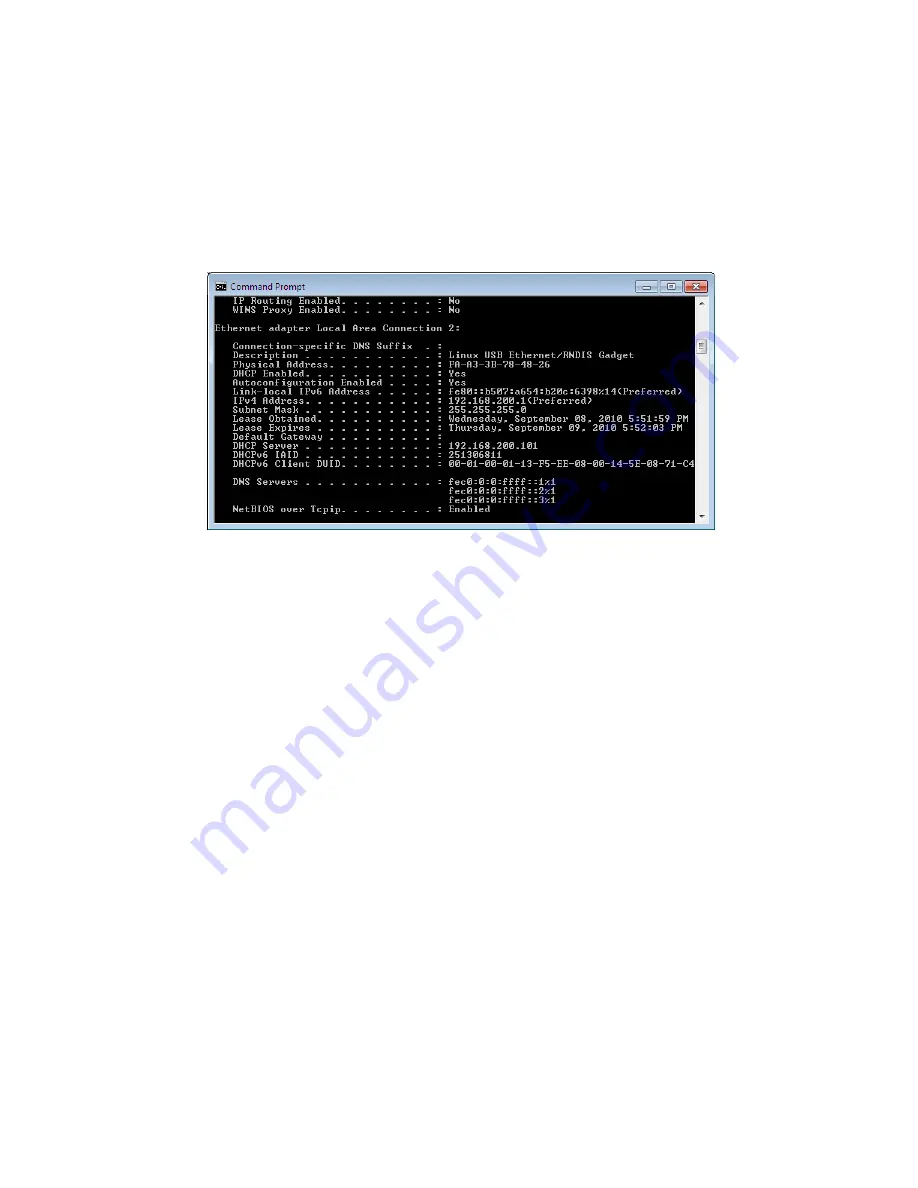
14. Enter
ipconfig /all
.
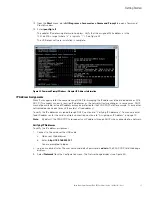
The adapter IP addressing information displays. Verify that the assigned IPv4 address is in the
192.168.200.x range (where “x” is typically “1”). See Figure 23.
The USB driver software installation is complete.
Figure 23. Command Prompt Window – Adapter IP Address Information
IP Address Assignments
Many IT managers prefer the convenience of DHCP for managing the IP addresses of networked devices. With
DHCP, IT managers can easily reassign IP addresses as the network structure changes. In some cases, DHCP
may not be available, or fixed IP addresses may be preferred for the PXGX PDP Card (for example, if some other
networked device needs to reach the card at a fixed address).
To verify the IP addresses assigned through DHCP, continue to “Verifying IP Addresses.” To manually enter
fixed IP addresses for the card's network connection, continue to “Assigning an IP Address” on page 19.
Note:
By default, the PXGX PDP Card requests an IP address through DHCP when connected to a network.
Verifying IP Addresses
To verify the IP address assignment:
1.
Connect to the card over the USB cable:
a.
Open your Web browser.
b.
Enter:
http://192.168.200.101
You are prompted to log on.
2.
Log on as administrator. The user name and default password is
admin
. The PXGX PDP Card Web page
displays.
3.
Select
Network
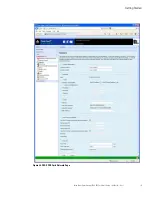
from the Configuration menu. The Network page displays (see Figure 24).


