8
User’s Guide P-164000628
P-164000628—Rev 05
Table 2. RBPM Terminal Block Sizing
BPM Terminal Block
Sizing
75°C Copper Wire Size
Conductor Screw Torque
Wire Size Range
BPM 125A Models
42.1 mm
2
(1 AWG)
6.6 Nm (50 lb in)
10 - 1/0 AWG
BPM 30A Models
8.4 mm
2
(8 AWG)
4.5 Nm (40 lb in)
14 - 6 AWG
!
IMPORTANT
FOR U.S. INSTALLATIONS, READ THIS IMPORTANT NOTE
•
lists the mm
2
and AWG wire size for each circuit breaker size shown on the wiring diagrams. The
minimum recommended circuit breaker sizes for each model and voltage application are listed on the
wiring diagrams.
•
Conductor sizes shall be no smaller than the 75°C wire size based on the ampacities given in Table 310–
16 of the National Electrical Code® (NEC®), ANSI/NFPA 70-1999, and article 220. All circuit conductors,
including the neutral conductor, must be the same size (ampacity) wire. Code may require a larger AWG
size than shown in this table because of temperature, number of conductors in the conduit, or long service
runs. Follow local code requirements.
22..66
S
Siiggnnaall W
Wiirree R
Roouuttiinngg
The auxiliary contacts must be wired to the BPM from the UPS for proper functionality. These auxiliary contacts
signal the UPS to go to Internal Bypass mode to provide a synchronized transfer. Failure to wire the auxiliary
contacts can be dangerous and result in system failure. Check the UPS users guide that is being used with the
BPM for specific contact functionality.
NOTE 1
Refer to the UPS manual and
“Input Current and Wire Ratings” on page 11
for breaker,
terminal block, and wire sizing.
NOTE 2
Provide enough flexibility in the conduit for the BPM to be firmly mounted in the rack.
NOTE 3
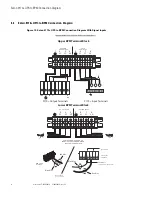
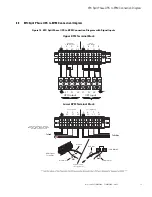
Connection diagrams can be found on pages 11–14 for wiring details.
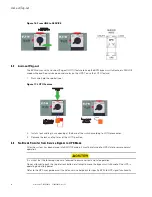
To route signal wires (customer supplied):
1.
Route the signal wires through the provided insulation.
2.
Pass the insulated wires through the opening in the rear panel (
).
3.
Connect terminal blocks to signal wires.
4.
Plug in the terminal blocks into their proper locations.
5.
Place the insulated wires into the two wire clips as shown.
Summary of Contents for Powerware 9155
Page 4: ...iv User s Guide P 164000628 P 164000628 Rev 05 Table of Contents...
Page 6: ...vi User s Guide P 164000628 P 164000628 Rev 05 List of Figures...
Page 8: ...viii User s Guide P 164000628 P 164000628 Rev 05 List of Tables...
Page 18: ...10 User s Guide P 164000628 P 164000628 Rev 05 Signal Wire Routing...
Page 28: ...P 16400062805 P 164000628 05...


