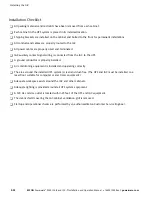
Installing the IAC
3-29
EATON
Powerware
®
9390 IAC-B and IAC-T Installation and Operation Manual
S
164201590 Rev C
powerware.com
11.
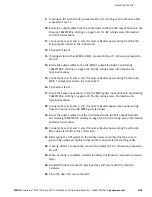
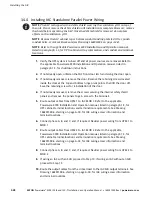
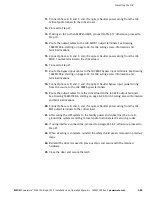
Connect phase A, B, and C, and, if required, Neutral power wiring from the IAC
SLB output terminals to the critical load.
12.
Proceed to Step 21.
13.
If wiring an IAC with an MBP and MIS, proceed to Step 17; otherwise, proceed to
Step 14.
14.
Route the output cables to the IAC MOB 1 output terminals. See Drawing
164201590-6, starting on page A-34, for IAC wiring access information and
terminal locations.
15.
Connect phase A, B, and C, and, if required, Neutral power wiring from the IAC
MOB 1 output terminals to the critical load.
16.
Proceed to Step 21.
17.
Route the bypass input cables to the IAC MBP bypass input terminals. See Drawing
164201590-6, starting on page A-34, for IAC wiring access information and
terminal locations.
18.
Connect phase A, B, and C, and, if required, Neutral bypass input power wiring
from the source to the IAC MBP bypass terminals.
19.
Route the output cables from the critical load to the IAC MIS output terminals.
See Drawing 164201590-6, starting on page A-34, for IAC wiring access information
and terminal locations.
20.
Connect phase A, B, and C, and, if required, Neutral power wiring from the IAC
MIS output terminals to the critical load.
21.
After wiring the UPS system to the facility power and critical load, be sure to
ground the system according to local and/or national electrical wiring codes.
22.
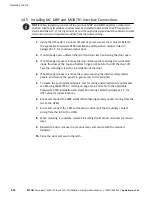
If wiring interface connections, proceed to paragraph 3.4.5; otherwise, proceed to
Step 23.
23.
When all wiring is complete, reinstall the safety shield panels removed in previous
steps.
24.
Reinstall the door removed in previous steps and secure with the retained
hardware.
25.
Close the door and secure the latch.
Summary of Contents for Powerware 9390 IAC-B
Page 145: ......
Page 146: ...164201590C 164201590 C...

