8
www.eaton.com/wireless
call toll free: 1-800-663-8806
DM-R260-0056A R1
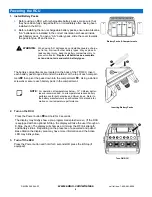
1. Install
Battery
Packs
i. Before using an RCU with rechargeable battery packs, make sure that
they have been fully charged before, or immediately after, having been
installed in the RCU.
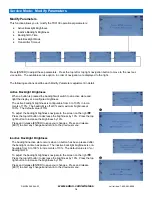
ii. Before installing the non-rechargeable battery packs, ensure two Alkaline
“AA” batteries are installed in the correct orientation embossed inside
each battery pack. To open a “AA” battery pack, slide the cover towards
the pack tongue, lift and remove.
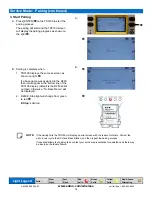
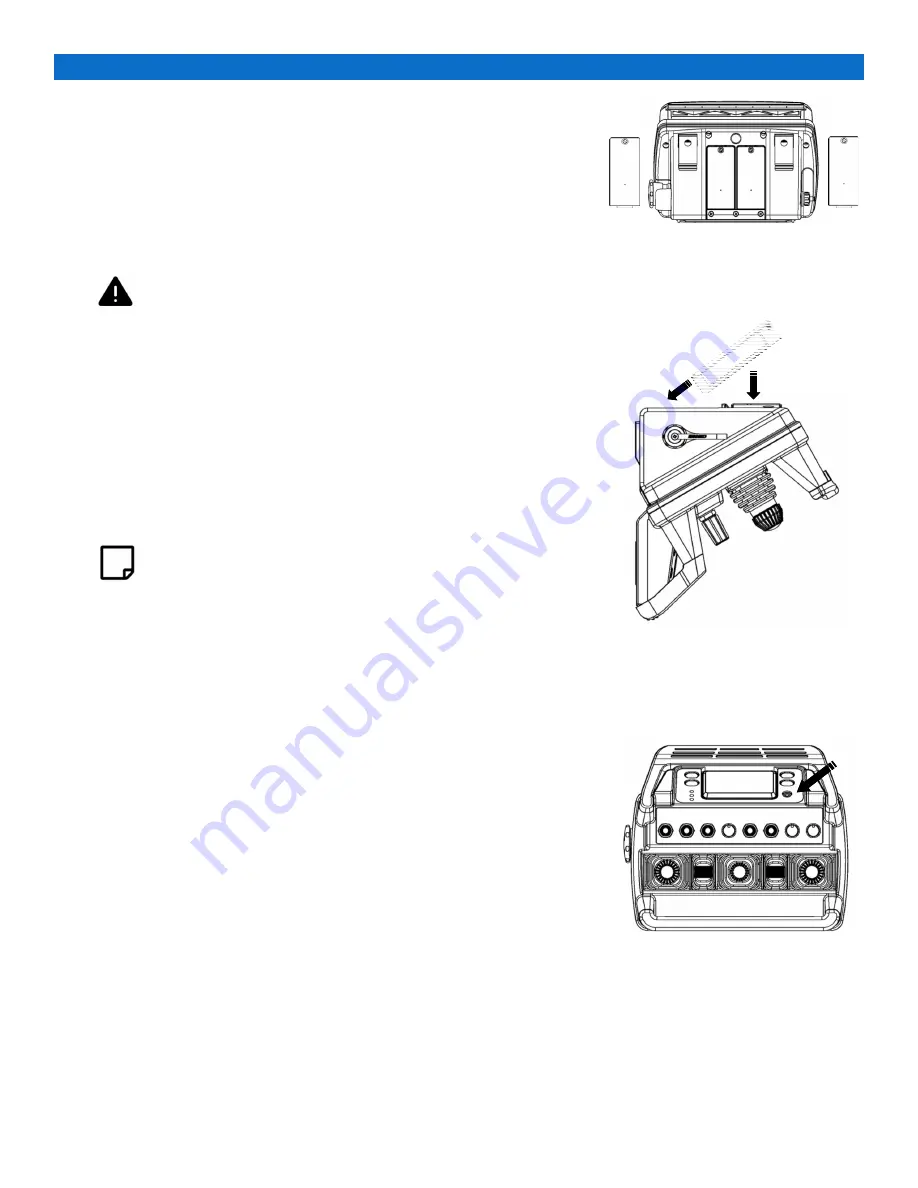
The battery compartments are located on the back of the TD3100. Insert
each battery pack tongue first under the retainer at the top of each compart-
ment
then pivot the pack down into the compartment
. Using a slotted
screwdriver secure each battery pack in the compartment.
2. Turn on the RCU
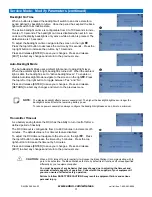
Press the Power button
and hold for 3 seconds.
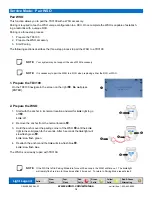
The display may briefly show a pre-programmed splash screen (If the RCU
is equipped with an optional E-Stop, the display will take the user through an
E-Stop check.). The display will show as a minimum the RF link strength
and battery status. Depending on the presence of a powered and paired
Base Station the display area may have more information and the Active
LED may blink yellow.
3. Turn off the RCU
Press the Power button and hold for 3 seconds OR press the E-Stop (if
equipped).
Battery Packs & Compartments
Powering the RCU
NOTE:
For operation at temperatures below –10° C lithium batter-
ies are recommended. Low temperatures reduce battery
performance for both alkaline and lithium types. Refer to
the battery manufacturer’s specifications for detailed infor-
mation on low temperature performance.
WARNING:
When using “AA” batteries do not install backwards, charge,
put in fire, or mix with other battery types. May explode or
leak causing injury. Keep the battery compartment dry to
prevent corrosion.
Replace all batteries as a complete
set and do not mix and match battery types.
Inserting Battery Packs
Turn ON RCU


