Tripp Lite by Eaton SmartPro Advanced User Guide 614-40195—Rev 01
13
Table 6. Rack EBM Installation Steps (Continued)
33..55
U
UP
PS
S C
Coonnnneeccttiioonnss
Check that the indications on the name plate located on the back of the UPS correspond to the AC-power
source and the true electrical consumption of the total load.
Table 7. Power Supply Connection Steps
1.
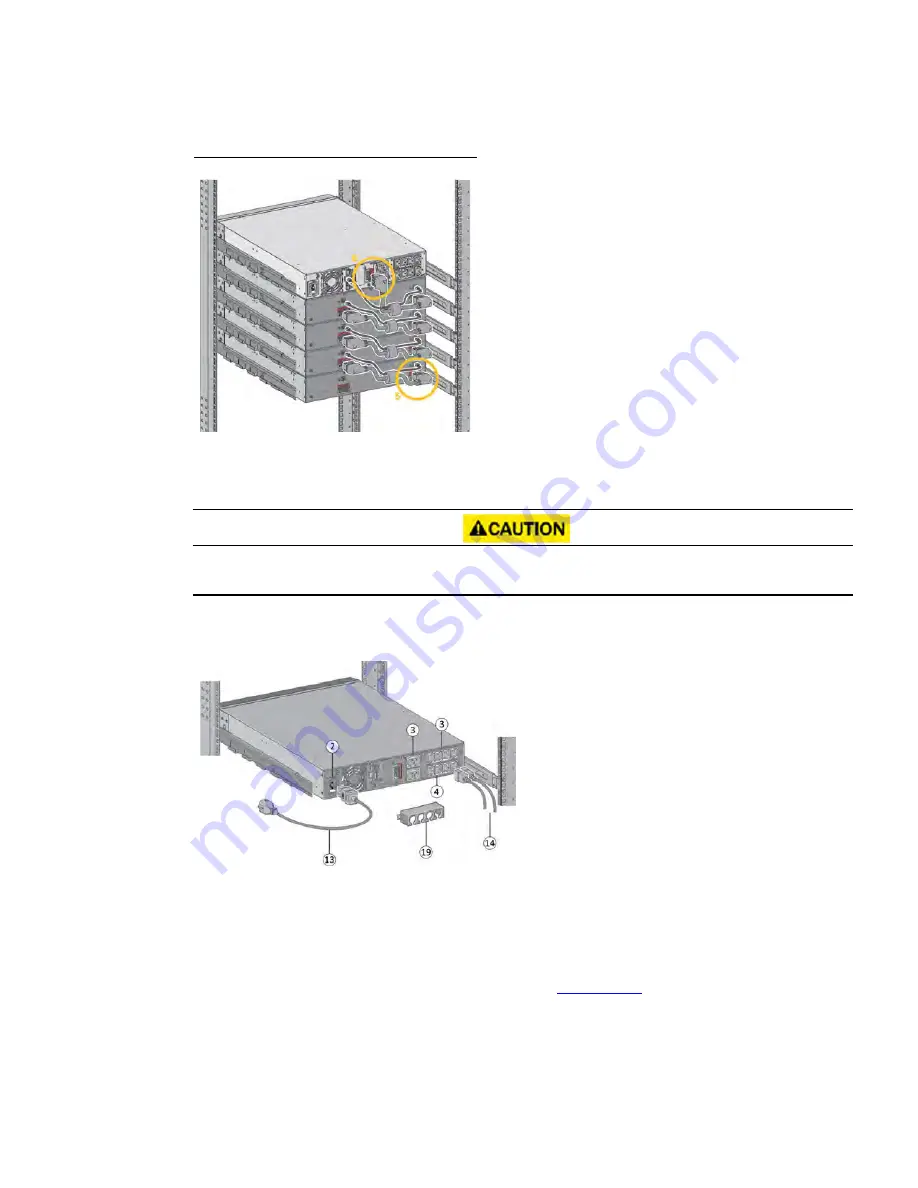
For the SmartPro 1000/1500, connect the UPS input socket
(2) to the AC power source using the cable of the
protected equipment.
For the SmartPro 3000, connect the UPS input socket (2) to
the AC-power source using the cable (13) supplied.
2.
Connect the loads to the UPS using the cables (14). It is
preferable to connect the priority loads to the outlets
marked (3) and the non-priority loads to the outlets
Group1, Group2 (4) that can be programmed.
For the SmartPro 3000 models, connect any high-power
devices or matching Power Distribution Unit (PDU) to the
16A outlet.
Fit the connection securing system that prevents the plugs
from being pulled out accidentally.
3.
To program shutdown and startup of the Group1 and
Group2 outlets in order to extend battery runtime and
perform scheduled shutdowns, please see paragraph
Summary of Contents for Tripp Lite SmartPro Series
Page 6: ......
Page 10: ...x Tripp Lite by Eaton SmartPro Advanced User Guide 614 40195 Rev 01 List of Figures...
Page 12: ...xii Tripp Lite by Eaton SmartPro Advanced User Guide 614 40195 Rev 01 List of Tables...
Page 16: ...4 Tripp Lite by Eaton SmartPro Advanced User Guide 614 40195 Rev 01 Introduction...
Page 28: ...16 Tripp Lite by Eaton SmartPro Advanced User Guide 614 40195 Rev 01 Installation...
Page 44: ...32 Tripp Lite by Eaton SmartPro Advanced User Guide 614 40195 Rev 01 Operation...
Page 58: ...614 4019501 614 40195 01...


